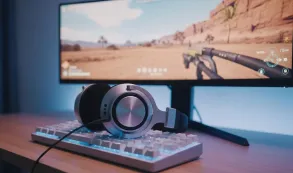


Using a smart board for the first time can feel unfamiliar. You tap the screen and pause for a second—where do you open your presentation, how do you write on the board, and what’s the easiest way to connect your device? These questions are common, especially when moving from traditional whiteboards or projectors to interactive technology.
The good news is that learning how to use a smart board is usually easier than most people expect. Once you understand a few core functions—displaying content, writing and annotating, connecting devices, and sharing work—the board becomes a practical tool for teaching, presenting, and collaboration.
This guide walks you through the entire process. Whether you are a teacher planning more interactive lessons, an administrator exploring conference technology, or a first-time user getting started, you will learn how to use a smart board confidently—from setup and everyday tasks to collaboration and classroom workflows.
If you are completely new to this technology, you may also want to start with our Smart Board Basics guide before moving into the practical steps below.
What You Need to Get Started: Types of Smart Boards
Before learning how to use smart boards effectively, it helps to understand the core components and what type of system you are working with. Smart boards generally fall into two categories:
All-in-one interactive displays combine the screen, computer, and software into a single unit. You press one button, and the board is ready. These are the most common systems in modern classrooms and meeting rooms, requiring no external projector or connected laptop to function.
Projector-based interactive whiteboards use a separate projector to display an image onto a touch-sensitive surface, with a connected computer running the software. These older systems are still found in many schools and require more setup steps, including regular calibration.
Regardless of which type you have, most systems include:
- The interactive display: The large touch-sensitive screen where content appears, and interaction happens. Displays typically range from 55 inches for small rooms to 86 inches for large classrooms.
- Stylus pens or digital markers: Tools that let you write, draw, and erase digitally. Some boards use passive pens that need no batteries; others use active styluses that offer pressure sensitivity and palm rejection.
- Connection cables or wireless setup: HDMI carries video from external devices, USB enables touch input from connected computers, and wireless casting options let you present without cables.
- Whiteboard software: The application that powers annotation, lesson creation, saving, and collaboration. Popular options include native manufacturer apps, Google Jamboard, Microsoft Whiteboard, and third-party education platforms.
 If you are still deciding on equipment, our guide to choosing the right size and breakdown of smart board cost can help you plan your investment.
Before exploring every button and menu, focus on one goal: understand the basic workflow. Most smart board sessions follow the same pattern:
Open content → interact → collaborate → save and share
Once you understand this sequence, using different brands becomes much easier.
Step 1: Get Content Onto the Smart Board
Your first goal is not learning every menu—it is getting something useful onto the screen.
Most users start with one of these methods:
- Open files directly on the board if it has a built-in operating system
- Connect a laptop using HDMI or USB-C
- Wirelessly cast from a phone, tablet, or computer
Start with familiar content such as a slide deck, browser tab, lesson plan, PDF, or blank whiteboard.
A simple rule: if you can display it, you can usually interact with it.
If device pairing feels confusing, see our guide on how to connect any device to a smartboard.
Step 2: Turn Passive Content Into Interactive Content
The biggest mistake beginners make is treating a smart board like a projector.
Instead of showing information, start interacting with it.
Try these actions:
- Write directly on presentations
- Highlight key concepts during explanations
- Move and organize content visually
- Annotate websites and PDFs
- Invite students or participants to contribute
For classroom use:
→ Ask students to solve directly on the screen
For meetings:
→ Capture ideas during discussions
For training:
→ Mark up examples live
You do not need advanced features yet—just practice interacting while presenting.
Step 3: Learn the Few Features You Will Actually Use Every Day
Most beginners try to learn everything at once.
In reality, three capabilities cover most daily usage.
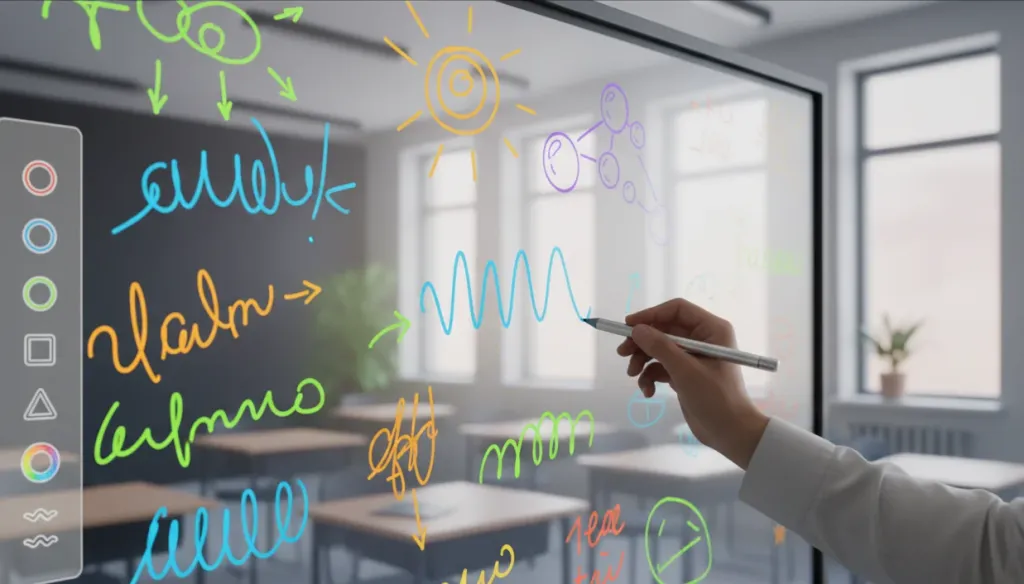
Whiteboarding and Annotation
Write, draw, explain ideas, and mark up content in real time.
Screen Sharing and Collaboration
Share screens wirelessly and allow multiple participants to contribute.
Save and Continue Later
Unlike traditional whiteboards, your work does not disappear.
Most smart boards let you:
- Export notes
- Save sessions
- Resume work later
- Share outcomes with students or teammates
Building the habit of saving and sharing often creates more value than learning advanced tools.
Once these basics feel comfortable, you can explore templates, cloud sync, split-screen workflows, and other advanced features.
How to Connect to a Smart Board From Any Device
Understanding how to connect to a smart board is essential for flexible teaching. Here is how different devices pair:
| Device | Connection Method | Best For |
|---|---|---|
| Windows laptop | HDMI + USB, or Miracast | Full touch interactivity, reliable video |
| MacBook | AirPlay, or HDMI + USB | Wireless convenience, quick setup |
| Chromebook | Chromecast, or HDMI | Seamless integration with Google tools |
| iPad / Tablet | AirPlay or board-specific app | Mobility, student presentations |
If wireless sharing does not connect immediately, double-check that both devices are on the same WiFi network, restart the board's casting receiver, or fall back to HDMI when video playback needs to be rock solid. Wireless is convenient, but cables still win when reliability matters most.
Essential Smart Board Features for Beginners
Modern smart boards come packed with capabilities that go far beyond writing on a screen. Here are the smart board features every beginner should explore:
Annotation Over Any Content
Annotation lets you write directly on top of websites, documents, videos, or dashboards without changing the underlying file. Activate annotation mode from the toolbar, mark up the content, then capture a screenshot to save your notes. This is especially powerful when reviewing student work together — you can highlight strengths and mark areas for improvement in real time while the class watches.
If annotations are not appearing, confirm that the mode is active. Some applications block overlays by default, in which case mirroring your screen or opening the file in a different app usually resolves the issue.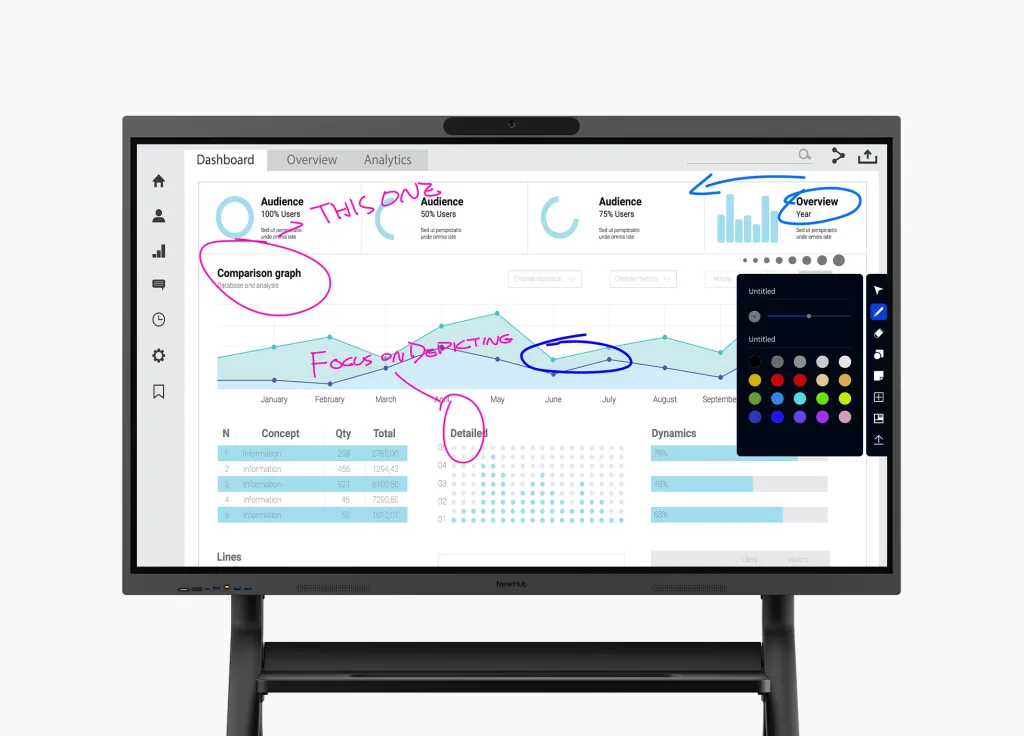
Split-Screen Mode
Split-screen displays multiple apps or inputs side by side. Teachers often use this to show instructions next to live work, or to keep a presentation visible alongside a web resource. The key benefit is zero interruption — no app switching required. In a math lesson, you might display the problem on one side and a calculator or graphing tool on the other. In language arts, keep the text on one side and discussion questions on the other.

Infinite Canvas
Never run out of space again. When you fill one area, simply slide the page over and keep writing. This is perfect for brainstorming sessions or multi-step problem-solving where you want all work to remain visible. History teachers can create massive scrolling timelines. Science teachers can map out entire lab procedures. The canvas expands to fit your thinking, not the other way around.
Wireless Screen Sharing
Multiple students or colleagues can cast content to the board without passing cables. This keeps lessons moving and makes hybrid collaboration seamless. A student working on a tablet can share their solution instantly, and a co-teacher can contribute materials from their laptop across the room.

Cloud Saving and Lesson Libraries
Connect your board to Google Drive, OneDrive, or Dropbox to save lessons automatically. Over time, you will build a personal library of interactive lessons that you can reuse, refine, and share with colleagues. This is especially valuable for substitute teacher packets — every saved lesson becomes a complete, ready-to-deliver resource.
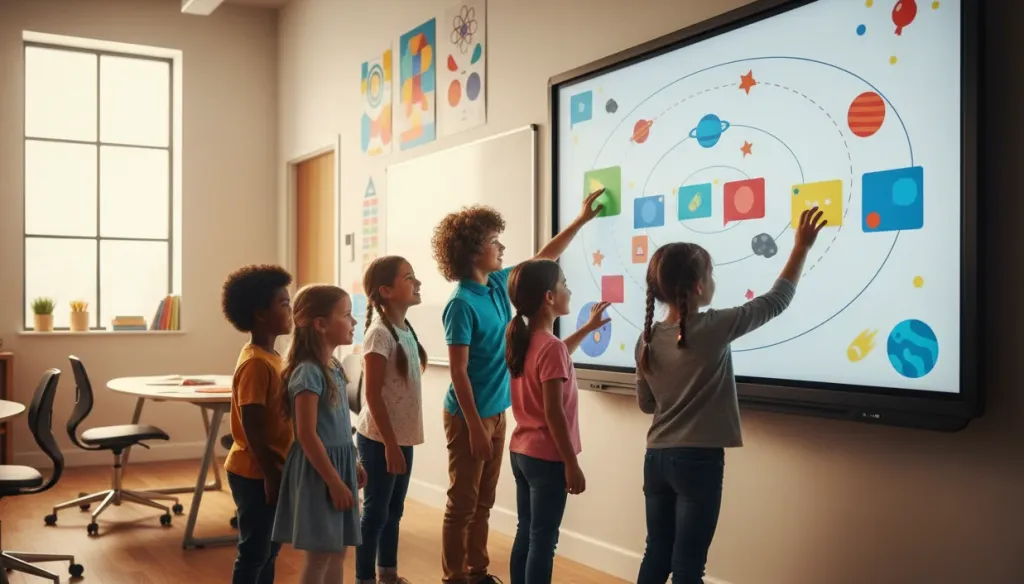
Smart Board in the Classroom
Once you have mastered the basics, the real transformation happens. A smart board turns passive viewing into active participation. Here is how to use a smart board in the classroom for maximum impact.
Make Lessons Interactive
Replace static worksheets with hands-on activities. Use drag-and-drop for matching vocabulary words to definitions. Have students label diagrams by dragging text boxes to the correct locations. Conceal answers with a digital screen shade and reveal them step by step. These small changes keep students focused and engaged.
Foster Collaboration
The board's multi-touch capabilities mean multiple students can work at the same time. Pose a question and have groups add ideas to a mind map, each using a different color. Put a complex problem on the board and let a team solve it while the class watches. The board becomes a shared workspace rather than a one-way display.
Gamify Learning
Use templates to create quiz-show-style review games. Add visible timers to create urgency during activities. Leverage ready-made educational games online to reward students or break up long lesson blocks. A five-minute game session can re-energize a class after a dense lesson.
Practical Ideas by Subject
- Math: Plot functions on digital graph paper and record step-by-step problem-solving as review videos.
- Science: Run virtual simulations and label high-resolution diagrams collaboratively.
- Language Arts: Annotate texts together as a class and create digital storyboards.
- Social Studies: Explore interactive maps, timelines, and primary source documents.
For detailed lesson ideas, explore our guide on how to use a smart board in the classroom.
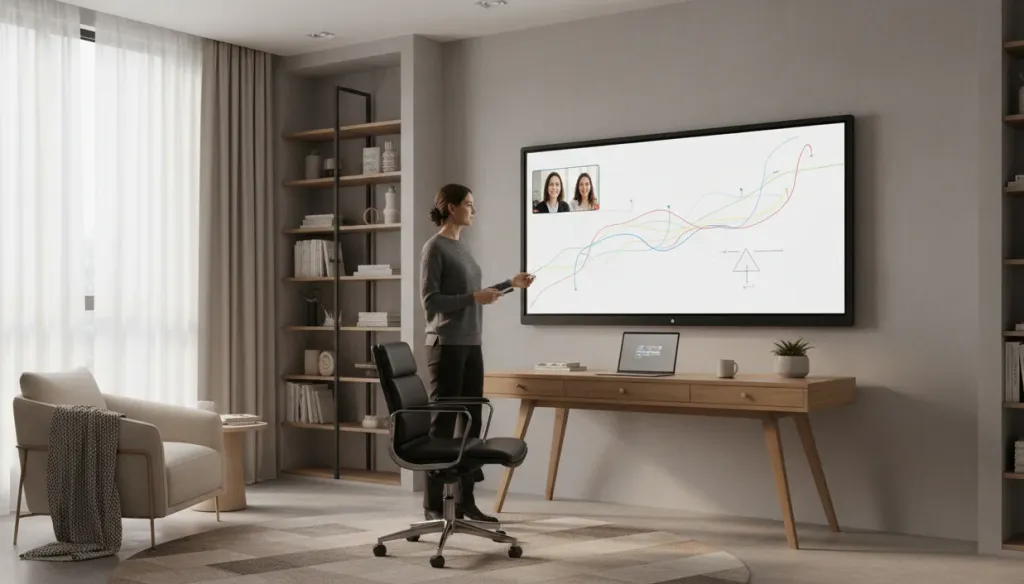
Smart Board for Home Use
Interactive displays are not limited to schools. A smart board for the home can support remote learning, home-based tutoring, and family collaboration. Parents use them to help children with homework through interactive explanations, to manage household schedules visually, and to host video calls with annotation capabilities.
Home users typically choose smaller displays than classroom models — often 55 to 65 inches — and benefit from the same wireless casting and cloud-saving features that make classroom boards so flexible. If you are considering one for your home office or learning space, read our dedicated guide to smart boards for home use.
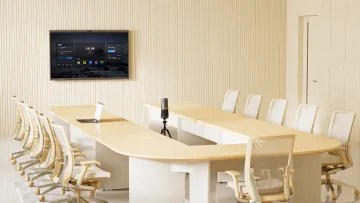
Smart Board for Office and Conference Rooms
While classrooms often get the spotlight, the workplace is where smart boards have become indispensable. A smart board for conference rooms transforms routine meetings into dynamic working sessions where ideas develop in real time rather than being stuck in static slide decks.
Brainstorming and Strategy Sessions
Digital sticky notes let teams capture ideas quickly, then drag, group, and color-code them as patterns emerge. Teams can cluster themes together on the spot and save the board as a shared artifact that keeps momentum going after the meeting ends.
Project Planning and Workflow Mapping
Teams can annotate over flowcharts, timelines, and project boards, marking dependencies and bottlenecks as they talk through them. A project manager might flag blockers directly on a sprint board and use the annotated version to guide follow-up tasks.
Hybrid Meetings Made Seamless
Wireless sharing removes the bottleneck of a single presenter. Multiple contributors can cast content without passing cables, while remote participants see the same annotations appear live. Sales teams use this setup to review KPI dashboards, drawing attention to key trends while notes sit alongside the data. Split-screen views keep metrics and action items visible simultaneously.
Training and Onboarding
HR departments use smart boards to deliver interactive training where new hires annotate handbooks and participate in group exercises. Every saved session builds a reusable library that grows more valuable over time.

Smart Boards for Other Use Cases
Interactive displays have found their way into a surprisingly wide range of environments beyond education and corporate offices. Their ability to display, annotate, and share content makes them adaptable to virtually any setting where groups gather to learn, plan, or experience something together.
Immersive Experiences and Events
Museums use interactive displays for hands-on exhibits where guests explore historical maps and zoom into artwork. Event planners use them at trade shows for interactive product demonstrations. Escape rooms and entertainment venues use them as puzzle interfaces, blending physical and digital interaction.
Houses of Worship and Collective Gatherings
Churches, temples, and faith communities use smart boards to enhance collective prayer, song, and scripture study. A smart board for church use can display lyrics for congregational singing, annotate scripture during study sessions, and share announcements with rich visuals. During prayer gatherings, the board can display guided meditations, prayer requests, or serene imagery to create a focused atmosphere. Worship leaders can highlight verses, take notes during discussion, and save the session for members who could not attend.
Healthcare, Retail, and Beyond
Therapists use smart boards for cognitive exercises and art therapy. Medical teams annotate imaging during case reviews. Retailers let customers browse catalogs and customize orders on screen. Hotels use them for wayfinding and guest collaboration.
The common thread across all these settings is the same: an interactive display turns passive viewing into active participation, no matter the industry.
Common Mistakes to Avoid
Even with the best tools, a few common missteps can hold you back:
- Using it as a projector only: The biggest mistake is treating the smart board like an expensive screen. Its value comes from interactivity — touch, annotation, and collaboration.
- Skipping practice: Spending just fifteen minutes exploring the tools before your first lesson prevents mid-class fumbling and builds confidence.
- Overcomplicating lessons: Sometimes a simple drag-and-drop activity is more effective than a complex multimedia presentation. Start small and build up.
- Forgetting to save: Always save your work at key moments. Enable auto-save if your board supports it.
- Neglecting calibration: If touch feels inaccurate, recalibrate before assuming there is a hardware problem.
Frequently Asked Questions(FAQs)
Do I need a projector to use a smart board?
Modern all-in-one smart boards have a built-in computer and display, so no external projector is needed. Older interactive whiteboard systems may still require a separate projector and connected computer.
Can I connect my laptop wirelessly to a smart board?
Yes. Most modern smart boards support wireless casting through AirPlay, Chromecast, or Miracast. Both devices must be on the same WiFi network. For the most reliable connection during video playback, an HDMI cable is still recommended.
What is the best way to start a lesson on a smart board?
Begin with a short interactive activity such as a quick poll, a matching game, or a thought-provoking question displayed as students enter. This immediately engages learners and demonstrates the board's interactive capabilities from the first minute.
How do I save my work on a smart board?
You can save files locally on the board, export them as PDFs or images, or store them directly in connected cloud accounts like Google Drive, OneDrive, or Dropbox when supported.
Why is my smart board not responding to touch?
Check that the USB cable is securely connected, confirm the board is powered on, and verify you are using the correct input source. If touch is inaccurate, run the calibration tool found in the settings menu.
Your Next Step
Learning how to use a smart board is not about mastering every feature on day one. It is about building confidence with the basics, then adding one new interactive element at a time. Start with a single drag-and-drop activity in your next lesson. Practice connecting your laptop wirelessly. Explore one advanced feature, like split-screen or cloud saving, each week.
The smart board is not a replacement for great teaching — it is a tool that amplifies it. By embracing its interactive capabilities, you create a classroom where students see, hear, and touch their learning. Begin with one small step today, and you will quickly discover how this single tool can transform engagement in your classroom.