Conference Room Set Up Styles: Where Cameras, Screens, and Mics Go
Choose a room layout by conversation flow, then place cameras, screens, and microphones around it.
Conference Room AV
Meeting Room
Room Layout
Updated: Aug 21, 2026 · 7 minutes read
Global Business, Brought Near.
No Installer, No Hassle, Just Works.
Conference room setup styles should be selected by the direction of attention, not by headcount alone. A boardroom supports peer discussion, a U-shape balances discussion with presentation, and classroom or theater seating prioritizes the front. Camera, display, and microphone positions should follow that communication pattern and be tested from the weakest seat.
Key Takeaways
Choose a boardroom layout when peers speak across one table; choose a front-facing layout when one presenter controls most of the session.
Treat the weakest seat as the design target: it must see the display, appear usefully on camera, and reach a microphone without leaning forward.
A center-table camera can improve discussion coverage, but a front camera is usually stronger when standing presentation and shared content dominate.
Approve a layout only after a remote reviewer tests normal discussion, shared content, and audience questions from the actual seating positions.
Choosing among conference room set up styles is not primarily about furniture; it is about mapping who needs to look at whom. Choose the style by the room's dominant conversation flow, then place the camera, screens, and microphones so the weakest normal seat can see, be seen, and be heard. Boardroom and U-shape layouts favor interaction. Classroom and theater layouts favor the front. Flexible clusters favor small-group work but demand a deliberate hybrid plan.
That reframing prevents a common failure: selecting a layout from a capacity chart, adding AV afterward, and discovering that half the room looks sideways at the display or disappears from the remote conversation. Two rooms with the same number of chairs can need different systems because attention moves differently through them.
This pillar compares boardroom, U-shape, classroom, theater, and flexible-cluster layouts. It focuses on meeting behavior, sightlines, camera origin, microphone distribution, and the cost of changing modes—not décor, catering, or maximum event capacity.
What Do Conference Room Set Up Styles Actually Control?
Conference room setup styles control the direction of attention, the distance between speakers, the number of useful camera angles, and the places where audio must be captured. Furniture is the visible layer; communication geometry is the operating layer.
Start with three flows:
Attention flow: Do people look mainly at one presenter, at a display, or at one another?
Speech flow: Does discussion move around a table, from audience to presenter, or inside small groups?
Content flow: Is the main artifact a shared screen, a whiteboard, a physical demonstration, or the people themselves?
These flows explain why a layout that feels natural in person can fail remotely. In-room participants can turn their heads, read body language at the edge of vision, and compensate for a quiet voice. A remote participant receives only the selected camera composition and processed audio. If the layout sends attention outside that captured zone, the remote side loses the meeting's real center.
The hidden truth is that capacity is a weak first filter. A 12-seat boardroom and a 12-seat classroom hold the same number of people, but the boardroom creates lateral conversation while the classroom creates a front-facing audience. One needs to preserve peer reactions; the other needs to preserve presenter movement, content, and questions from the room.
Use the Conversation-Flow Test Before Choosing a Layout
The conversation-flow test turns a vague room preference into an operational decision. Describe the meeting in verbs—present, debate, teach, review, decide, demonstrate, break out—then choose the layout that makes the most frequent verbs easy.
Score each proposed layout from 1 to 3 on five questions:
Decision question
Score 1
Score 2
Score 3
Can the main speaker face the audience naturally?
Frequently blocked
Requires turning
Natural position
Can peers see one another during discussion?
Mostly profile/back views
Partial eye contact
Direct eye contact
Can every seat see shared content?
Several weak seats
Minor compromises
Clear sightline
Can microphones sit near real speaking zones?
Long or obstructed paths
Expansion required
Simple coverage
Can the room change modes without rebuilding AV?
Major reset
Planned reset
Quick transition
Do not total the scores blindly. Weight the dominant meeting behavior twice. If executive discussion is the room's main purpose, peer visibility matters more than fitting an occasional lecture. If training is the main purpose, presenter and content sightlines deserve the higher weight.
This is a decision framework, not an industry standard. Its value is that stakeholders must state what the room is for. When facilities says “U-shape,” IT says “BYOD,” and a department head says “training,” the test reveals whether they are describing the same room or three incompatible expectations.
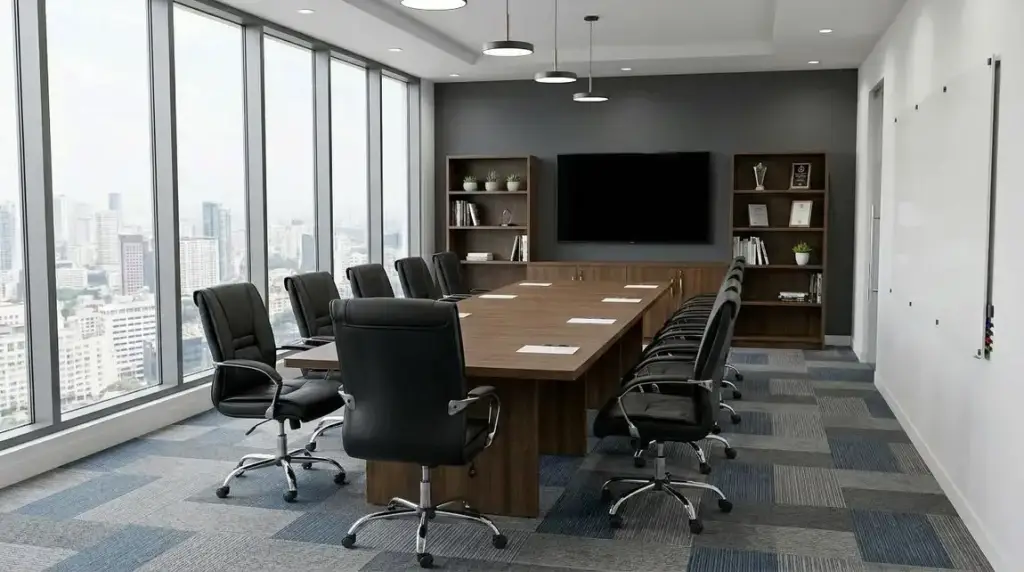
Boardroom Style: Best When the Table Is the Conversation
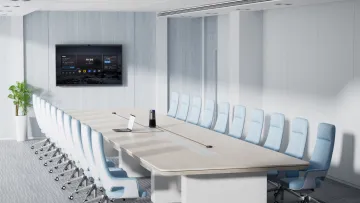
Choose a boardroom style when a relatively stable group discusses, reviews, negotiates, or decides around one table. The layout makes peer interaction natural, but hybrid performance depends on preventing the long table from becoming a depth problem.
A front camera creates a familiar view aligned with the display. It is strong when most participants face forward and the room is shallow. As the table becomes longer, however, near seats occupy more of the frame and far seats become smaller. A table-centered camera shortens the visual distance to participants and can better follow discussion around the table, but laptops, bottles, table height, and power access become part of the camera plan.
Boardroom choice
Prefer it when
Watch for
Front-of-room camera
Content and the display anchor most attention
Far seats becoming visually small
Center-table camera
People speak across the table and reactions matter
Obstructions and gaze moving away from the display
Distributed camera system
The room has distinct presenter and discussion zones
Added control, support, and switching complexity
The non-obvious trade-off is not image quality versus cost. It is visual proximity versus gaze alignment. A center camera can make faces more useful, yet participants may look toward a wall display while the lens sits beside them. A front camera aligns gaze with the screen, yet makes depth harder. If your meetings are mostly discussion, favor visual proximity. If they are mostly content review, favor display alignment.
Audio should be evaluated by the quietest far-end speaker, not the person nearest the device. A camera can frame a distant participant beautifully while the microphone still receives a weak, reflective voice. For a systematic room-size decision before choosing a layout, use the broader conference room setup checklist.
A boardroom failure scene
During a client approval call, six people gather around a long table. The front pair fill the camera view, the decision-maker at the far end appears as a small figure, and their short objection is missed because everyone in the room heard it but the remote team did not. The deck is approved with the wrong assumption. The failure was not “bad video.” It was a room whose farthest decision seat never passed a remote test.
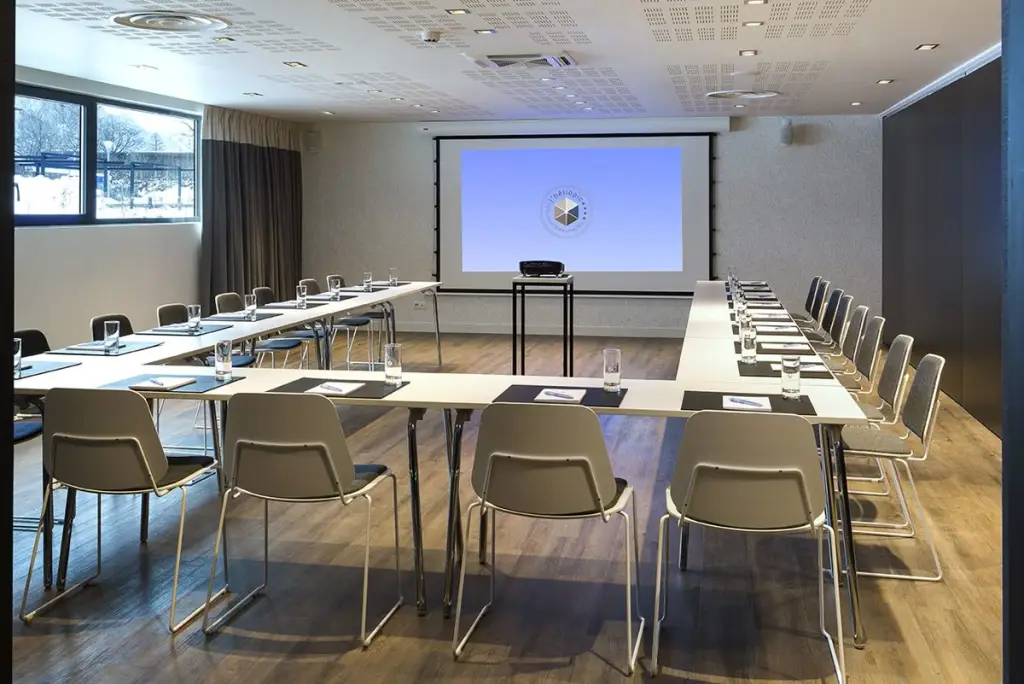
U-Shape Style: Best When Presentation and Discussion Alternate
Choose a U-shape when the meeting alternates between a presenter in the open end and participants speaking along the sides. It provides a clear teaching or facilitation zone while preserving more peer visibility than straight classroom rows.
The U-shape creates two centers of attention. One is the front: presenter, display, demonstration, or whiteboard. The other is the open center: the shared conversational space between participants. That duality is its strength and its AV challenge.
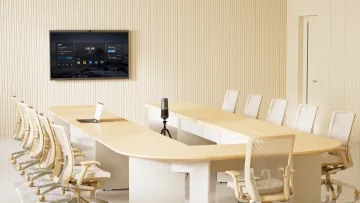
A front camera can follow the presenter and show the audience, but side participants may appear mostly in profile. A camera placed within or near the center of the U can represent discussion more naturally, but it must not obstruct movement or force everyone to look away from the screen. For rooms where discussion is the main event, the official U-shaped room solution shows a table-centered 360-degree approach as one possible architecture. For presentation-led sessions, a front-facing or multi-camera approach may be more suitable.
Do not decide from a drawing. Run two temporary tests:
Put the presenter in the real standing zone and share typical content.
Ask participants on both sides and at the base of the U to speak in sequence.
Let a remote reviewer identify each speaker and read the shared content.
Move the camera to the alternative position and repeat.
Approve the position that serves the dominant mode without making the secondary mode unusable.
Most people misunderstand the open center as unused floor area. In a hybrid session it is actually a production zone: presenters walk through it, facilitators approach participants, cameras may occupy it, and microphone pickup patterns cross it. Protecting that zone from stands, bags, and improvised cable runs is part of the layout decision.
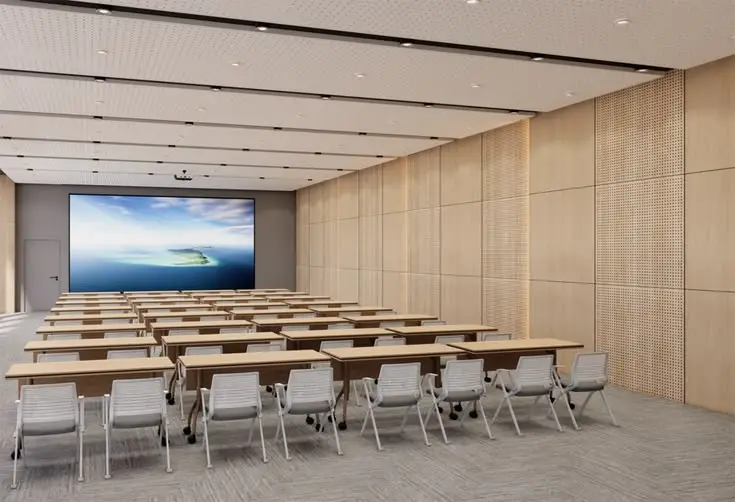
Classroom Style: Best When People Need a Work Surface
Choose classroom style when participants face forward but need tables for laptops, notes, materials, or hands-on work. It supports teaching and content review, yet creates more audio and visibility complexity than a theater layout because the tables encourage side conversations and device use.
The surface is the benefit and the risk. A laptop makes exercises possible, but raised screens can hide faces. Tables support note-taking, but paper handling and typing add noise near microphones. Straight rows simplify the front sightline, but questions may originate from many depths.
For video, prioritize a useful presenter view and a separate way to represent the audience when remote learners need to read reactions. One global audience view may prove that the room is occupied without making individual questions intelligible. A selectable audience view, intelligent framing, or a second camera origin can be justified when interaction matters.
For audio, distinguish instruction from participation. The instructor may use a close microphone, while audience questions need another path: table microphones, distributed pickup, a passed microphone, or a facilitator-managed question point. The right choice depends on frequency. If questions occur every few minutes, a single passed microphone interrupts the learning rhythm. If questions occur only at the end, permanent distributed audio may add unnecessary complexity.
This is why a training room camera plan must follow the transitions between teaching modes rather than the maximum number of seats. Camera views that work during slides may fail during demonstration or group discussion.
A classroom failure scene
An instructor begins a hands-on software workshop with 18 participants. The slides look clear and the presenter is well framed, so the room seems successful. Twenty minutes later, participants begin troubleshooting in pairs. Remote learners hear a wash of voices, cannot see which table is speaking, and stop asking questions. The original camera test passed presentation mode but never tested the session's collaborative half.
Theater Style: Best When the Front Owns Attention
Choose theater style when many participants primarily watch one speaker, panel, or screen and do not need tables. The layout concentrates attention efficiently, but it should not be mistaken for a naturally interactive hybrid room.
The main camera should serve the presenter or panel. An audience camera becomes valuable only if remote viewers need reactions or the session includes Q&A. Audio follows the same logic: close capture for the presenter, then a deliberate audience-question method rather than an expectation that one distant microphone will interpret the room.
Theater style often tempts planners to maximize chair count. That can narrow aisles, obscure camera paths, and make a roaming Q&A microphone slow to reach speakers. The real capacity is not the number of chairs that fit; it is the number of participants who can use the session as designed.
There is an important exception. If a “theater” room hosts frequent panels, peer debate, or workshop exercises, fixed front-facing rows may be the wrong baseline. Flexible classroom rows or clusters can sacrifice some density while producing a more usable learning environment. Choose theater only when one-to-many communication is truly dominant.
Flexible Clusters: Best When Small Groups Must Work Independently
Choose flexible clusters when participants repeatedly break into small groups, move materials, or reconfigure the room. This style supports workshops and project work, but it creates the hardest problem for a single permanent camera composition.
Each cluster can become a speaking zone. Furniture moves, so the “farthest seat” changes. Participants may face inward during group work and turn toward the front during instruction. A fixed camera optimized for the opening presentation can become irrelevant during the exercise.
The best operational choice may be to define modes rather than chase universal coverage:
Whole-room mode: presenter plus a broad orientation view.
Report-back mode: one designated position where each group speaks.
Demonstration mode: camera focused on a work surface or presenter zone.
Local-work mode: remote participants join assigned groups through separate devices or facilitated turn-taking.
This is a non-obvious case where fewer automated views can produce a clearer experience. If the camera constantly switches among overlapping conversations, remote participants receive motion without meaning. A facilitator who calls one group at a time can outperform a more complex automatic composition because the meeting behavior becomes legible.
Match Camera Origin to the Layout's Social Center
The camera origin should sit near the place where the remote participant is socially expected to be. In presentation-led rooms, that is usually near the display or presenter. In table-led discussions, it may be closer to the center of the conversation.
“Social center” is more useful than “physical center.” The physical center of a U-shape may be an open floor. The social center may switch between the presenter and the participant who asks a question. The physical center of a boardroom table may be ideal for equal proximity, yet remote faces on the wall display remain the place people look.
Evaluate three relationships:
Camera-to-face: Are required faces large and unobstructed enough to be useful?
Face-to-display: Can participants read content and see remote people without awkward turning?
Gaze-to-camera: Does speaking toward remote faces create a reasonably natural camera angle?
You cannot optimize all three perfectly in every room. Make the trade-off explicit. If your condition is frequent client presentation, prioritize face-to-display and gaze-to-camera. If your condition is internal roundtable debate, prioritize camera-to-face and peer visibility.
Before drilling or routing cables, use the reversible process in the meeting room camera placement test. Temporary approval is cheaper than moving a finished installation.
Design Microphones Around Speaking Zones, Not Chairs
Microphones should follow where speech originates and how participants behave, not merely the number of chairs. A chair is a capacity marker; a speaking zone is an acoustic requirement.
In a boardroom, the speaking zone is often a continuous table. In a U-shape, it includes the sides, the base, and the presenter zone. In classroom seating, it may be the instructor plus dispersed questions. In theater seating, it is usually the stage plus a controlled audience-Q&A path. Flexible clusters create temporary zones.
Why does this distinction matter? First, a microphone captures sound arriving at its location, not the diagram's nominal capacity. Second, distance, orientation, and room reflections change the received voice. Third, processing can improve a captured signal but cannot recreate speech that never arrived clearly. The common mistake is to treat a pickup claim as a complete audio design.
Use a zone test:
Ask the quietest expected speaker to talk normally from each zone.
Test while the person faces the presenter, a peer, and their notes.
Include brief overlap between in-room and remote speech.
Listen remotely through ordinary headphones or laptop speakers.
Mark any zone that requires leaning, repeating, or facilitator intervention.
If one integrated pickup point passes every normal zone, keep the system simple. If it fails predictable zones, add or reposition capture near those zones. Do not add microphones merely because the room looks large; add them because a required speaking zone fails.
Treat Displays and Cameras as One Sightline System
Displays and cameras should be planned together because the display determines gaze while the camera represents that gaze remotely. Choosing one first and fitting the other around it often creates unnatural eye lines.
For each seat, test:
Can typical shared content be read without leaning or turning sharply?
Can remote faces remain visible while content is shared?
Is the camera close enough to the display that speaking toward remote faces does not look like speaking away?
Does the presenter block the display or camera?
Does a second display solve information competition or simply make gaze more scattered?
The non-intuitive dimension is attention switching cost. Dual displays can show people and content at once, but they can also force constant head movement if placed too far apart. A larger screen can improve legibility, but may push the camera above a comfortable viewpoint. More display area is not automatically better; it must preserve a coherent place for attention.
If hosts also need to remove the laptop-to-room cable, decide that after the sightline is approved. The five wireless meeting-room layers separate content sharing from full BYOM camera and audio access, so “wireless” does not push the camera away from its tested location.
Where a 360-Degree Tabletop Camera Fits—and Where It Does Not
A 360-degree tabletop camera fits regular discussion layouts where participants surround a shared table and one central origin can remain unobstructed. It is less suitable when the room has several independent zones, a long moving presenter path, or furniture that cannot protect the device and its power route.
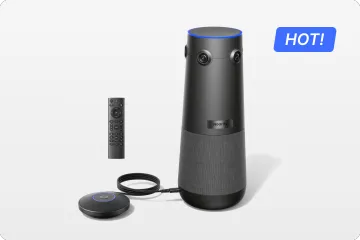
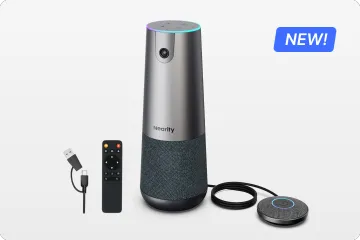
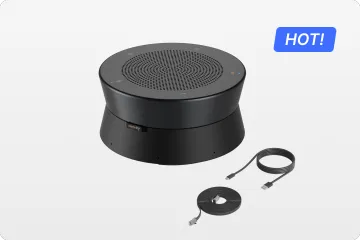
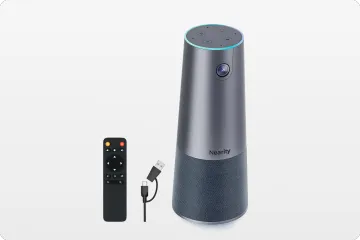
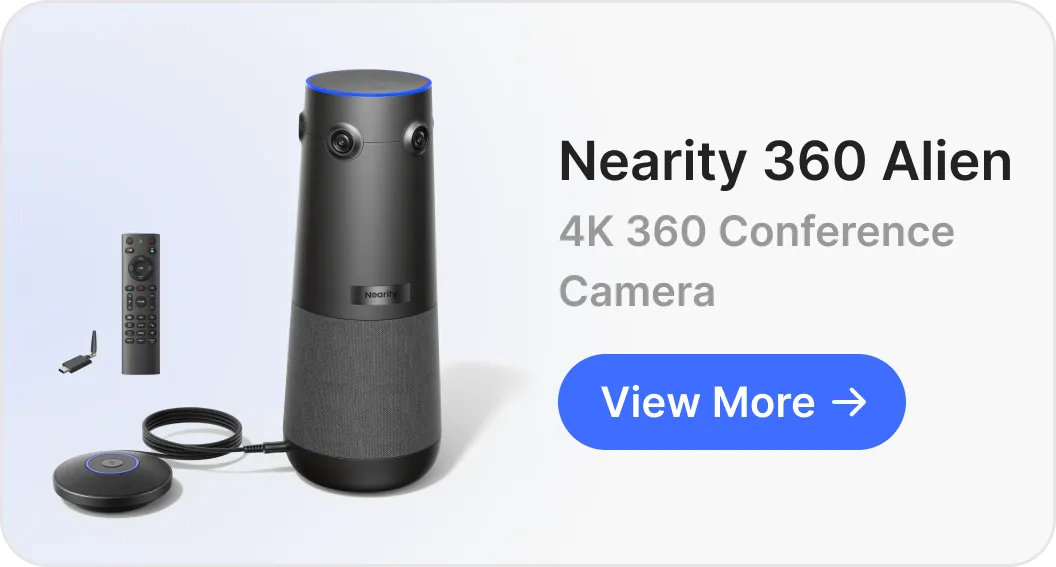
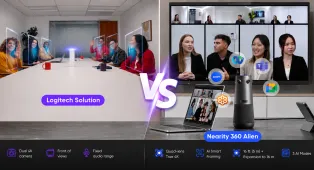
For table-centered discussion, Nearity 360 Alien's 360-degree room view is one option to evaluate after the layout criteria are clear. Its center-table approach can address the problem of participants sitting around the camera rather than far behind one another. The official product page also describes optional expansion microphones, which are relevant when layout—not just headcount—extends the speaking zones.
That capability matters only if the center position is usable. A camera surrounded by tall laptops, moved aside for documents, or fed by a cable across a walkway may perform poorly despite fitting the layout on paper. The real-world result depends on giving the device a stable, intentional position and testing the remote composition.
Do not choose a tabletop 360-degree system for every layout. A presentation-heavy theater room may benefit more from a front camera aimed at the presenter. An irregular multi-zone room may need distributed cameras and audio. The honest decision rule is simple: choose one center origin if the conversation has one coherent center; choose a different architecture if the room repeatedly creates separate visual or speaking centers.
Validate the Layout With Three Real Calls
Validate a conference room layout with three real calls: the dominant meeting, the most demanding normal meeting, and a recovery test. A single demonstration with cooperative participants is not enough.
Call 1: The dominant behavior
Run the meeting the room hosts most often. Use normal seating, real content, and the usual host workflow. Ask the remote reviewer to record where faces become too small, speech becomes inconsistent, or content competes with people.
Call 2: The edge of normal
Fill the weakest seats, use the quietest expected speaker, include a presenter or whiteboard if relevant, and let participants interrupt naturally. This is not a stress test with unrealistic abuse; it is the most demanding meeting the room should support without special help.
Call 3: Recovery
Use a different host laptop or account. Disconnect the normal path, select the wrong input once, or move furniture to its common alternate position. See whether an ordinary host can restore the call. Recovery difficulty is a hidden layout cost because movable tables, exposed cables, and ambiguous devices create repeated failures after installation.
Approval should come from the remote side. People inside the room already see and hear one another directly, so they cannot judge the delivered experience. Save screenshots of each camera mode, note the tested seats, and document which layout changes require a different procedure.
A Practical Layout Decision Matrix
Use this matrix to make a conditional choice rather than declaring one layout universally best.
If your dominant meeting is…
Start with…
Camera priority
Audio priority
Avoid when…
Executive or client discussion
Boardroom
Useful peer faces around the table
Continuous table coverage
The room is mostly lectures
Facilitated workshop or interactive training
U-shape
Presenter plus side participants
Sides, base, and presenter zone
The center must stay completely open
Instruction with laptops or materials
Classroom
Presenter, content, and questioner
Instructor plus distributed questions
Peer debate dominates
Keynote, panel, or one-to-many briefing
Theater
Presenter or panel
Stage plus managed Q&A
Frequent group work is required
Project workshop with breakouts
Flexible clusters
Mode-based, not one static view
Report-back zones or facilitation
No one will reset the room
If your meetings are 70 percent discussion and 30 percent presentation, start with boardroom or U-shape and design a presentation exception. If they are 70 percent instruction, start with classroom or theater and create an audience-question method. Do not build an ambiguous compromise that serves neither activity well.
Related Guides for Layout and Deployment
Use these focused guides after choosing the room's basic communication pattern:
Plan view transitions for instruction, demonstrations, and discussion with the training room camera setup.
Approve the actual lens position through a reversible camera placement test.
The broader conference room setup sequence connects layout decisions to room sizing, displays, audio, platforms, power, and rollout testing.
Frequently Asked Questions
Which conference room setup style is best for hybrid meetings?
The best style matches the room's dominant communication pattern. Boardroom and U-shape layouts favor discussion because participants can see one another, while classroom and theater layouts favor a presenter and shared content. Flexible clusters are strongest for workshops but require a mode-based camera and audio plan. Test the weakest seat remotely before approving any style.
Place it where it can support the open presentation zone and participants along both sides. A front position may be stronger for instruction; a center-of-U position may be stronger for peer discussion. Temporarily test both positions with a remote reviewer before installing permanent cables, because the dominant meeting behavior should decide the trade-off.
Can one microphone cover every conference room layout?
No single pickup point reliably covers every layout. A compact boardroom may work with one central microphone, while a long U-shape, classroom, or flexible room can create separate speaking zones. Test a quiet speaker in each normal zone. Add or reposition microphones only where those tests reveal repeatable weakness.
Should the display or camera position be chosen first?
Choose them together. The display controls where people look, and the camera controls how that gaze appears to remote participants. If the display is mounted first without a lens-position test, the camera may end up too far above, below, or beside the place participants naturally look. Prototype both as one sightline system.
Make the Layout Earn Permanent Installation
Choose the conference room setup style that makes the dominant conversation natural, then prove it from the remote side before making the setup permanent. Mark the weakest seat, protect the camera origin, define every speaking zone, and test the actual display content. Your next action is not to order more hardware; it is to run the three-call validation with temporary placement and obtain sign-off on the delivered experience.