Zoom Room Setup: How to Plan, Install, and Configure a Complete Meeting Room
A practical walkthrough for planning, installing, configuring, and testing a complete Zoom Room, from hardware selection to calendar integration.
zoom room setup
how to set up a Zoom Room
Zoom Room hardware
Updated: Sep 1, 2026 · 9 minutes read
Global Business, Brought Near.
No Installer, No Hassle, Just Works.
A reliable Zoom Room setup starts with the room, not the software. Plan sightlines, audio, network, power, and calendar access first; then choose hardware that fits the space, install and pair the controller, connect the room calendar, and test the complete meeting workflow before users rely on it.
Key Takeaways
Do not buy hardware before confirming room sightlines, audio coverage, network, power, cable routes, admin access, licensing, and calendar ownership.
Treat audio as room-dependent: one integrated microphone may fit a small room, while larger or reflective rooms may need expansion microphones or professional audio.
An all-in-one Windows board can reduce separate compute, display, camera, microphone, speaker, and cabling decisions, but current Zoom Rooms requirements still need verification.
Final acceptance should include a real calendar invite, one-touch join, content sharing, remote audio and video checks, and restart recovery—not only a local device test.
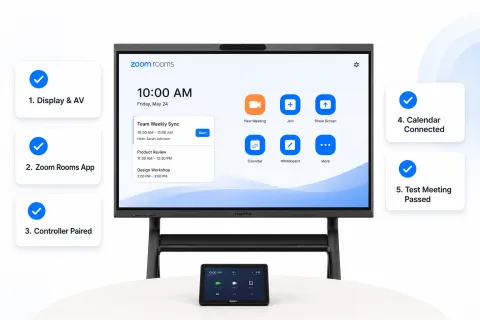
A successful zoom room setup is a deployment workflow, not just a software installation. Plan the physical room, choose equipment that fits the space, install the hardware cleanly, configure Zoom Rooms, connect the room calendar, and test the complete meeting experience before employees rely on it.
Unlike the Zoom desktop app, which serves one person on a personal computer, Zoom Rooms is a dedicated room system built around shared AV hardware, a controller, and centrally managed settings. If you are researching how to set up a Zoom Room, this guide focuses on the practical path from zero to go-live.
Plan Your Zoom Room Setup and Room Layout
Most setup problems start before anyone opens the Zoom admin portal. A camera that cannot see every seat, a microphone placed too far from speakers, or a missing network drop can turn a simple installation into a second site visit.
Define the Room Type and Meeting Use Case
Write down how the room will actually be used. A four-person huddle room has different requirements from a twelve-person boardroom, training room, or customer presentation space.
Confirm normal occupancy, seating direction, table shape, content-sharing needs, whiteboard use, one-touch join, guest access, and whether you need a scheduling display. These answers determine the equipment class and installation complexity.
Plan the Room Layout, Camera, and Audio Coverage
Place the primary display on the wall that most participants naturally face. Remote participants should be easy to see, and shared content should remain readable from the farthest seat.
For the camera, check coverage, height, and lighting. Every regular seat should be inside the field of view. The camera should sit close to seated eye level, usually above or below the main display. Avoid placing participants directly in front of bright windows.
Map microphone pickup against the seating plan. Glass walls, hard tables, bare concrete, and high ceilings can make voices sound distant or hollow. Keep microphones away from speaker output, avoid placing the only microphone at one end of a long table, and plan expansion microphones for long or wide seating areas. Treat ceiling microphones and DSP-based audio as room-dependent, not default requirements.
Confirm Network, Power, and Cable Routes
A wired network connection is the safer default for the main Zoom Room computer or appliance. Before installation day, confirm the network port, controller communication, firewall access, power outlets, cable lengths, and cable routes.
Review Zoom's current network firewall and proxy guidance and Zoom Rooms firewall configuration with your network team. If the room computer and controller are on different VLANs or restricted subnets, confirm local communication before installation.
Prepare Licensing, Admin Access, and Calendar Resources
Make sure someone can access the Zoom web portal with permission to create or manage the room. Confirm the Zoom Rooms license, room name, location hierarchy, and the calendar resource that will represent the physical room.
Assign clear owners: IT manages the Zoom account, network, operating system, and updates; facilities handles mounting, power, furniture, and cable routes; the calendar administrator manages Google or Microsoft room resources; procurement confirms warranty, support, spare parts, and replacement terms.
Choose the Right Zoom Room Equipment
A basic Zoom Room equipment list is simple, but the right version of each component depends on the room. Use Zoom's current hardware and system requirements as reference points, then verify the exact model and firmware before purchase.
Required, Optional, and Room-Dependent Equipment
Category
Equipment
What it does
Selection notes
Required
Display
Shows remote participants and shared content
Match size and resolution to viewing distance; use two displays only when the workflow justifies it.
Required
Compute device or appliance
Runs the Zoom Rooms system
Use a supported Windows or macOS device, or a purpose-built appliance.
Required
Camera
Captures the room for remote participants
Choose field of view, zoom, and mounting position based on seating.
Required
Microphone
Captures voices in the room
Pickup range must match the table and seating layout.
Required
Speakers
Play remote audio into the room
Coverage and volume should match room size without causing echo.
Required
Controller
Starts meetings and controls audio, video, and sharing
Usually a supported tablet or touch console paired with the room system.
Required
Network
Connects the room to Zoom and calendar services
Prefer wired Ethernet for the main room device; confirm firewall rules.
Required
Cables and mounts
Connect and secure the system
Include HDMI, USB, Ethernet, power, cable channels, and mounting hardware.
Required
Zoom Rooms license
Activates the managed room
Confirm licensing before final configuration and user acceptance testing.
Optional
Scheduling display
Shows room availability outside the room
Useful for busy offices with shared meeting spaces.
Optional
Second display
Separates people and content
Helpful in medium and large rooms with frequent content sharing.
Optional
Whiteboard camera
Shares a physical whiteboard
Best for rooms that still rely on analog whiteboards.
Optional
Digital signage
Uses idle displays for room or company content
Useful when displays sit unused between meetings.
Room-dependent
PTZ camera
Frames participants in longer rooms
Useful when a fixed wide-angle camera makes distant faces too small.
Room-dependent
Expansion microphones
Extends audio pickup
Consider for long tables, large rooms, or difficult seating layouts.
Room-dependent
Ceiling microphone or DSP
Supports advanced audio designs
Best planned with an AV professional.
Room-dependent
Extra speakers
Improves coverage in larger rooms
Match placement to seating and avoid feedback paths.
As of August 2026, Zoom's system requirements page lists Windows 11 and macOS 12 or higher for current Zoom Rooms deployments, with more demanding specifications for advanced video layouts and multi-camera workflows. Recheck that page before purchasing a computer because operating system and processor requirements can change.
Match Equipment to Room Size
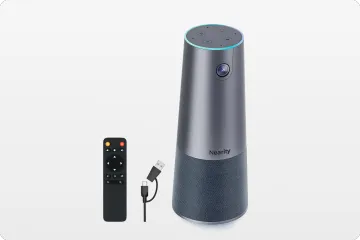
For a small room or huddle space, prioritize simplicity. A wide-angle camera, integrated microphone and speaker, one display, and a compact controller are often enough. The biggest risks are blocked camera views, poor lighting, and a table placed too far from the display.
For a medium meeting room, audio coverage becomes more important. A camera that covers the table may still leave people at the far end sounding distant. Check whether the microphone system supports expansion pods, and consider a second display if participants frequently view remote attendees and shared content at the same time.
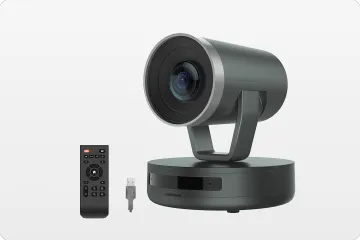
For a large room or boardroom, plan the system like an AV deployment rather than a desktop setup. You may need a PTZ camera, multiple microphones, stronger speakers, dual displays, acoustic treatment, and formal cable documentation. Test from the farthest and most acoustically difficult seat—not just from the chair nearest the microphone.
Compare Compatibility, Installation, and Maintenance
Do not compare equipment only by list price. A lower-cost kit can become more expensive if it needs extra cabling, a separate compute device, additional mounting hardware, or repeated IT visits. For each option, check the operating system, available ports, controller workflow, firmware update process, warranty, replacement path, and whether the room team can recover the system without specialist help.
Also check how the equipment behaves after a restart. The correct camera, microphone, speaker, display input, and controller connection should come back without manual reconfiguration. That operational detail matters more in daily use than a long feature list.
Traditional Multi-Device Setup vs. All-in-One Setup
A traditional multi-device Zoom Room uses separate components: display, computer, camera, microphone, speakers, controller, and cables. It is flexible and easy to upgrade one component at a time, but every separate device adds another cable, driver, power supply, firmware version, and possible point of failure.
An all-in-one Zoom Room setup combines several functions into one device. That can reduce cabling, shorten installation, and make routine maintenance easier. For a broader collaboration comparison, see NearHub's guide to smart board vs. traditional whiteboard. For this article, the practical decision is simple: choose the architecture that fits the room without adding unnecessary deployment or support work.
If the room must also support BYOD, treat it as an additional sharing workflow rather than a substitute for the native Zoom Room controller and calendar experience. NearHub's wireless meeting room solutions guide covers related sharing and cabling considerations.
Where NearHub Board Max Fits in a Zoom Room Setup
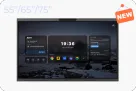
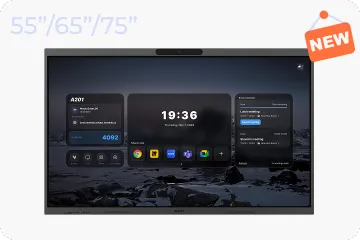
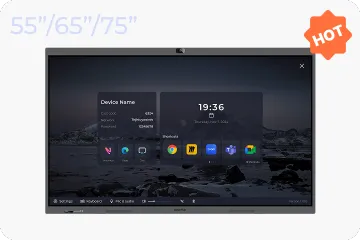
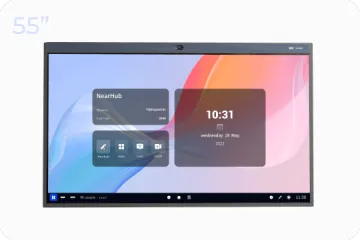
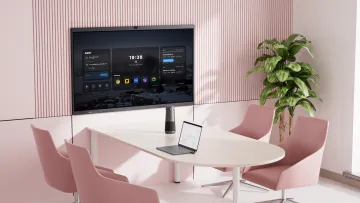
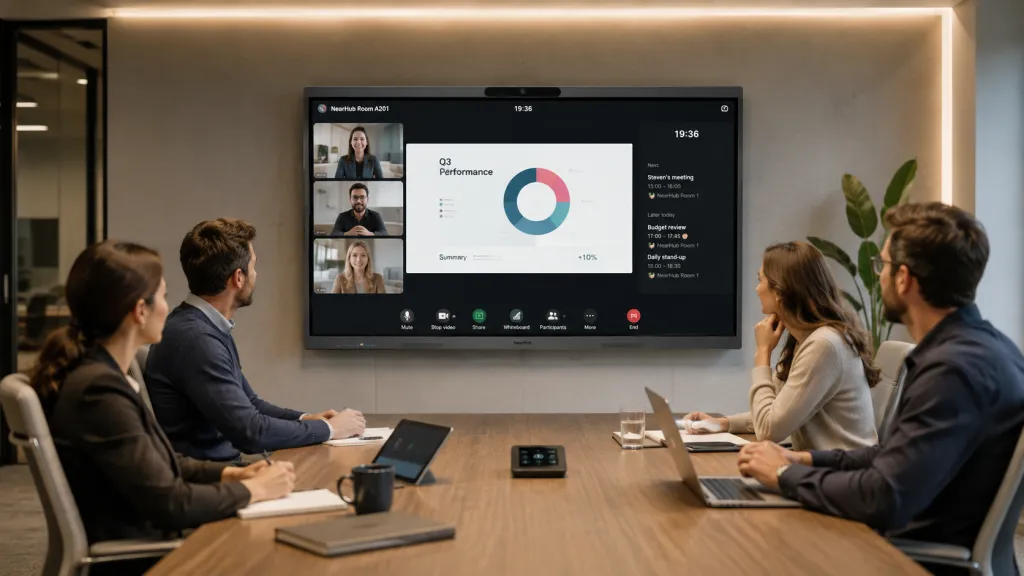
NearHub Board Max is best positioned as Windows-based all-in-one room hardware that consolidates display, camera, microphones, speakers, touch, and computing. The value is that one integrated device can replace several separate pieces of room equipment when its capabilities match the space.
According to NearHub's product page, Board Max runs Windows 11 Pro on an Intel Core i5, includes native Zoom and Teams access, supports 1080p meetings, and provides an AI Gallery View camera with a 130-degree field of view. The product page also lists an 8-microphone array, integrated front-facing speakers, touch support, and 55-, 65-, and 75-inch size options.
That combination can shorten the hardware chain. Instead of sourcing a display, computer, camera, microphone array, and speakers separately, you can start with one integrated unit and add only the controller, network, mounting, or room-specific accessories required by your deployment.
Board Max makes the most sense when the priority is a clean, consolidated room system with touch collaboration and a Windows computing platform. For a large or acoustically complex room, treat it as the core display and collaboration device, then evaluate whether the space still needs external microphones, speakers, cameras, or a separate controller workflow.
You still need to confirm the board size against the room, check camera coverage, test microphone pickup from real seating positions, verify current Zoom Rooms requirements, and decide how users will control meetings. The benefit is fewer separate components to install and maintain—not an exemption from planning or testing.
Install the Zoom Room Hardware
Once the room plan and equipment list are approved, install the physical system before configuring software. This Zoom Room installation sequence prevents Zoom settings from being changed when the real problem is a cable, input, or network issue.
Mount the Display and Camera
Mark the display position, then check wall construction, mounting hardware, cable access, and final height. For a mobile stand, confirm that it is stable, lockable, and positioned so cables do not create a trip hazard.
Mount the camera near the primary display and align it with the seating area. View the camera output from the farthest and widest seats. For a touch display or smart board, confirm that users can write or tap controls without stretching.
Connect the Compute Device and Controller
Install the room computer, appliance, or integrated computing module in a secure but serviceable location. Do not seal it behind a display where IT cannot reach the power button, ports, or cables.
Place the controller where users naturally expect it, usually on the table near the front seats or mounted near the room entrance. Keep it powered, networked, and accessible. Keep a keyboard and mouse available during setup, even if they will not remain in the room.
Connect Audio, Video, Network, and Power
Connect the system in this order:
Connect the display to the room computer or appliance.
Connect the camera and confirm the correct input or USB port.
Connect the microphone and speaker system.
Connect the controller to power and the network.
Connect the main room device to wired Ethernet.
Connect power last, then boot the system.
Label both ends of every cable that may need service later.
Use the correct display input and disable unnecessary display processing that could add delay. If the display has multiple HDMI inputs, rename the active input so a non-technical user can recover it after someone changes sources.
Reduce Installation Problems Before Software Setup
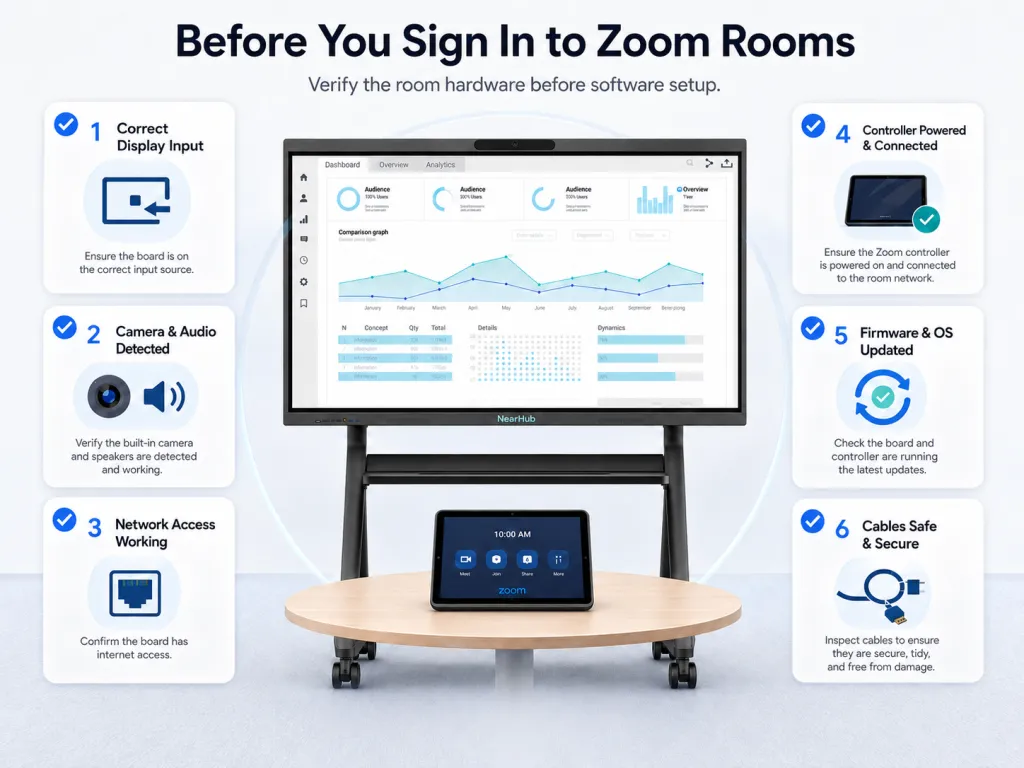
Before signing in to Zoom Rooms, confirm that the display selects the correct input, the operating system detects the camera and audio devices, network access works, the controller has power and connectivity, firmware and operating system updates are complete, and no cable is pinched or stretched.
Install and Configure Zoom Rooms
With the hardware stable, move to the operating system and Zoom Rooms software. Zoom's current quick start documentation covers the core installation and pairing flow.
Prepare the Operating System
Update Windows or macOS before installing the room application. Configure the device for shared-room use rather than personal desktop use.
For Windows, review automatic sign-in or the approved room account, sleep and power behavior, update timing, camera and microphone permissions, display scaling, kiosk requirements, and security software. For macOS, review the equivalent privacy, power, login, and update settings. Avoid leaving the room dependent on a personal user profile.
Install the Zoom Rooms Application
Download and install the Zoom Rooms application on the room computer or supported appliance. Install the Zoom Rooms controller application on the controller device if your hardware uses a separate controller.
Keep the roles clear: the Zoom Rooms application runs the room system, the controller provides the touch interface, and the Zoom desktop app remains a personal meeting client. Use current installers from Zoom.
Sign In or Activate the Room
Open the Zoom Rooms application on the room computer. It should generate a pairing code for the controller. Open the controller app and enter that code when prompted.
After pairing, sign in from the controller using an administrator account or an activation code. Select the correct existing room or add a new room. In accounts with many rooms, choosing the wrong room name can bind the hardware to the wrong location or calendar resource.
Pair the Controller and Select Default Devices
Once the controller is paired, open the room settings and select the actual camera, microphone, speaker, and default volume installed in the room.
Do not rely on generic names alone. A system may show several similar devices, especially when a display, camera bar, smart board, and speakerphone all expose audio endpoints. Test each selection and label it in your deployment notes.
Then check the controller workflow from the user's perspective. Can someone start a meeting, join with a meeting ID, mute the room, adjust volume, and share content without seeing a desktop settings screen? If not, simplify the environment before go-live.
Connect the Zoom Room Account and Calendar
Zoom Room calendar integration turns a working video system into a practical meeting room. Without it, users may need to type meeting IDs manually. With it, the controller can show upcoming meetings and support one-touch join.
Add the Room in the Zoom Web Portal
Sign in to the Zoom web portal as an administrator. Under Room Management, create or locate the Zoom Room and confirm its name, location, license, and settings.
Use a naming convention that matches the physical office, such as building, floor, and room name. Assign the correct calendar resource after the calendar service is connected. Do not assume that a room name and a calendar resource with similar names are automatically linked.
Connect Google or Microsoft Calendar
For Google Workspace, create or confirm the room resource calendar, authorize the calendar service in Zoom, and assign the resource to the Zoom Room. Zoom's current Google scheduling guidance shows how users can create an event, make it a Zoom meeting, add the room, and then start it from the controller.
For Microsoft 365, Zoom's current technical guidance recommends Microsoft Graph API with Application Permissions for the calendar connection and treats older Exchange Web Services methods as legacy options. Review Zoom's Microsoft 365 calendaring documentation before choosing the permission model.
Enable One-Touch Join and Room Scheduling
Create a real meeting from a normal user account. Add the Zoom meeting details and invite the room resource. Wait for the event to appear on the controller, then check whether the Start or Join button appears.
Test a current meeting, a future meeting, a private meeting, a room reservation without Zoom details, a recurring meeting, and a meeting updated after the room was invited. If you use a scheduling display, confirm that it shows the same room status as the controller.
Test the Complete Zoom Room Workflow
A device-level test is not enough. The room is ready only when a normal user can schedule, enter, join, present, and leave without calling IT.
Run a Full Test Meeting
Start a test meeting from the controller and ask at least one remote participant to join from another network.
Verify camera framing, microphone pickup from different seats, remote audio, echo, video stability, mute controls, and device recovery after a restart. Then test every sharing method the room will support, including wireless sharing, HDMI, or browser-based casting.
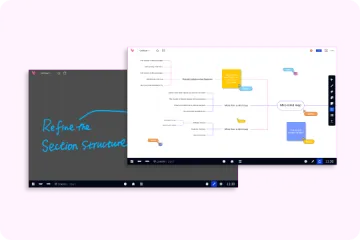
If the room includes touch or whiteboarding, confirm that users can write, share content, return to meeting controls, and end sharing without reconnecting devices.
Zoom also provides a limited-functionality room test before full licensing. Use it for early audio and video checks, but perform final acceptance on the licensed room so calendar, sharing, and normal meeting controls are included.
Test Calendar and Scheduling From a Real User Account
Use a standard employee account to schedule a meeting, invite the room, confirm that it appears on the controller, and test one-touch join.
Then modify, cancel, or mark the meeting private and confirm that the controller and scheduling display update correctly.
Document the Final Room Settings
Before handoff, record the room name, license, room computer or appliance, controller, selected AV devices, calendar resource, software and firmware versions, network connection, admin owner, and basic recovery steps.
A simple room record makes future troubleshooting and hardware replacement much easier.
Troubleshoot Common Zoom Room Setup Problems
Start with the physical layer, then the operating system, then Zoom settings, then calendar permissions.
Problem
Likely cause
What to check first
Controller will not pair
Network mismatch, blocked local traffic, or wrong code
Confirm network connectivity and generate a fresh pairing code.
Camera is not detected
Loose USB connection, missing permission, or wrong selection
Check the cable, OS device list, privacy permission, and Zoom Rooms setting.
Microphone is not detected
Wrong port, driver issue, or another device selected
Verify it at the OS level, then select it in the controller settings.
Remote participants hear echo
Speaker output is being picked up by the microphone
Lower volume, separate audio devices, and enable manufacturer echo controls.
Voices sound distant
Microphone pickup does not cover the seating area
Test from the farthest seat, reposition the microphone, or add expansion microphones.
Video is unstable
Network congestion, Wi-Fi interference, firewall issue, or device load
Use wired Ethernet, review Zoom network requirements, and check CPU and network usage.
Calendar meetings do not appear
Authorization or room-resource assignment is incomplete
Check calendar integration, resource assignment, permissions, and sync status.
One-touch join is missing
The event lacks Zoom meeting details
Create a new event with Zoom meeting information and invite the room resource.
Content sharing fails
Discovery is blocked, input is wrong, or sharing is restricted
Test wired and wireless sharing, display input, firewall, and account settings.
Room appears offline
Device is asleep, signed out, disconnected, or blocked
Check power settings, network status, sign-in state, and admin portal alerts.
Default devices change after restart
USB enumeration changed or another device claimed the default role
Use documented ports, update firmware, and reselect the correct devices.
Display shows the wrong source
Input was changed or display memory is not locked
Rename the correct input, set it as default, and document the recovery step.
If the issue appears only after an update, check release notes, firmware versions, operating system permissions, and whether the selected default devices changed before replacing hardware.
Final Zoom Room Setup Checklist
Use this checklist as the go-live gate. The room should pass every item before you announce it to employees.
Physical Installation
[ ] Display or smart board is securely mounted or placed on a stable stand.
[ ] Camera covers all regular seats.
[ ] Controller is powered, reachable, and secured.
[ ] Cables are connected, hidden, strain-relieved, and labeled.
[ ] Network and power connections are stable.
[ ] No cable creates a trip hazard.
Zoom Rooms Configuration
[ ] Correct Zoom Room name and location are selected.
[ ] Zoom Rooms license is active.
[ ] Controller is paired with the correct room system.
[ ] Default camera, microphone, and speaker are selected.
[ ] Default volume is appropriate for the room.
[ ] Sleep, update, security, and kiosk settings are configured.
[ ] The room remains signed in after a restart.
Calendar and Scheduling
[ ] Calendar service is authorized.
[ ] Correct room resource is assigned.
[ ] A real user can invite the room.
[ ] Meetings appear on the controller.
[ ] One-touch join works.
[ ] Private meetings display the expected level of detail.
[ ] Scheduling display, if used, shows the correct room status.
User Acceptance Testing
[ ] A complete test meeting passes with a remote participant.
[ ] Audio is clear from the farthest regular seat.
[ ] Camera framing works from all seating positions.
[ ] Content sharing works through every supported method.
[ ] Touch or whiteboard workflows work, if included.
[ ] Calendar changes sync correctly.
[ ] A non-technical user can join without instructions from IT.
[ ] IT has documented the final settings and support owner.
Put Your Zoom Room Into Daily Use
The best Zoom Room setup is the one employees do not have to think about. They should be able to book the room, walk in, see the meeting on the controller, tap once, share content, and be heard clearly from every seat.
Keep the sequence disciplined: plan the room, choose equipment for the space, install carefully, configure the correct room account, connect the calendar, and test with real users. If you want fewer separate devices and cables, evaluate an all-in-one Windows-based option such as NearHub Board Max alongside traditional room kits. After go-live, review microphone placement, default volume, camera framing, and user instructions during the first few weeks.
Frequently Asked Questions
What equipment do I need for a Zoom Room setup?
A basic setup needs a display, supported room computer or appliance, camera, microphone, speakers, controller, network access, cables or mounts, and a Zoom Rooms license. Larger rooms may also need expansion microphones, stronger speakers, a PTZ camera, or professional audio equipment.
What is the difference between Zoom Rooms and the Zoom desktop app?
The Zoom desktop app is for an individual joining from a personal device. Zoom Rooms is a shared room system with dedicated AV hardware, a controller, central management, and optional calendar integration.
Do I need a separate Zoom Room Controller?
Most traditional deployments use a separate supported tablet or touch console. Some integrated systems change the control workflow, so verify how the selected hardware handles room control before removing the separate controller from the plan.
Can I use an all-in-one smart board for a Zoom Room?
Yes, if the board provides the required computing platform, display, camera, microphones, speakers, touch support, and network connectivity. You still need to verify Zoom Rooms requirements, configure default devices, connect the calendar, and test from real seating positions.
Why is my Zoom Room calendar not showing meetings?
Confirm that the calendar service is authorized, the room resource is assigned, and the resource has the required permissions. Then create a real test event, add Zoom meeting details, and invite the room.