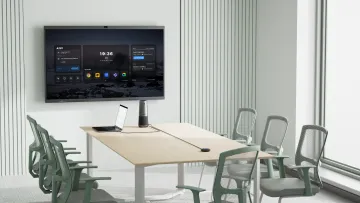
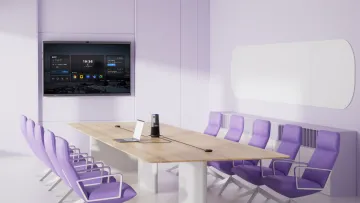
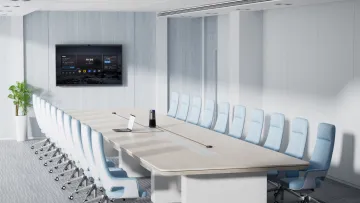
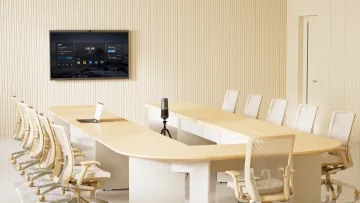
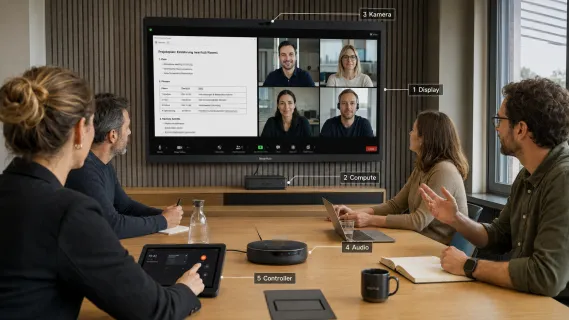
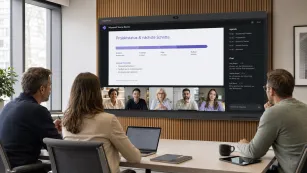
It's 9:58 AM, eight executives are seated, and the room's "Join" button is nowhere — because the touch controller lost its network lease overnight. Two minutes of cable-checking later, someone opens the laptop backup plan, and the meeting starts seven minutes late with a webcam pointed at nobody. That scene is why Zoom Rooms hardware decisions matter: a Zoom Room succeeds or fails at the room level — controller, network, mic distance, camera height — long before software features enter the picture.
This guide covers what Zoom Rooms certification actually means, how to choose hardware by room size, when an interactive display beats a plain screen, how to replace aging Logitech or Yealink gear, and a step-by-step setup process with the mistakes that cause 90% of day-one failures.
Zoom Rooms Certification — What It Means
Zoom Rooms certification is a lab-testing program: Zoom and third-party labs verify that a device works correctly with Zoom Rooms software, then list it in the certified hardware directory. Certification buys you predictable compatibility and a support path — not inherently better optics or acoustics.
The certification landscape splits Zoom Rooms hardware into three architectures:
- Appliance (Zoom Rooms on Android or dedicated OS): an all-in-one bar or board that boots directly into the Zoom Rooms app. Fastest to deploy, least flexible.
- Windows or Mac compute: Zoom Rooms runs as an application on a room PC. More setup work, full operating-system control.
- BYOD / peripheral mode: the room provides certified USB camera, mic, and speaker; the meeting runs on the user's laptop. Cheapest entry, weakest "room" experience.
Why does this matter? Because the architecture decides your failure modes. On an appliance, one firmware update touches camera, audio, and app together — great when it works, a full-room outage when it doesn't. On Windows compute, updates decouple: a bad Zoom update never takes down the display or the whiteboard. Neither is wrong; they're different risk profiles, and the multi-platform hardware decision guide breaks down the trade-off matrix across all four major platforms.
One practical rule: treat the touch controller as mandatory. One-touch calendar join — tap once, meeting starts — depends on a certified controller in standard deployments. Skip it, and every meeting begins with someone hunting for a meeting ID.
Hardware by Room Size
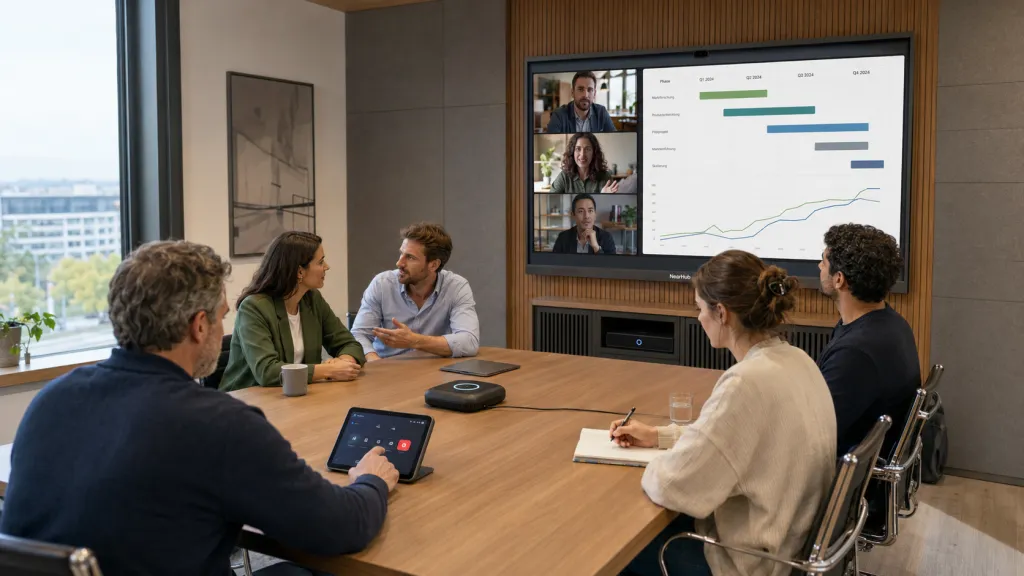
Room size changes the physics — how far participants sit from the mic, how much wall the camera must cover, how large the display must be for the farthest seat. Choose by physics first, brand second.
Huddle rooms (2–4 people)
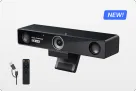
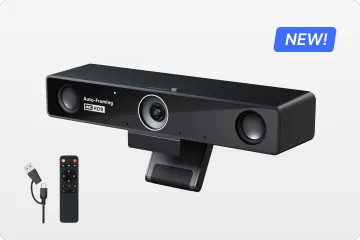
Everyone sits close to the front of the room, so prioritize a wide field of view over zoom capability. An all-in-one Zoom video bar mounted at eye level below the display is the classic answer; a center-of-table 360° camera is the better answer when the room's conversation matters more than its presentations — remote participants see whoever is speaking instead of a frozen wide shot of four tiny faces. The mistake most people make in huddle rooms: buying PTZ zoom they'll never use while under-buying microphone pickup.
Small rooms (4–6 people)
The far end of the table now sits beyond comfortable single-mic range. You need either a bar with a genuinely rated pickup range for the room length, or an expansion mic. Display size moves to the 55–65" class so shared content stays legible at the far seat. This is also the smallest room where an interactive display starts paying for itself — four to six people is exactly the group size that crowds around a whiteboard.
Medium rooms (6–12 people)
Audio becomes the hardest problem, not video. A front-of-room bar alone will make far-end participants sound distant and hollow; plan table mics, ceiling arrays, or an expansion-mic ecosystem. Camera height discipline matters here: mount at eye level to seated participants, centered on the main seating block — a camera perched atop an 86" display films the tops of heads and kills eye contact for remote attendees.
Large rooms (12+)
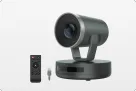
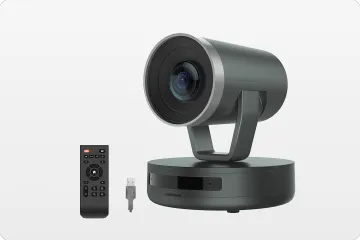
You're in modular territory: PTZ or multi-lens cameras, distributed mics, often dual displays (content on one, remote faces on the other). At this scale, installation labor rivals hardware cost, so standardize the design once and replicate it — one-off large rooms are the most expensive rooms to support in any fleet.

All-in-One Zoom Rooms vs Modular Builds
Once room size sets the physics, one architectural question remains: consolidate or separate? An all-in-one Zoom Rooms device folds camera, mics, speakers, and compute into the display or a single bar; a modular build pairs a room compute (or the Zoom native app on Windows) with separate certified peripherals.
If your priority is deployment speed and fleet uniformity — ten identical small rooms, one afternoon each — the all-in-one wins, and it isn't close. If your priority is repairability and growth — rooms that will add mics next year, cameras you might upgrade independently — modular wins, because every component swaps without touching the others.
The trade-off most buyers miss is the upgrade asymmetry: camera technology improves far faster than display technology. In an all-in-one, the camera and the panel age together, so a breakthrough in camera AI in 2028 means replacing a perfectly good display. In a modular build, you swap a peripheral and keep everything else. If you expect the room to live beyond five years, price that asymmetry in; if you refresh hardware on a three-year cycle anyway, consolidation's simplicity costs you nothing.
Zoom Rooms Displays & Interactive Whiteboards
The display is the one component every participant looks at for the entire meeting, yet it's routinely the last thing budgeted. Three questions decide it:
- Is it big enough for the farthest seat? A display that looks "huge" on an empty wall shrinks once twelve people fill the room. Size for legible content at maximum distance, not for aesthetics.
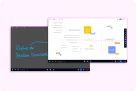
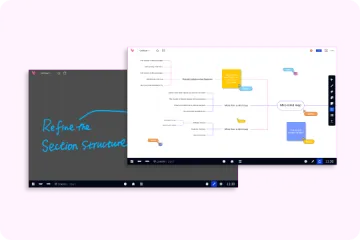
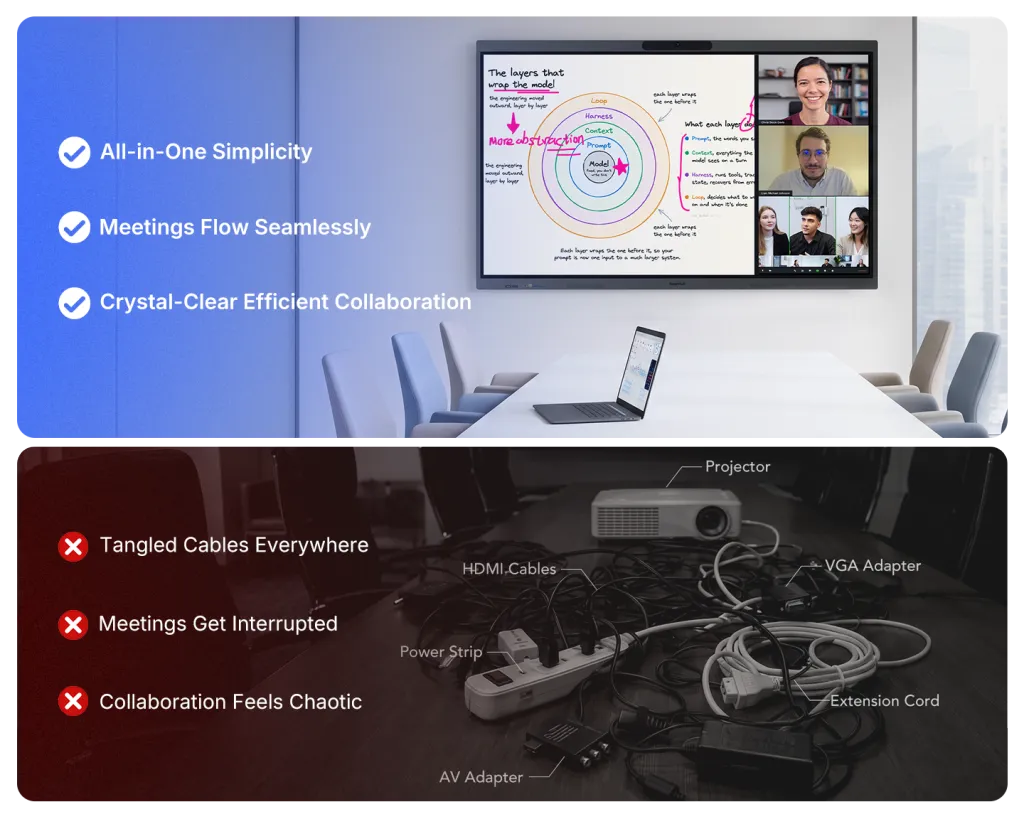
- Does the room whiteboard? If yes, a Zoom Rooms interactive display changes the meeting's character. Zoom Whiteboard on a non-touch screen means one person drives from a laptop while everyone watches; on a touch display, people stand up and contribute. The difference isn't convenience — it's whether the whiteboard habit survives contact with remote participants.
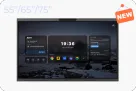
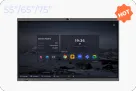
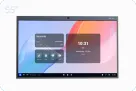
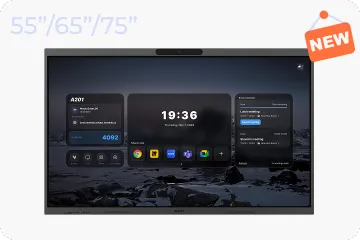
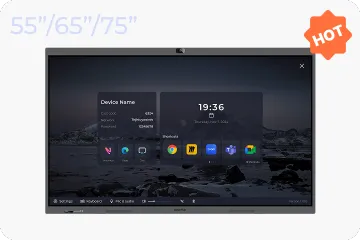
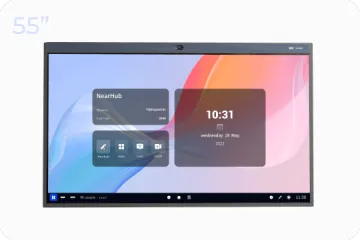
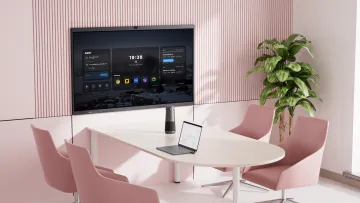
- Does it need to do more than Zoom? If the room also hosts Teams calls with clients, Webex webinars, or walk-up web apps, a Windows-based interactive board keeps every option native. A board like the NearHub Board S Max — a Windows 11 Pro smart board with native Zoom and Teams runs the full Zoom desktop app at 1080p, doubles as the room's Zoom Rooms whiteboard surface with its built-in canvas, and still casts laptops over HDMI, AirPlay, or browser-based web casting when the meeting isn't a call at all. Its AI Gallery View camera, with a 130° field of view, covers small-to-medium rooms without a separate bar — one power cable instead of a bar, a display, and a compute box.
A useful mental model: a plain display shows meetings; an interactive display participates in them. If your rooms produce decisions, diagrams, and action items — not just discussions — the second category is worth the premium.

Replacing Existing Hardware (Logitech, Yealink Alternatives)
Most Zoom Rooms hardware purchases aren't greenfield — they're replacements. A Logitech Rally Bar from a few years ago, a Yealink MeetingBoard that never got adopted, a first-gen appliance approaching end of support. Before swapping like-for-like, ask why the old gear is leaving:
- If it's end of life or support: any current certified appliance solves that. But note what else the room lacked — if people kept whiteboarding on flip charts next to a premium video bar, the replacement should add touch.
- If it's platform drift: the company now runs Teams too. Some appliances re-image between platforms; others are single-platform forever. A Windows-based replacement ends the question permanently.
- If it's meeting quality: resist buying a "better bar." Audio pickup range and camera placement cause most quality complaints, and both are room-design problems — new hardware mounted in the same wrong place repeats the failure.
We maintain a full decision framework — including when replacing a video bar with an interactive board beats buying another bar — in our guide to Logitech, Poly, Cisco, and Neat alternatives.
Step-by-Step Zoom Room Setup Guide
The sequence below works for appliance and Windows-compute rooms alike. Each step includes the mistake that most often breaks it.
Step 1: Design the room on paper before unboxing
Mark the camera position (eye level, centered), mic coverage zones (every seat within the rated pickup range), display sightlines (farthest seat can read shared content), and cable paths. The mistake most people make at this step: designing around the wall that has power, instead of the wall that faces the seats. Extending power is cheap; a sideways camera is forever.
Step 2: Wire the network first
Give the room system a wired Ethernet connection with a stable DHCP reservation or static IP, and confirm the ports Zoom requires are open through the firewall. The mistake: assuming Wi-Fi is "good enough for a test" and never revisiting it. Controller dropouts — the vanishing Join button from our opening scene — are almost always network lease issues, and they surface weeks later, never on install day.
Step 3: Connect calendar and accounts before mounting anything
Sign in the room's resource account, bind the calendar, and verify one-touch join shows real meetings. The mistake: mounting and cabling everything first, then discovering a calendar permission problem that requires the room admin, who is on vacation. Software-first sequencing means hardware problems and account problems never masquerade as each other.
Step 4: Mount camera at eye level, then place mics by coverage map
Camera lens at seated eye height, centered on the seating block; mics positioned so every seat falls inside the rated pickup radius, away from HVAC vents and projector fans. The mistake: mounting the camera on top of the largest available display. A 75" screen puts the lens a foot above eye level, and remote participants spend every meeting looking up people's noses.
Step 5: Run a worst-case test meeting, not a best-case one
Invite a remote participant, sit at the farthest seat, speak at normal volume, share content, and whiteboard simultaneously. The mistake: testing with two people standing next to the bar and declaring victory. Every weakness in a Zoom Room hides at the edges — the far seat, the soft voice, the simultaneous share. If the far seat can't be heard clearly, add or reposition mics now; "we'll fix it later" is how rooms earn their nobody-books-it reputation.
Step 6: Lock in a maintenance owner
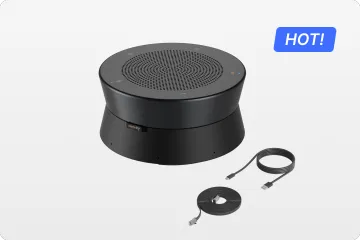
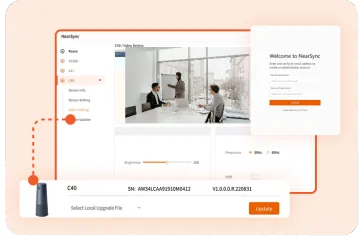
Assign who approves firmware updates, who checks the room monthly, and how users report problems. The mistake: letting auto-updates run unowned. One unvetted firmware push can alter camera behavior or break a peripheral pairing the morning of the board meeting. Test updates on one room before fleet-wide rollout — a discipline the Nearity 360 Alien takes seriously enough to make updates manually initiated only, and worth copying as policy whatever hardware you choose.

Frequently Asked Questions
What hardware do I need for a Zoom Room?
Five building blocks: a display sized for the farthest seat; a camera with a field of view matched to the room width; microphones and speakers with rated pickup for the room length; a compute layer (appliance, or Windows/Mac running Zoom Rooms); and a certified touch controller for one-touch join. Add a touch display if the room whiteboards — it transforms Zoom Whiteboard from a watched feature into a used one.
Does Zoom Rooms require certified hardware?
Strictly, no — Zoom Rooms software recognizes many standard USB peripherals, and plenty of rooms run uncertified cameras without issue. But certification is your support contract: lab-tested compatibility, validated updates, and a vendor who can't blame the other guy. The one near-mandatory certified item is the touch controller, since one-touch calendar join depends on it in standard deployments.
Can I use an interactive whiteboard as a Zoom Rooms display?
Yes — it's arguably the best Zoom Rooms display category. A touch board makes whiteboarding a physical, walk-up activity again, and Windows-based boards run the complete Zoom desktop experience: meetings, whiteboard sharing, and any other app the room needs. The trade-off is weight and installation effort versus a plain panel, so confirm the wall and mount rating first.
What replaces a Logitech Rally Bar or Yealink MeetingBoard in a Zoom Room?
Three legitimate paths. Replace with a current-generation appliance bar if the room's job hasn't changed and you want the same operational model. Move to a modular Windows build with certified USB peripherals if you want repairability and platform flexibility. Or consolidate onto a Windows-based interactive board if the room should also whiteboard and present — this removes the bar entirely and folds display, compute, and touch into one device. Diagnose why the old gear failed before choosing; the answer picks the path for you.
How long does a Zoom Room take to set up?
A huddle room with an all-in-one appliance: under an hour if the network is ready. A small-to-medium room with an interactive board, controller, and calendar integration: plan a half day including a worst-case test call. Large modular rooms: a full day or more, plus acoustic tuning. Notice the pattern — physical installation is fast; network policy, calendar permissions, and audio tuning consume the calendar. Sequence software before hardware and you'll finish on the same day you start.
Your next step: sketch your room on paper — camera at eye level, mic coverage over every seat, display sized for the far chair — before comparing a single spec sheet. And if the room should whiteboard as well as call, see how an all-in-one Windows smart board handles Zoom, whiteboarding, and casting in one device.