Choose and place a small conference room camera by solving close-range framing, audio, display sightlines, and simple host workflows.
Technology
Hybrid Meeting
Meeting Room
Updated: Aug 19, 2026 · 8 minutes read
Global Business, Brought Near.
No Installer, No Hassle, Just Works.
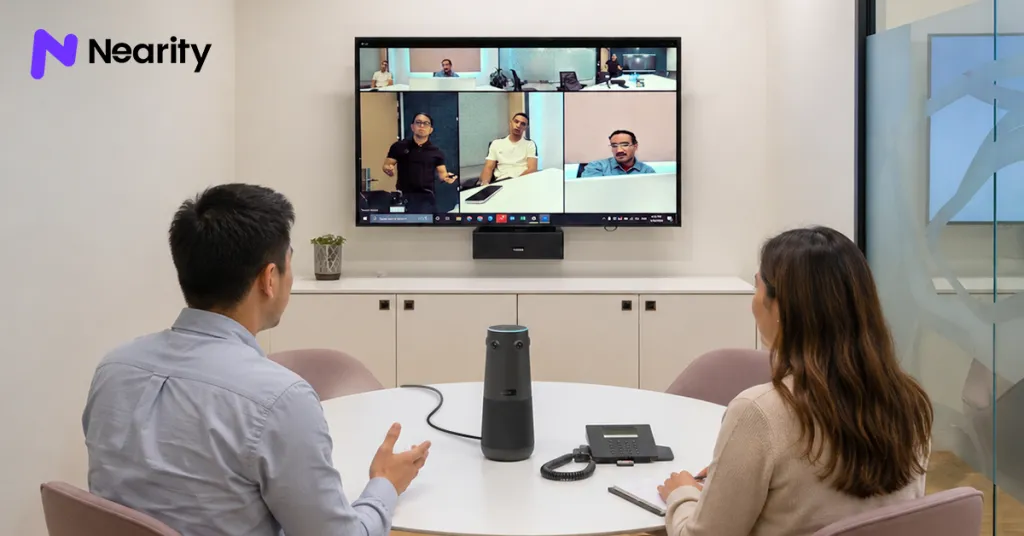
A small conference room camera is not automatically easy to choose. In a room for four to six people, everyone may sit close enough to overwhelm a front camera, block a tabletop lens with a laptop, or create harsh audio reflections. The right setup solves short-distance geometry first, then verifies framing, sound, display sightlines, and the way an ordinary host connects.
That is the counter-intuitive truth about video conferencing for small rooms: the room may need less equipment, but it does not need less planning. Proximity magnifies placement mistakes. A camera can be wide enough to include every chair and still make the meeting feel distant, distorted, or visually cluttered.
This guide helps you choose between a front-facing camera and a table-centered 360-degree design, test the room before installation, and recognize when a compact setup is genuinely simpler rather than merely smaller.
Why Can a Small Meeting Room Be Harder Than It Looks?
A small meeting room concentrates people, furniture, light, displays, cables, and sound into a short distance. That concentration creates four problems that are easy to miss on a product specification sheet.
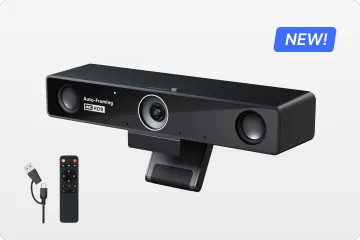
First, a camera near the end of a short table may be too close to the nearest participants and too low beneath a display. A wider lens can fit everyone, but it may also show excessive wall, stretch people near the frame edges, or make the room look more cramped. The useful question is not “How wide is the lens?” It is “Does the remote view show the right amount of each person from every normal seat?”
Second, tabletop objects become meaningful obstructions. An open laptop, water bottle, tissue box, or desktop monitor can hide a face from a low central camera. In a larger room, the same object may occupy a smaller portion of the view. In a compact room, it can remove a participant entirely.
Third, hard nearby surfaces create reflections. Glass walls, bare tables, whiteboards, and low ceilings can make voices sound sharper or more reverberant even though the microphone is physically close. “Close” is not the same as “clear.”
Fourth, the host workflow is often underestimated. Small rooms are commonly used for quick, unscheduled calls. If starting the system requires finding an adapter, changing several device menus, or signing into unfamiliar room software, people will return to a laptop webcam. The room has then failed its most common use case.
The solution is to evaluate the room as one compact interaction zone. Camera, microphone, display, table, and laptop connection should support the same conversation pattern.
Start With Conversation Direction, Not Camera Features
Before comparing cameras, observe where people look and how they speak.
In a presentation-led room, most participants face the display and speak toward the front. A camera near that display creates a familiar remote perspective and supports approximate eye contact. In a peer-discussion room, participants turn toward one another around the table. A front camera sees the group, but it may show profiles and make the far-end speaker appear small. A table-centered 360-degree camera can align more closely with that conversational pattern.
Use these questions:
Is the display the visual center of most meetings?
Do participants mostly discuss with one another or listen to one presenter?
Does anyone regularly use a whiteboard beside the display?
Do people bring individual laptops and keep them open?
Does the table have clear central space and accessible power?
Are meetings scheduled, or do people walk in for immediate calls?
Must the room work across Zoom, Microsoft Teams, Google Meet, and Webex?
Do not answer from the empty room. Watch or simulate a normal meeting. People frequently move chairs, turn toward the display, place laptops in the center, or stand at a whiteboard in ways that a floor plan does not predict.
If the room has two equally common behaviors, choose the default view for the more important one and establish a second mode or position for the other. A default that is excellent for discussion and acceptable for presentation is usually better than a compromise that is mediocre for both.
For the full planning sequence beyond a compact room, use the conference room setup checklist. It starts with meeting behavior and carries the decision through infrastructure and testing.
Front Camera or 360-Degree Camera: Which Geometry Fits?
Both designs can work in a small room. The better choice depends on where attention originates and how the table is used.
Decision factor
Front-facing camera
Table-centered 360-degree camera
Best natural fit
Presentation and display-led meetings
Peer discussion around a shared table
Remote perspective
Everyone viewed from the display direction
Conversation viewed from within the group
Eye-line advantage
Strong when mounted close to the display
Stronger awareness of the active table speaker
Main placement risk
Too close, too high, or too low at the table end
Blocked by laptops, bottles, or clutter
Cable consideration
Cable route to display or room computer
Power/USB route to the table center
View trade-off
Wide view may include excess wall or edge distortion
Central view may feel unusual for presentation-led calls
Expansion path
Often depends on separate room audio
May integrate camera, microphones, and speaker
The table is the deciding constraint more often than the square footage. A narrow table with no center power may favor a front device. A round or square discussion table can favor central coverage. A rectangular table used mainly for slide review may still be better served from the display end.
There is no need to treat “360 degrees” as automatically better or worse. It changes the origin of the remote view. If the conversation moves around the table, that origin can reduce blind directions. If everyone watches a presenter at the front, a conventional front view may communicate the meeting more naturally.
The right comparison is a remote-side comparison. Temporarily place each candidate position, put people in the nearest and farthest seats, and record or join from another room. A local preview does not reveal whether faces are large enough on a normal remote display or whether the switching view feels coherent.
Use First Principles to Size the View
Camera selection for a 4–6 person meeting room can be reduced to three visual requirements:
Inclusion: every normal seat remains visible.
Recognition: faces are large and clear enough for expressions to carry.
Context: the view shows enough room to understand who is speaking without wasting most of the frame on walls and furniture.
Start with the occupied seats. Mark the nearest face, farthest face, and widest side seat. Then test the camera at the intended height. Do not use only the manufacturer’s field-of-view number, because that number does not tell you how useful the resulting composition will be.
A very wide view solves inclusion by capturing more of the room. But every additional degree allocates part of the image to something. If the extra area is blank wall, the people become smaller. If the closest participant sits at the extreme edge, facial proportions may be less natural. If the camera is low, the table can dominate the foreground.
This produces a practical rule: use no more view than the occupied geometry requires. Automated framing or discussion modes may help the system present a more useful composition, but the base placement still matters.
Height deserves the same empirical treatment. A front camera close to seated eye level can create better eye contact, yet it must not block the display or sit behind a laptop. A center-table camera must see over ordinary objects without looking down steeply on participants. There is no universal mounting measurement that overrides the actual furniture.
Test the small room while it looks the way it will during a real call:
Open the laptops people normally use.
Put chairs in their normal, not showroom, positions.
Turn on the display and typical ceiling lights.
Write on the whiteboard if it is part of the meeting.
Close the door and blinds as users normally would.
Ask people to lean back, turn, and speak to one another.
If the system works only when the table is empty and everyone sits perfectly still, it does not work.
Audio Is a Consistency Test, Even at Short Range
Small rooms do not eliminate audio risk. They change its causes. Distance may be modest, but reflections, HVAC noise, laptop fans, and overlapping speech remain.
Evaluate audio by intelligibility rather than loudness. A voice can be loud and still be tiring to understand because it contains echo, room reflections, clipping, or aggressive level changes. The remote listener should be able to follow a quiet speaker without turning up the volume and then being startled by the person nearest the microphone.
Run a four-part test:
Ask the quietest likely participant to speak from the farthest normal seat.
Ask two people to exchange short comments naturally rather than taking formal turns.
play remote audio through the room speaker and confirm that speech remains clear in both directions.
Add typical noise, such as air conditioning and laptop use, then repeat.
Listen from a separate space through the meeting platform. Standing in the room cannot tell you what processing, echo cancellation, device selection, or network transmission does to the remote signal.
An expansion microphone is not a default purchase for a small room. Add one only if the occupied-room test reveals a repeatable weak area that placement cannot correct. Extra audio hardware can solve coverage, but it also adds a cable, a table location, and another component to support.
Acoustic improvements can be more valuable than another device. Soft furnishings, acoustic treatment, closed doors, and reducing reflective parallel surfaces may improve the signal reaching any microphone. Avoid promising that one microphone specification will defeat every glass room; the room remains part of the audio system.
Build a Host Workflow That Survives a Five-Minute Meeting
The most important operational metric for a huddle room camera is whether a first-time host can begin a call without abandoning the room system.
Write the normal workflow as a short sequence:
Enter with a laptop or use the room controller.
Connect the expected cable or wireless conferencing interface.
Open the chosen meeting platform.
Select or confirm the room camera, microphone, and speaker.
Join and share content.
Then count the exceptions. Does the host need to switch the display input? Find a USB adapter? Disable the laptop microphone to prevent echo? Pair Bluetooth? Move a cable from one side of the table to the other? Ask for admin rights? Each exception is a support risk.
For a BYOD room, platform flexibility can be more important than a platform-specific controller. For a standardized organization, a dedicated room appliance may create a more consistent start experience. The choice is not ideological. It depends on whether hosts value their own laptop workflow or a fixed room workflow.
Whichever model you choose, label the connection point, keep the instruction visible, and test a second laptop that was not used during installation. The original installer’s computer often contains saved permissions or device selections that conceal friction.
Also test recovery:
Disconnect and reconnect the room device.
Join with a different conferencing platform.
Wake the display from sleep.
Confirm which speaker and microphone the app selects.
Restart the laptop or room appliance.
Verify that an ordinary host can return to the meeting.
In a high-turnover small room, recovery matters as much as first installation.
A Practical Small-Room Decision Scorecard
Use a scorecard to prevent one attractive feature from dominating the decision. Rate each candidate from 1 to 5 after an occupied test.
Criterion
What a passing result looks like
Why it matters
Nearest-seat framing
Face looks natural and is not cropped
Short distance amplifies perspective problems
Farthest-seat framing
Expressions remain recognizable
Inclusion alone is not enough
Side-seat visibility
Normal posture stays in view
People should not perform for the camera
Quiet-speaker audio
Remote reviewer understands every sentence
Sets the real audio boundary
Overlapping speech
Conversation remains followable
Small meetings are often informal
Display sightline
No camera or participant blocks content
Prevents a hardware-layout conflict
Table usability
Laptops and notes do not block the device
Tests the room in its actual state
Start simplicity
New host joins without assistance
Predicts adoption
Platform fit
Required platforms detect all room devices
Avoids workarounds
Recovery
Host restores a disconnected device quickly
Limits support burden
Weight the categories based on room purpose. A client room may prioritize facial presentation and reliability. A daily stand-up room may prioritize speed and conversational coverage. A confidential room may require additional security or device-management review.
Do not create a score solely from brochure specifications. The score should come from the same table, lights, laptops, and network the room will use.
When a 360-Degree All-in-One Design Fits
A 360-degree all-in-one design fits when the room centers on a shared table, people speak from multiple directions, and the organization wants fewer separate camera and audio decisions. Its value is architectural: it can place the capture point near the conversation and combine functions that otherwise require coordination.
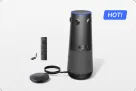
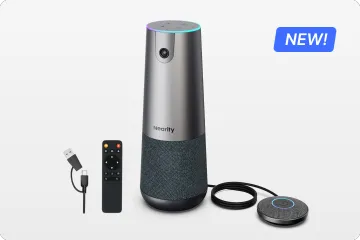
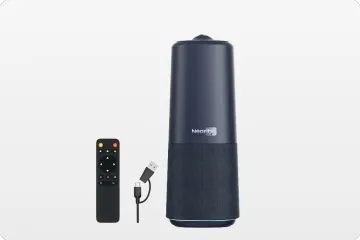
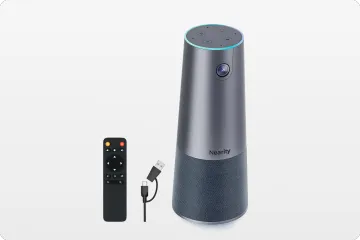
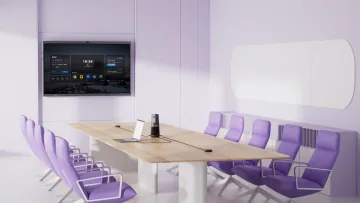
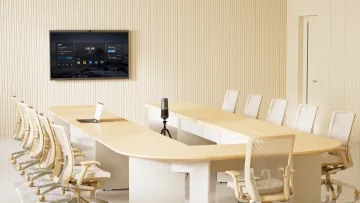
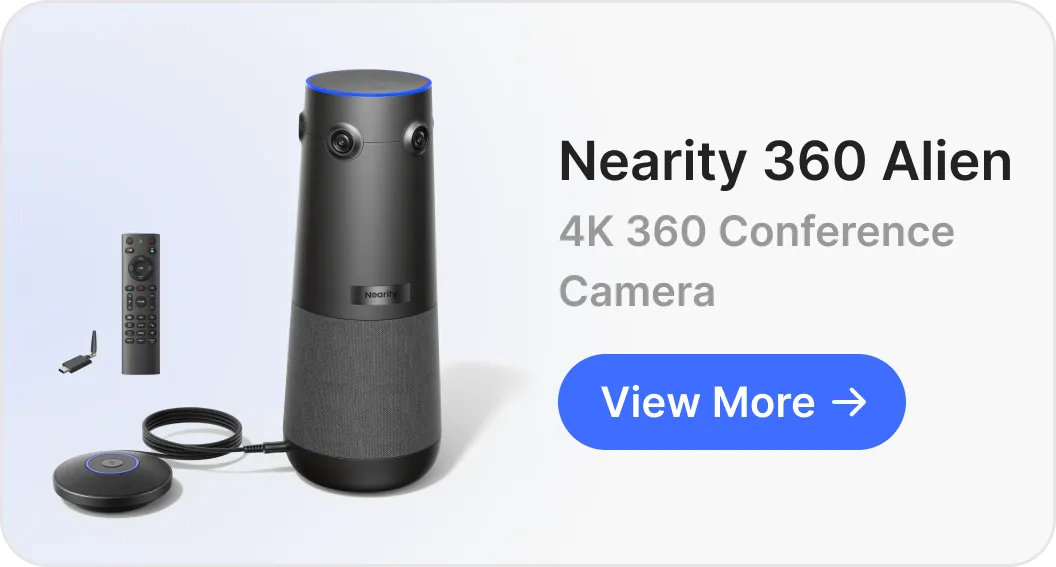
The Nearity 360 Alien conference camera is one example. Its 360-degree tabletop view addresses the compact discussion geometry, while USB plug-and-play operation addresses the quick BYOD start. Evaluate those two benefits in the occupied room rather than treating the rest of the specification sheet as a reason to buy.
For compact rooms, Nearity’s official Lite Kit is positioned for 4–6 people and approximately 100–160 square feet. Treat that range as a starting point, not permission to skip the occupied-room test. Table dimensions, materials, speaker behavior, noise, and placement can make two rooms of equal area perform differently.
The strongest fit is a compact shared-table room where central coverage follows the actual conversation and the connection path remains simple. The weaker fit is a room with no safe table cable route, constant laptop obstruction, or a strongly front-led presentation pattern.
If the evaluation points toward this architecture, the small-room video conference solution provides the commercial configuration. This article remains the diagnostic layer: prove that the room and behavior fit before treating a kit label as the answer.
Devil’s Advocate: When Simpler Equipment Is Better
A dedicated room camera is not mandatory just because a space has four chairs.
If one person uses the room alone, rarely shares the space, and needs only a personal call, a laptop or business webcam may be sufficient. If the room has no display, no fixed table arrangement, and no repeatable meeting workflow, a portable kit may be more sensible than a permanent installation.
A front-facing camera can also be the better choice when:
Meetings are consistently presentation-led.
The table has no clear center or cable access.
A whiteboard or presenter at the front is the main subject.
Participants naturally face the display.
The organization already operates a standardized front-of-room system.
Conversely, an all-in-one 360-degree device can be the better choice when:
Discussion moves around a shared table.
A conventional front view creates profiles or weak far-end presence.
Hosts need a straightforward BYOD connection.
Reducing separate room components lowers support complexity.
The table can accommodate the device without obstruction.
The decision should not be “premium system versus cheap system.” It should be “which architecture creates the clearest remote experience with the fewest recurring points of failure?”
Common Small-Room Setup Mistakes
Choosing the widest camera without testing composition
The widest possible view may capture every chair but allocate too much of the image to wall and table. Choose useful framing, not maximum framing.
Mounting permanently before an occupied call
An empty-room preview hides laptops, body positions, glare, and real speaking behavior. Temporary placement is cheaper than moving a mount or cable.
Assuming everyone is close enough to hear
Hard surfaces can produce poor intelligibility at short range. Test through the meeting platform with a remote listener.
Letting the display determine everything
A neat camera-under-display installation may conflict with the conversational center of a discussion room. Begin with meeting behavior, then reconcile display and camera placement.
Treating wireless as cable-free
An optional wireless conferencing link can remove a laptop-to-camera cable, but the room still needs power, a display connection, and a network plan. Map each connection instead of using “wireless” as a blanket description.
Hiding the only instruction
If people need to know which device to select, place the instruction where they connect—not in an onboarding document they will not open during a call.
Copying a large-room specification downward
More zoom, more microphone channels, or more system components do not automatically improve a compact room. Extra complexity can be a disadvantage when distances are short and meetings are spontaneous.
How to Test a Small Conference Room Before Sign-Off
Use a 20-minute acceptance test with at least four occupied seats and one remote reviewer.
Visual test
Sit in the nearest, farthest, and side seats.
Keep normal laptops and table objects in place.
Confirm that faces are recognizable and naturally proportioned.
Turn on the display and share both slides and detailed text.
Check daylight, ceiling light, and any strong backlight conditions.
Ask participants to turn toward one another rather than stare at the lens.
Audio test
Test the quietest speaker at the farthest seat.
Test a normal back-and-forth conversation.
Check remote-to-room playback and room-to-remote speech.
Listen for echo, sudden level shifts, clipping, and fan or HVAC noise.
Confirm that the meeting app uses the intended microphone and speaker.
Workflow test
Have a non-installer host start the call.
Use at least two required meeting platforms.
Connect a second laptop.
Share content with audio if that is a real use case.
Disconnect the room device and ask the host to recover.
Leave and re-enter the room after the display sleeps.
Record failures as observable events, not impressions. “Audio was bad” is difficult to fix. “The far-left seat became hard to understand when the HVAC turned on” points toward placement, acoustics, or audio coverage.
Approve the room only after the remote reviewer can answer three questions: Can I see who is speaking? Can I understand every normal speaker? Can a new host start and recover the room?
When Should You Move Up to a Medium-Room Design?
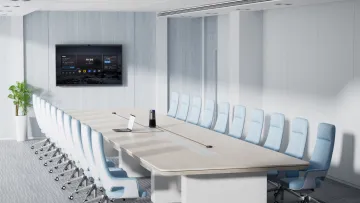
Move beyond the compact-room design when normal seating extends past the tested audio boundary, the table becomes long enough to create distinct near and far zones, or the room regularly holds more than six people. The transition is not triggered by a label on the door. It occurs when one central capture point no longer creates consistent results without an expansion path.
The medium conference room camera guide explains why that transition is usually an audio decision disguised as a camera decision. It shows how to test far-end speech and decide whether one expansion microphone is enough.
If the room grows into a long boardroom, combines presentation and group discussion, or requires several audio nodes, use the large-room conference camera guide. Large rooms need topology planning rather than a larger version of the same small-room assumption.
Small Conference Room Camera Buying Checklist
Before approval, confirm each statement:
We know whether the room is discussion-led or presentation-led.
Every normal seat was tested while occupied.
The nearest face does not look distorted or cropped.
The farthest face remains recognizable on a remote display.
Laptops and table objects do not block the intended view.
A remote listener can understand the quietest expected speaker.
Normal overlapping conversation remains followable.
The display remains visible from every seat.
Power, USB, display, and network paths are defined.
A new host can connect without installer help.
Required meeting platforms detect the correct room devices.
The room has a documented recovery path.
The chosen system has an honest expansion or replacement threshold.
If any item remains unknown, run another test rather than compensating with a longer feature list.
FAQ
What type of camera works best in a small conference room?
The best fit usually provides a useful view at short distances, keeps all normal seats visible, captures speech consistently, and is simple for the host to connect. A wide front-facing camera or a table-centered 360-degree camera can work, depending on the table, seating, and meeting behavior.
Where should a camera go in a 4–6 person meeting room?
Place it where the normal conversation happens and test the remote view before making the position permanent. A front camera should stay near the display and seated eye line; a 360-degree camera should sit near the conversational center without being blocked by laptops or table objects.
Does a small room need an expansion microphone?
Not automatically. Test the quietest speaker from the farthest normal seat with the door closed and typical room noise present. Add or reposition audio only when the built-in microphone cannot provide consistent intelligibility across those seats.
Is a 360-degree camera good for a small meeting room?
It can be especially useful for discussion around a shared table because it reduces dependence on a single front-facing angle. It still needs enough clear table space, a practical power or connection path, and a view that does not place faces too close to the lens.
The best small-room setup is not the one with the most technology. It is the one whose geometry matches the conversation, whose audio survives a real remote test, and whose workflow disappears once the meeting begins.