Meeting Room Camera Placement: Test the View Before Cabling
Use a reversible remote-view test to place the camera before drilling, mounting, or routing permanent cables.
Conference Room AV
Meeting Room
Room Layout
Updated: Aug 21, 2026 · 8 minutes read
Global Business, Brought Near.
No Installer, No Hassle, Just Works.
Meeting room camera placement should be approved through a reversible test, not a universal mounting-height rule. Map every seat, align the lens with the remote eye line, mark display and table obstructions, test video and audio from the weakest positions, capture remote-side evidence, and only then commit to permanent mounting and cable routes.
Key Takeaways
Place the camera near the remote participant's visual destination, but test display comfort and facial angle together before approving above- or below-screen mounting.
For a tabletop 360-degree camera, reserve a stable center zone that remains clear when laptops, bottles, and documents occupy the table.
Run the placement test from the nearest, farthest, edge, presenter, and overflow seats; an average seat can hide the failures that matter.
Obtain remote-side sign-off with saved screenshots before drilling or cabling, because people inside the room cannot judge the delivered composition.
The camera is centered beneath the display, yet the nearest participant fills the frame from an awkward low angle while the farthest face is barely useful. Good meeting room camera placement is not a universal height or a geometric center; it is a position proven by a reversible remote-view test. Map seats, eye lines, obstructions, light, audio, and cable paths before drilling or mounting anything.
This method treats placement as a sign-off process. The camera sits temporarily in candidate positions, normal participants use the room, and someone outside the room evaluates the actual call. Only a position that passes the weakest normal seat earns permanent cabling.
Why Does a Technically Centered Camera Still Look Wrong?
A technically centered camera can look wrong because geometric symmetry does not guarantee social alignment. Participants look at remote faces on the display, turn toward colleagues, lean behind laptops, and move between seated and standing positions. The lens must work with those behaviors, not merely divide a wall or table evenly.
Camera placement has four interacting variables:
Origin: where the lens observes the room.
Gaze destination: where participants look when speaking remotely.
Subject geometry: distance, angle, and obstruction for every required face.
Delivered composition: what the conferencing platform actually sends after framing or cropping.
The underlying principle is perspective. A camera does not simply record what is present; it projects a three-dimensional room from one viewpoint. Near objects occupy more of the image, high viewpoints reveal more tabletop, low viewpoints reveal more ceiling and underside angles, and off-axis positions turn faces into profiles. Intelligent framing can select from what the camera sees, but it cannot move the origin around an obstruction.
That is why a specification sheet cannot provide the final answer. Placement converts device capability into a remote experience.
Step 1: Draw a Seat and Attention Map
Draw every normal seat and attention target before testing a camera position. Include the display, presenter zone, whiteboard, table, windows, doors, lights, power, and the objects that normally remain on the table.
Mark five test positions:
The nearest seat to the candidate camera.
The farthest seat.
The widest edge seat.
The standing presenter or whiteboard position.
An overflow or movable seat that is actually used.
Then draw arrows showing where each person looks during three moments: speaking to a remote participant, reading shared content, and addressing an in-room colleague. This attention map often reveals the first mismatch. A camera beside the display may be close to remote gaze during content review, while a center-table camera may better represent peer discussion.
The most common error is mapping chairs without mapping behavior. An empty chair has no eye line, no laptop, and no habit of turning toward the decision-maker. Populate the diagram with actions.
Use the broader conference room setup styles framework if you have not yet decided whether the room is boardroom, U-shape, classroom, theater, or flexible. Layout and placement are related but not interchangeable: layout chooses the communication pattern; placement proves the physical camera origin.
Step 2: Define What a Passing Remote View Looks Like
A passing remote view lets a viewer identify the current speaker, read relevant facial reactions, understand room orientation, and follow the required presenter or object. Define these outcomes before anyone argues about whether the camera “looks better” above or below the display.
Write pass conditions such as:
The nearest participant does not dominate the composition.
The farthest normal participant remains recognizable without a special action.
Edge participants are not clipped during ordinary movement.
The presenter remains visible in the marked zone.
Shared content is delivered digitally and does not require filming the screen.
Table objects do not hide faces or the lens.
Automatic framing changes remain understandable during normal turn-taking.
Avoid universal rules such as “every face must be the same size.” Perspective makes that impossible from one origin in a deep room. The practical goal is usefulness, not mathematical equality.
The hidden truth is that remote sign-off matters more than in-room preference. People inside the room see one another directly and may prefer a display or camera height that feels comfortable locally. Only the remote reviewer sees the delivered angle, crop, and obstruction. Both experiences matter, so the decision must balance them with evidence.
Step 3: Test the Camera Near the Display
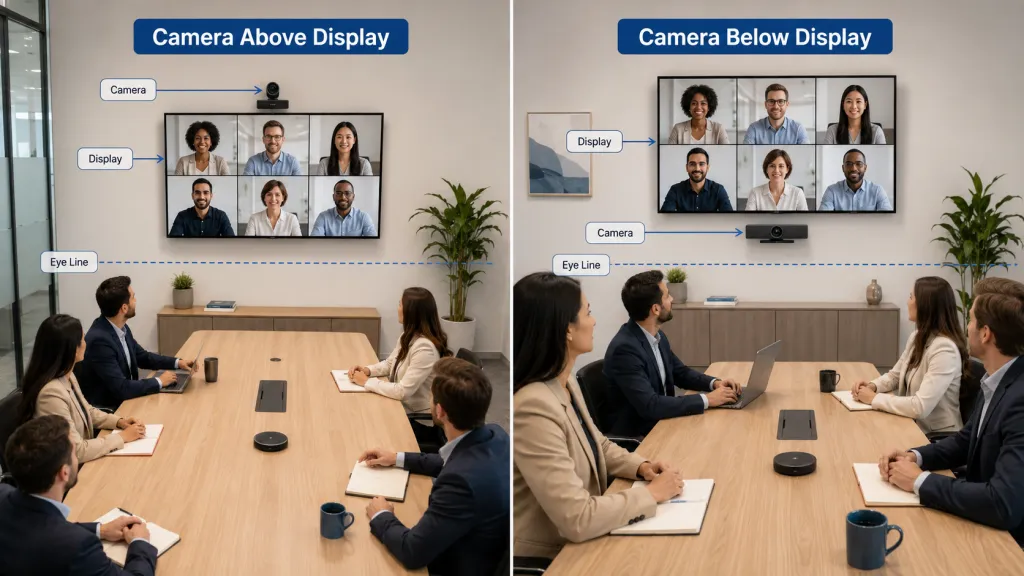
Test above-screen, below-screen, and beside-screen positions when a front camera is appropriate. Keep the lens as close as practical to the visual destination without making the display uncomfortable to view.
Each position has a trade-off:
Position
Stronger when
Failure to watch
Below display
Seated eye line and remote gaze are priorities
Very low angles from close seats
Above display
Furniture or wall constraints prevent a lower lens
Excess tabletop and top-of-head views
Between two displays
People and content need a central gaze point
Displays may be pushed too high or apart
Beside display
Wall or display configuration leaves no central space
Participants appear to look away
Do not choose above or below by habit. Put the camera on a temporary stand or shelf, run the same 60-second conversation from both positions, and compare screenshots. Include the nearest seat, because camera height problems are often strongest there.
There is a non-obvious trade-off between local display ergonomics and remote eye contact. Raising the camera toward seated eye level can force the display higher. Lowering the display can push the camera below a flattering perspective. The right position is the best joint compromise, not the independent optimum of either component.
If your condition is a shallow room with people close to the display, prioritize comfortable display height and test a lens immediately below it. If your condition is a deeper boardroom where remote presence matters more than detailed local content, a slightly higher camera near the displayed remote faces may produce a stronger gaze relationship.
Step 4: Test a Tabletop 360-Degree Position
Place a 360-degree camera near the social center of a table discussion, not automatically at the geometric center of the room. The social center is the point around which normal speakers interact; it can shift toward one end if the display or decision-maker dominates.
Create a protected footprint for the device. Open laptops, water bottles, desk phones, paper folders, and temporary monitors should occupy their normal positions during the test. A clean showroom table hides the most common blind spots.
Run three patterns:
One speaker at the nearest seat, followed by one at the farthest seat.
Two people talking across the table with brief overlap.
Everyone turning toward shared content on the wall display.
Watch whether the composition makes the conversation legible and whether participants looking at the display become awkward profiles. A center-table camera can reduce the visual distance to faces, but it can also separate the lens from the gaze destination. That is the core placement trade-off.
If table activity regularly consumes the center—large drawings, prototypes, food service, or many open laptops—do not force the device into the conflict. Test an offset position, a raised stable mount, or a front-camera architecture. A product that fits the room behavior is better than a theoretically perfect origin that users move every day.
Step 5: Mark Obstructions and Blind Spots Under Real Conditions
Mark blind spots with the room occupied because people and work objects create dynamic obstructions that an empty-room scan cannot reveal. Test ordinary behavior, not staged posture.
Ask participants to:
Open the laptops they actually use.
Lean back and forward naturally.
Turn to a colleague while speaking.
Stand in the presenter zone.
Write on the whiteboard.
Place common materials on the table.
Use the room's normal alternate furniture arrangement.
For every failure, identify whether it comes from the camera origin, the furniture, the behavior, or the selected view mode. Moving the camera is not always the best fix. A laptop riser policy, a marked device zone, or a different presenter position may solve the obstruction with less compromise elsewhere.
The expensive blind spot
A facilities team approves a ceiling cable route from an empty-room drawing. During the first quarterly review, two executives open large laptops at the center seats. The tabletop camera loses the far-side speaker whenever either screen tilts upright, and moving the camera leaves the finished cable short. The meeting continues, but the installed position can no longer be corrected without visible rework. Normal table behavior should have been part of sign-off.
Step 6: Test Light at the Camera, Not Just in the Room
Test lighting through the candidate camera feed because a room that feels bright to the eye can still produce dark faces, strong backlight, reflections, or uneven exposure. Check each required seat at the actual meeting times.
Use three tests:
Turn on the normal room lighting and view faces near and far from windows.
Display a bright shared document and observe whether it changes facial exposure.
Close and open window shades as users normally would.
Move or angle the camera only after simple room changes are considered. Reorienting seating away from a bright window, controlling shades, or adding softer face lighting may improve all views without creating a worse perspective.
Avoid promising that camera processing will solve every lighting condition. Processing works on the captured image; severe backlight can reduce the useful information available in the first place. Placement and light control remain the first line of defense.
Step 7: Pair the Video Test With Far-Seat Audio
Pair camera placement with audio testing because moving an all-in-one device changes both the visual origin and microphone distance. A visually ideal position can produce an audio dead zone, while an acoustically central position can create a poor gaze relationship.
Ask a remote reviewer to listen to:
The quietest expected speaker at the farthest seat.
A participant looking down at notes.
Two speakers briefly overlapping.
A presenter speaking from the standing zone.
A remote participant interrupting an in-room speaker.
Why does the far-seat test matter? First, audio quality depends on what reaches the microphone. Second, distance and orientation reduce the direct voice relative to reflections and room noise. Third, processing cannot reconstruct words that were never captured clearly. The common mistake is approving video placement first and assuming the integrated microphone will follow.
If the best camera origin creates repeatable weak audio zones, evaluate expansion or distributed microphones rather than sacrificing the entire visual plan. If the room is a training space, the training room camera workflow explains how presenter and audience audio paths should change with the session.
Step 8: Get Remote-Side Sign-Off Before Permanent Work
Get sign-off from a remote reviewer using saved evidence before drilling, mounting, or ordering custom cable lengths. The sign-off should identify the tested position and conditions, not merely say “camera approved.”
Capture:
A screenshot of the global room view.
A screenshot of the nearest and farthest speakers.
A screenshot of the presenter or whiteboard zone.
Notes from the audio tests.
The temporary lens height and distance from fixed landmarks.
The normal furniture layout and approved alternate layout.
The chosen cable and power path.
Have the stakeholder approve both the local display experience and the remote composition. If they prefer a higher or off-center position for aesthetic reasons, document the resulting trade-off. Changing a tested position later becomes a conscious choice rather than a surprise.
This process turns subjective feedback into controlled evidence. It also creates a baseline for troubleshooting after furniture, displays, or room use changes.
Step 9: Plan Cables Around the Approved Position
Plan cables only after the camera position passes because cable reach, bend, strain, service access, and trip risk depend on the final origin. A clean route that pulls the camera away from its tested location is not a successful installation.
Label each connection by function:
Power.
Camera and audio data.
Display content.
Network.
Control or expansion audio.
Keep user-touched connectors replaceable where possible. Avoid routes that are pinched by movable furniture or require the host to disconnect the device during normal cleaning and reconfiguration. Provide enough service access to replace a damaged cable without dismantling the room.
Wireless connectivity may reduce one data run, but it does not remove the camera's power or the room's display and network needs. The wireless meeting room layers help prevent a cable plan from being replaced by a vague “go wireless” instruction.
Use Nearity 360 Alien as a Placement Example, Not a Universal Rule
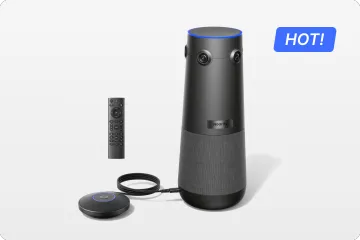
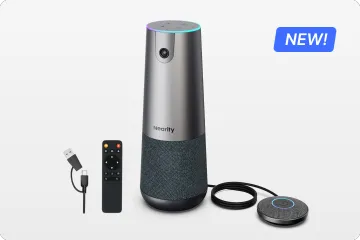
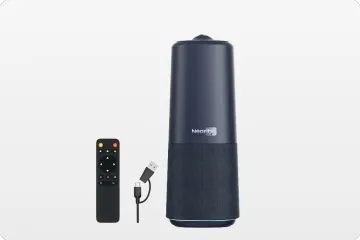
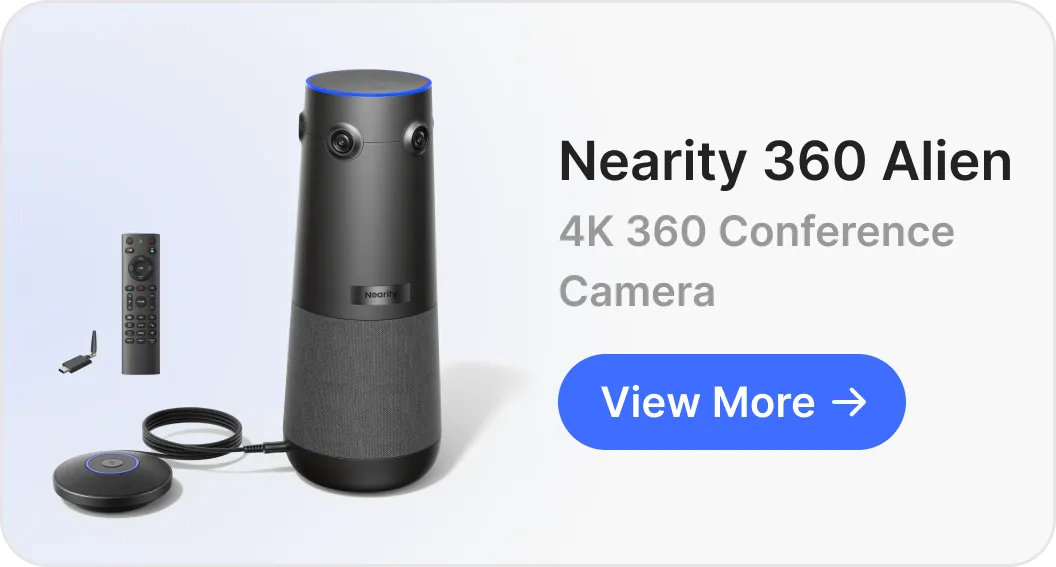
Nearity 360 Alien is a useful placement example for table-centered discussion because the official product page describes a 360-degree tabletop conference camera with integrated room audio. That architecture can reduce the near-versus-far depth of a front camera when participants sit around a shared table.
Evaluate Nearity 360 Alien's table-centered coverage only after the social-center and obstruction tests. The capability addresses the user problem of faces distributed around the table; why it matters is that the remote view can follow discussion from a closer origin. The real-world result still depends on protecting the device position and validating audio from the weakest speaking zone.
Do not choose it when the room's visual center is a moving presenter far from the table or when several independent zones require different viewpoints. In those conditions, a front-facing or distributed design may fit better.
Meeting Room Camera Placement: Run a Final Checklist
Use this checklist immediately before approving permanent work:
he primary meeting behavior and layout are documented.
Nearest, farthest, edge, presenter, and overflow positions were tested.
Normal laptops and table objects were present.
Above-, below-, front-, or table-centered alternatives were compared where relevant.
Remote faces and shared content produce a coherent gaze path.
Lighting was tested under normal room conditions.
Far-seat and overlapping speech were heard remotely.
A different host completed the connection workflow.
Remote screenshots and audio notes were saved.
Stakeholders signed off before permanent cabling.
If any answer is no, keep the setup temporary. A reversible test is valuable precisely because it gives the team permission to move the camera without treating that movement as rework.
Frequently Asked Questions
Should a conference room camera go above or below the display?
Choose the position that keeps the lens near participants' natural gaze without making the display uncomfortable. Temporarily compare above and below positions from the nearest and farthest seats. A remote reviewer should approve the more natural facial angle, while in-room participants confirm that content remains comfortable to view.
Where should a 360-degree camera be placed in a meeting room?
Place it near the social center of a table discussion, with clear face views, stable power, and a protected footprint. The geometric center is not mandatory. If the display or presenter controls attention, move the device toward that center or choose a front-facing architecture after comparing the delivered views.
How far should participants sit from a conference camera?
There is no universal distance that guarantees success across lenses, room shapes, lighting, framing, and platforms. Test the actual nearest and farthest seats. Approve them only when faces remain useful, audio is intelligible, framing behaves predictably, and the remote feed supports the meeting's real task.
How do you test for camera blind spots before installation?
Populate the room normally, open laptops, add common table objects, and test every required seat and presenter zone. Ask people to turn, lean, and move as they would in a meeting. Save remote screenshots, then repeat the test with the room's normal alternate furniture position before signing off.
Make the Next Move Temporary
Your next action is to place the camera temporarily, invite a remote reviewer, and run the nine-step test with normal people and objects in the room. Do not approve the position from a drawing or local self-view. When the weakest seat, presenter zone, audio path, and recovery workflow all pass, document the evidence and only then make the cables permanent.