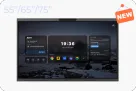
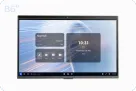
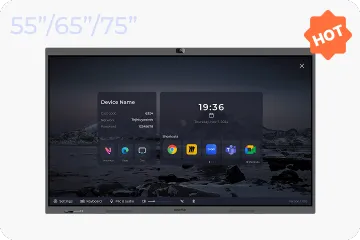
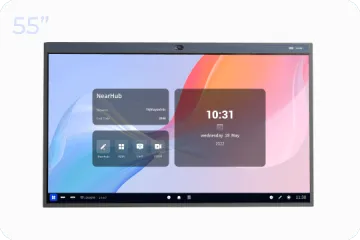
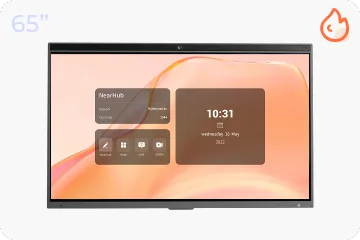
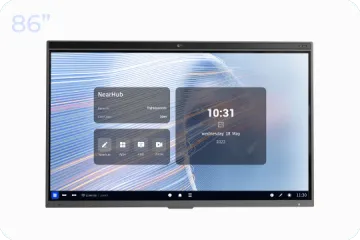
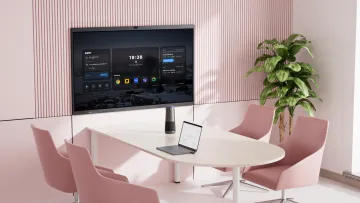
If you’re not sure how to install the stand, here is the installation introduction for you.
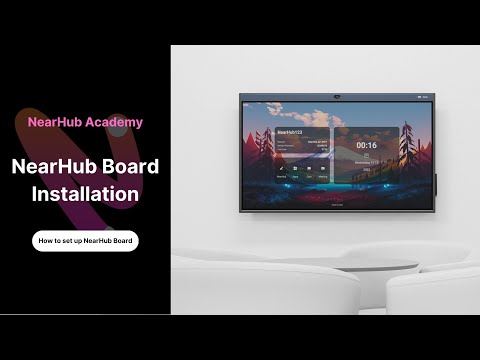
Video Guidance: NearHub Board Installation:
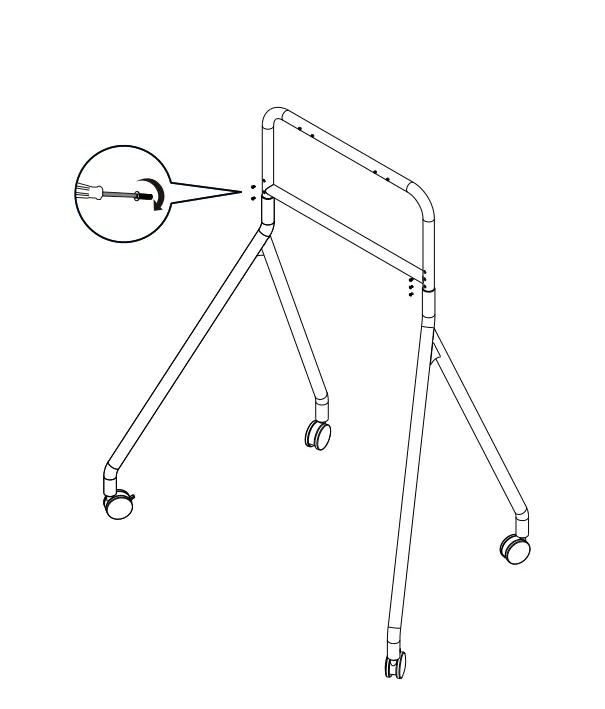
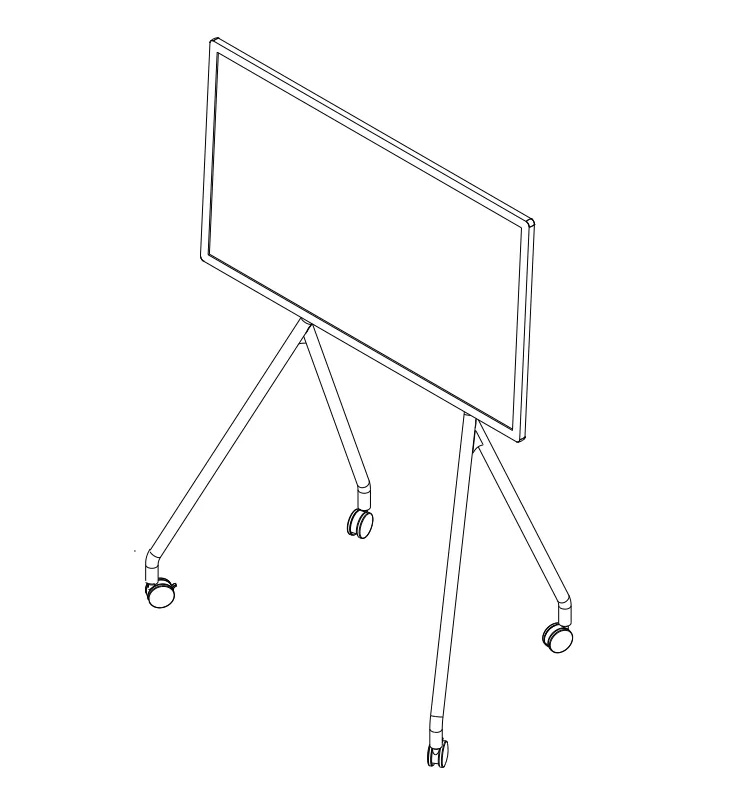
① Have two people hold each leg racks and slip in the upper rack on top.
Note:
- Ensure the screw clearance holes face the front.
- There are two (2) screw holes on the left leg rack and three (3) on the right.
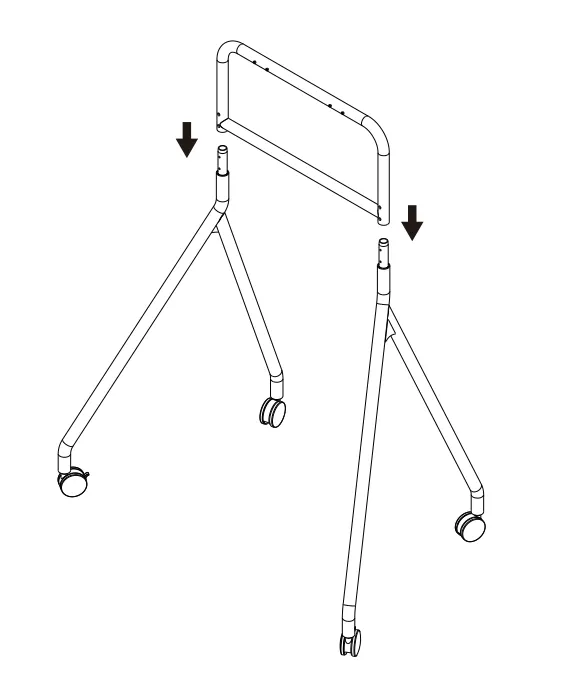
② Rotate the left and the right leg racks until the screw holes are fully visible. Do not fully tighten the screws until all screws are moderately tightened.
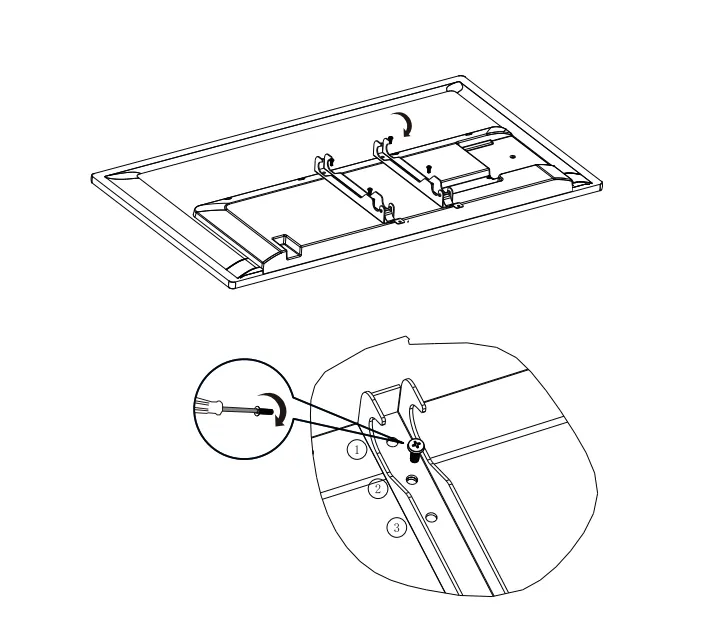
③ Lay the screen on a floor cushion, and attach the wall-mount bracket to the machine.
Note:
- Tighten the upper screw and then the lower screw.
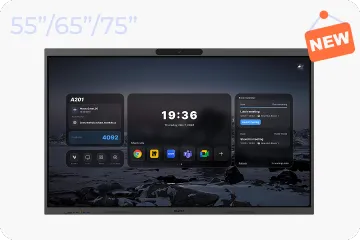
- There are adapter holes for the wall-mount bracket to adjust the height of the screen. It is recommended to use the second hole for a 55-inch screen and the first hole for a 65-inch screen.
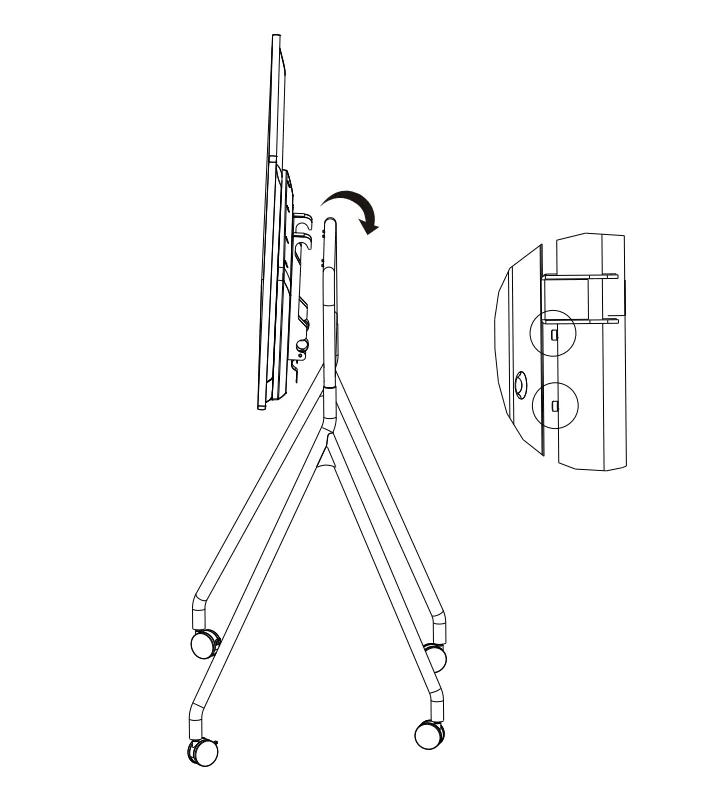
④ Mount the screen to the middle of the stand.
Note:
- The screen must be mounted onto the front side of the stand, i.e, the side where there are screws on top.
- The screws on top of the stand can serve as a placement marker. Observing from both sides: Two (2) screws are visible for a 55-inch screen, and one (1) screw is visible for a 65-inch screen.
⑤ Rotate the hook at the bottom of the wall-mount bracket in a clockwise decision, and fully tighten the screws.
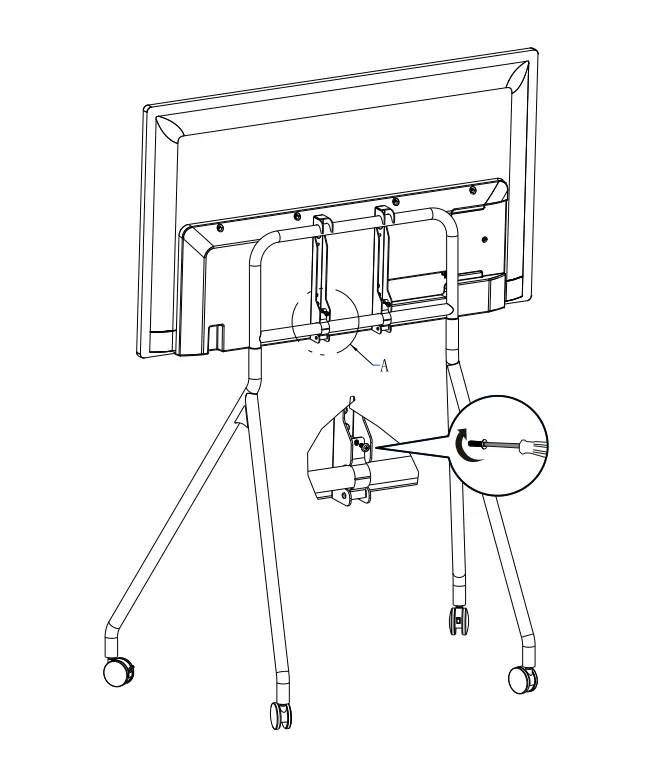
⑥ Complete installation.
Note:
Please inspect and tighten all screws regularly if the machine is frequently moved.
If you meet any problems in the process or have any further questions, please submit a support ticket here. Our support team will respond as soon as possible.