Video Conference Camera for Large Room Use: How to Choose
Choose the right large-room camera by comparing 360-degree systems, video bars, and PTZ setups against your layout, audio needs, and workflow.
Large Room Camera
Boardroom Camera
Hybrid Meeting Tips
Updated: Sep 1, 2026 · 8 minutes read
Global Business, Brought Near.
No Installer, No Hassle, Just Works.
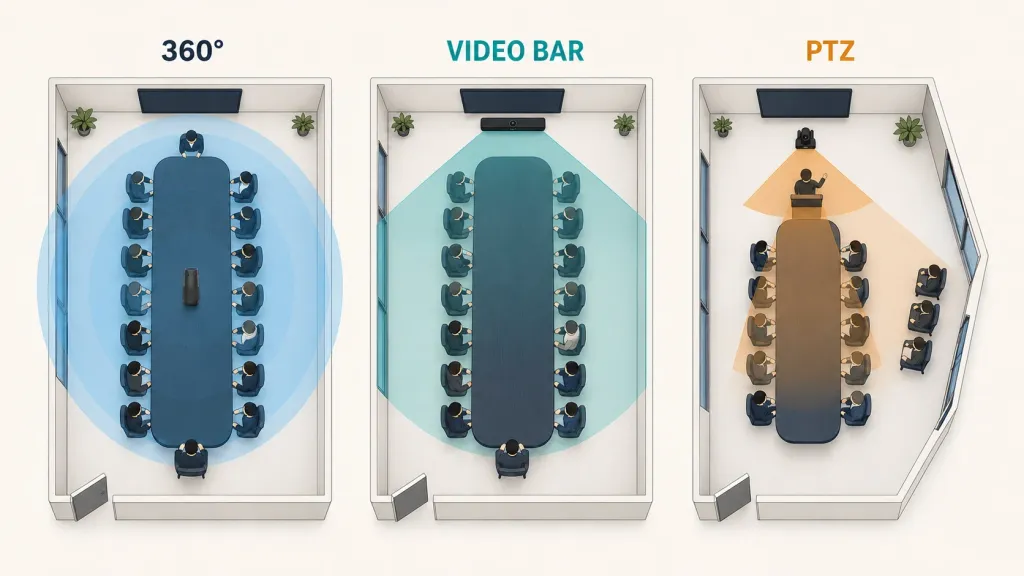
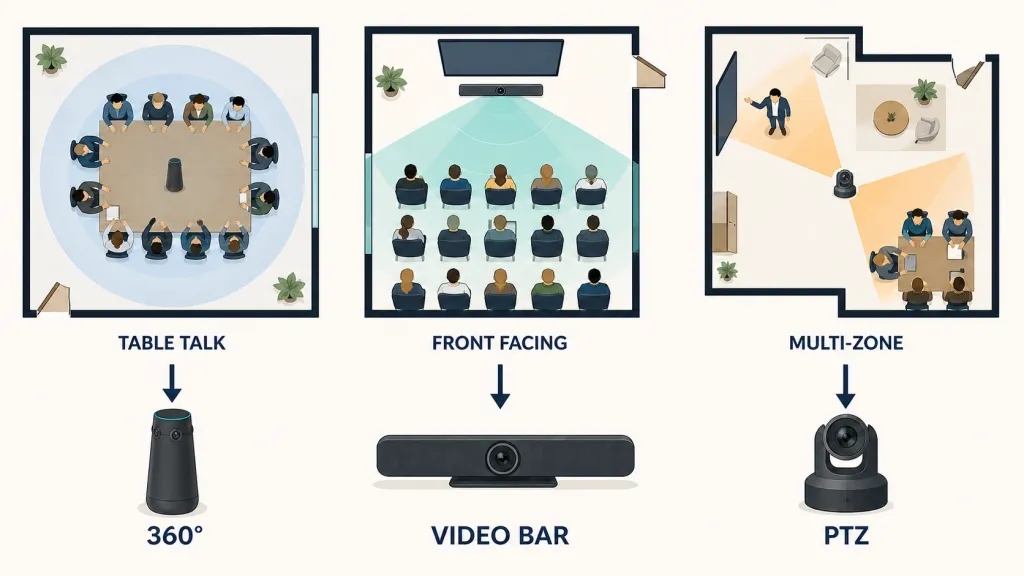
For a 12–20-person room, the right camera architecture depends more on layout and meeting behavior than headcount. A table-centered 360-degree system suits discussion around one table; a video bar favors front-facing meetings; complex, deep, or multi-zone rooms often need PTZ cameras and distributed audio.
Key Takeaways
For one continuous table with 12–20 participants, start by testing a 360-degree camera with two expansion microphones rather than assuming a multi-camera installation is necessary.
Choose a front-of-room video bar when most participants face one display and the farthest seats remain clear at the system's useful zoom and audio range.
Move to PTZ or distributed AV when the room has more than one presenter zone, movable seating, a deep floor plan, or production-style shot requirements.
Approve a system only after the quietest speaker and farthest face pass a real remote call from every normal seating zone.
A video conference camera for large room use must solve more than “fit everyone in the frame.” In a 12–20-person meeting, distant faces can become too small to read, quiet speakers can disappear, and a system that works for table discussion may fail when someone presents at the display. The best choice is the least complex architecture that covers every normal seat, speaking zone, and meeting mode.
The quick answer is straightforward: choose a table-centered 360-degree system for discussion around one continuous table, a front-of-room video bar when everyone faces the same display, or a PTZ-based system when the room is deep, irregular, flexible, or presentation-heavy. Then verify the choice with a real remote call before purchasing at scale.
If displays, room compute, platform ownership, and cabling are still undecided, complete the conference room setup checklist before selecting the camera.
Start With the Best Camera Architecture for Your Room Layout
Room shape and meeting behavior are better starting points than a product specification sheet. Use these recommendations to create an initial shortlist.
Room pattern
Best starting architecture
Why it fits
Watch for
One rectangular or oval table; discussion-led
Table-centered 360-degree all-in-one camera with expandable microphones
Places the video and audio origin close to the conversation and reduces the distance between near and far participants
Laptop obstruction, limited presenter coverage, cables across the table
Long room; participants mainly face one display
Front-of-room video bar with mic pods
Aligns the camera with the display and creates a familiar front-facing view
Far-end faces may be small; built-in audio may not reach every seat
Boardroom with a presenter zone and audience discussion
PTZ camera plus distributed microphones
Provides close-ups of presenters and selected seating areas
Installation, switching, tuning, and support are more complex
U-shaped, divisible, or frequently reconfigured room
Multi-camera or professionally designed distributed AV
Assigns capture to separate zones and supports changing layouts
Highest deployment and ownership burden
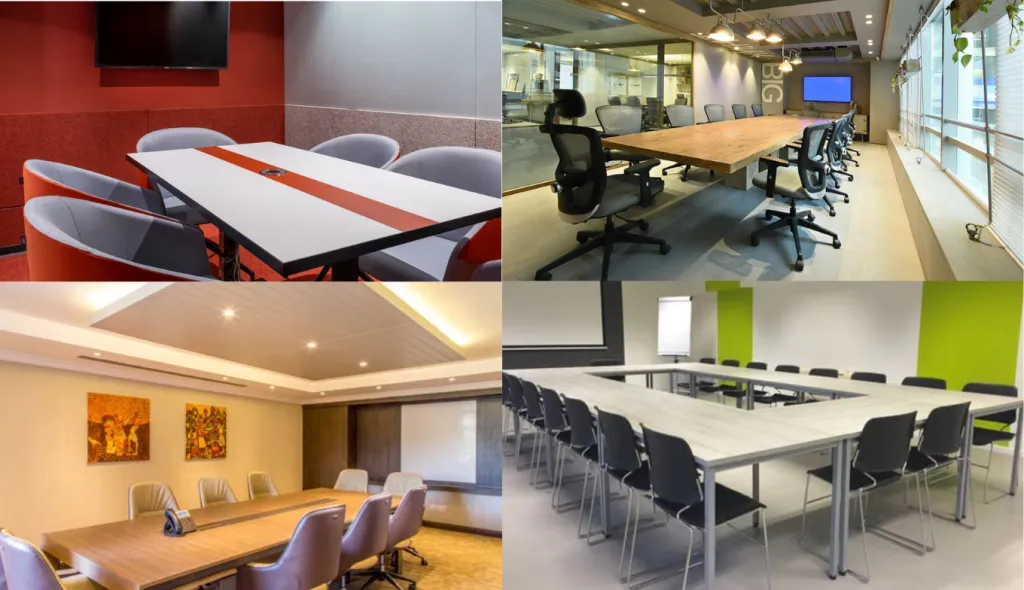
These are starting points, not guarantees. A 500-square-foot boardroom with one continuous table behaves differently from a 500-square-foot training room with movable seating. Measure the layout and test the weakest position before treating square footage or headcount as proof of coverage.
Before opening product pages, record four facts: the room's length and width, the distance from each possible camera position to the farthest face, the direction people normally look, and the meeting mode used most often. Then note any secondary mode the permanent system must support, such as training, whiteboarding, or executive presentations. These facts keep an impressive specification from overriding the room's actual behavior.
Compare a Video Conference Camera for Large Room Use by Architecture
The right large conference room camera should match how people look, move, and speak during a normal meeting.
360-degree all-in-one camera
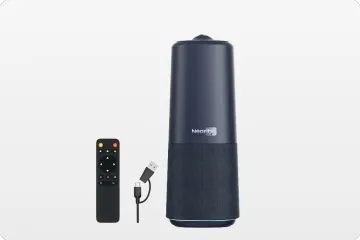
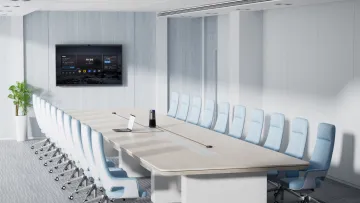
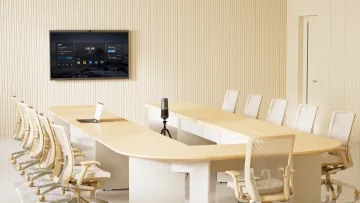
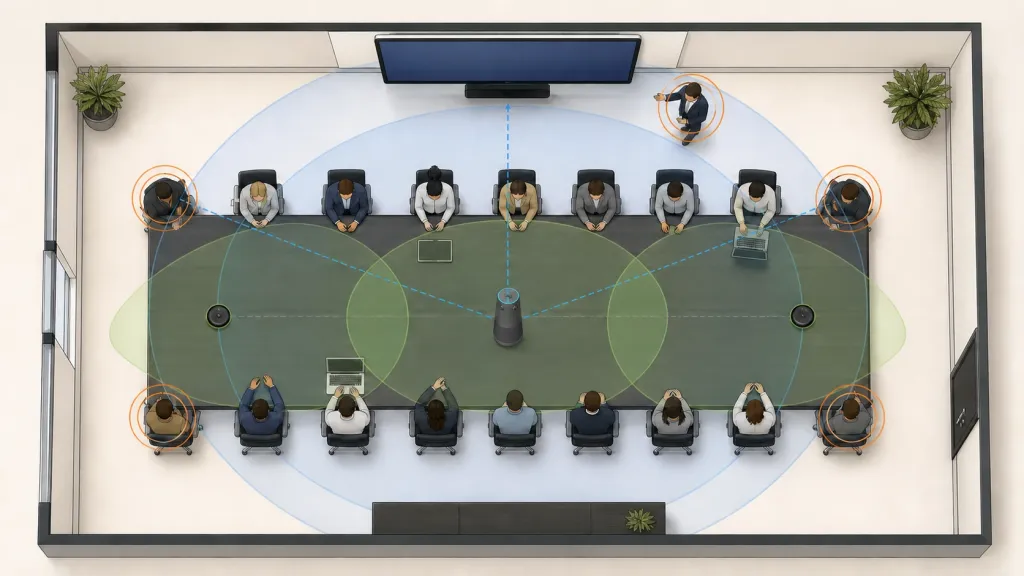
A 360-degree system sits near the center of the table and shows participants from a conversational angle. It works well when 12–20 people sit around one shared table and frequently speak to one another rather than only toward the display. Built-in audio reduces the number of separate components, while expansion microphones can address weak zones toward the ends of the table.
Choose this architecture when simplicity and meeting equity matter more than cinematic close-ups. Avoid it when laptops regularly block the tabletop position, the presenter moves far from the table, or the room needs several independent camera angles.
Front-of-room video bar
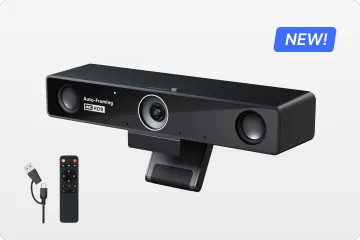
A video bar combines the camera, microphones, and speakers near the display. It is a strong fit for front-facing meetings, shared-content reviews, and rooms where approximate eye contact with the display matters. Products such as Logitech Rally Bar are positioned by their manufacturer for medium and large rooms and can add mic pods for extended audio coverage.
The trade-off is depth. In a long room, a wide shot can technically include every chair while making far-end faces too small. Zoom and automatic framing help, but they cannot see around an obstruction or create a second camera position.
PTZ or distributed AV system
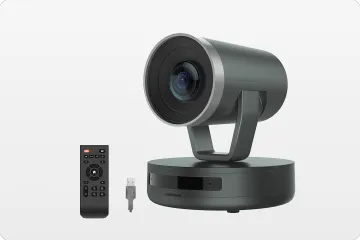
A PTZ camera can pan, tilt, and zoom toward a presenter or participant zone. A modular system can also use separate microphones, speakers, processing, and more than one camera. Systems such as Logitech Rally Plus illustrate this modular approach for large and extra-large rooms. It is the most flexible option for deep boardrooms, training spaces, multiple presentation areas, and rooms that need audience and presenter views.
That flexibility has a cost beyond hardware. Someone must design the signal paths, install and tune the system, define view switching, manage updates, and support users. Select distributed AV because the room requires it—not because “large room” automatically means “complex installation.”
Quick Recommendation for a 12–20-Person Meeting Room
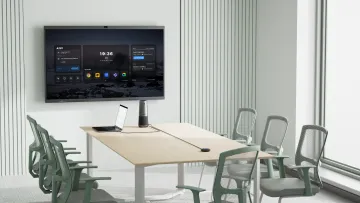
For a regular 300–600-square-foot room with one continuous table, begin with a 360-degree all-in-one system plus two expansion microphones. This is often the most direct way to keep the visual origin close to the discussion while extending audio toward both ends.
Do not treat 12–20 people as one uniform camera category. Twelve people around a compact oval table may remain close to a central camera, while 20 people along a deep rectangular table create a much larger difference between the nearest and farthest faces. The same headcount in classroom rows creates a third pattern. When evaluating a boardroom camera, shortlist by geometry first, then verify that the proposed audio expansion matches the actual speaking zones.
Choose a video bar instead when most participants face one display, the table is not excessively deep, and remote viewers benefit from a consistent front-of-room perspective. Add microphone pods only after identifying the weak audio zones they need to solve.
Shortlist PTZ or distributed AV when any of these conditions apply:
The room is long enough that distant faces remain small after automatic framing.
Presenters move between a screen, lectern, demonstration table, or whiteboard.
The seating is U-shaped, divided into clusters, or changed frequently.
Remote viewers require separate presenter, audience, and room views.
The room also needs recording, reinforcement, broadcast, or advanced control.
The best video conference camera for large room deployment is therefore not always one specific device. It is the simplest complete system that passes the room's required scenarios.
Use a Coverage-First Framework Before You Buy
Follow these five steps to turn an attractive product shortlist into a room-specific decision.
1. Map every required activity zone
Draw the table, occupied chairs, displays, whiteboards, presenter positions, doors, windows, and cable routes. Mark the nearest and farthest seats from each possible camera location. Include secondary chairs that are used when the room is full.
2. Define what “clear video” means
Do not stop at “everyone is visible.” A remote participant should be able to identify the speaker, read facial expressions, understand where the speaker sits, and follow changes between discussion and presentation. Test the system in the conferencing layout people actually use, including shared content.
3. Map audio as speaking zones
Ask the quietest expected speaker to talk from the near, middle, and far positions. Include HVAC, laptops, and normal room noise. If one area fails, move the microphone or add an expansion node near that weakness. Do not add microphones only for visual symmetry.
4. Test the host workflow
Ask a normal employee—not the installer—to start a call, choose the camera and microphone, share content, change the required view, and recover from a disconnected cable or sleeping display. A technically capable system still fails if ordinary hosts cannot operate it predictably.
5. Set the complexity threshold
Document the point at which one device stops being sufficient. Examples include a second presenter zone, furniture reconfiguration, a requirement for close-up shots, or audio that remains inconsistent after approved expansion. This prevents a successful installation from being copied into an incompatible room.
When Nearity 360 Alien Fits—and When It Does Not
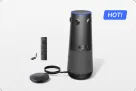
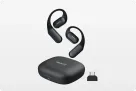
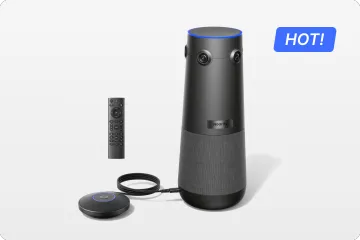
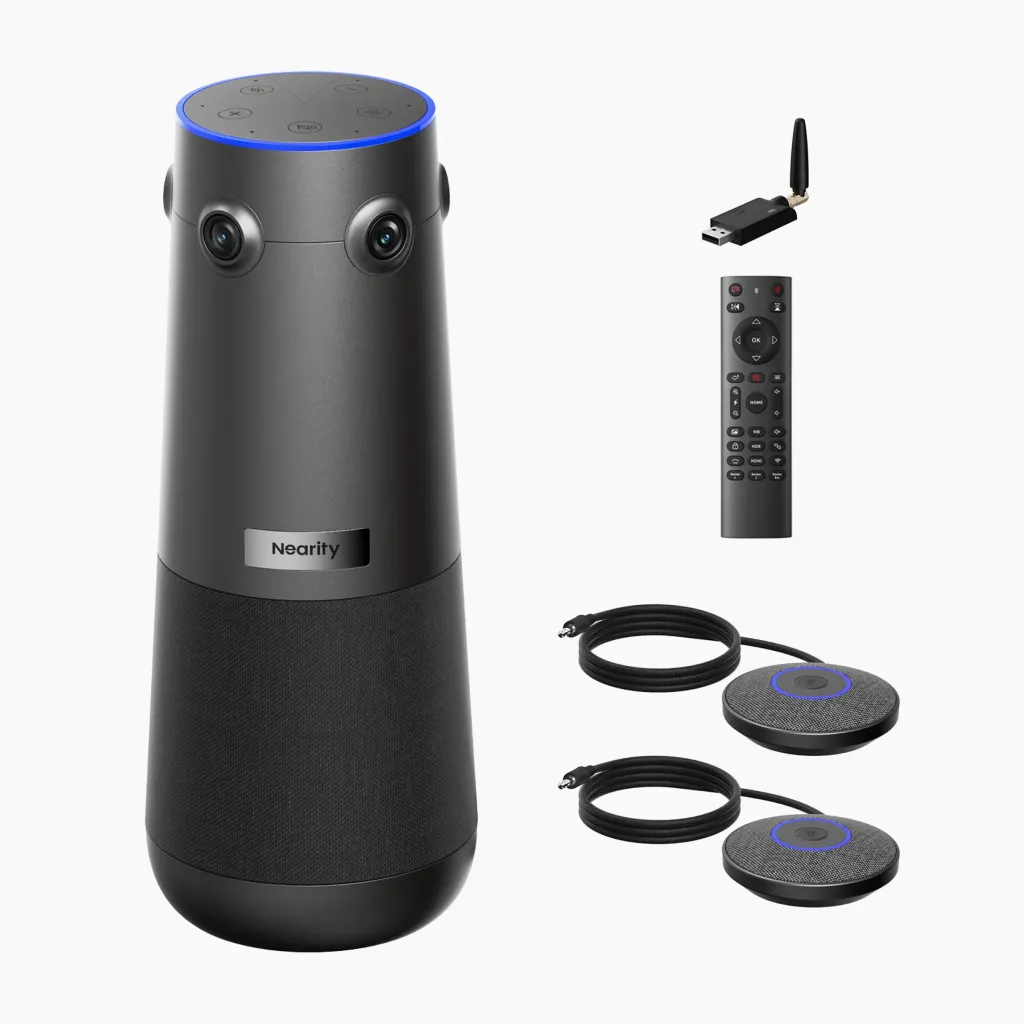
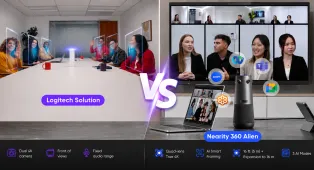
Nearity 360 Alien is a table-centered all-in-one option for organizations that want 360-degree video, integrated speakerphone functions, and expandable audio without moving immediately to a distributed system.
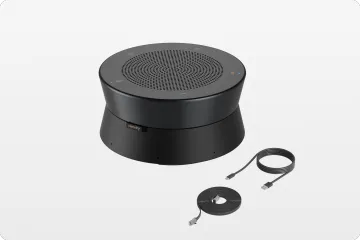
NearHub's current specifications describe a four-camera, 360-degree system with up to 4K video over USB, six built-in omnidirectional microphones, and support for up to two expansion microphones. The company recommends one 360 Alien with two expansion microphones for approximately 12–20 people and 300–600 square feet, with stated expanded voice pickup up to 16 meters (52 feet). It also lists Zoom, Microsoft Teams, Google Meet, and Webex compatibility.
Those manufacturer figures define the intended configuration; they do not replace an occupied-room test. The system is a strong candidate when:
People collaborate around one continuous table.
A central tabletop position remains clear of laptops and paperwork.
Two identifiable far-end audio zones need extension.
The team wants USB plug-and-play or an optional wireless-dongle workflow.
Hosts do not need to operate several production-style camera views.
Choose a front-of-room bar or distributed PTZ alternative when the room has multiple independent zones, a moving instructor, substantial depth, frequent furniture changes, or a requirement for controlled close-ups. For help matching the complete system to the space, review the large-room video conference solution.
Run This Large-Room Acceptance Checklist
Do not approve a camera for large conference room use from an empty-room preview. Conduct a real call with occupied seats and a remote reviewer.
Video checks
Seat people in the nearest, middle, farthest, and secondary positions.
Confirm that remote viewers can recognize faces and identify the speaker.
Place normal laptops, bottles, and documents on the table.
Test discussion, presentation, whiteboard, and shared-content layouts.
Check daylight, display glare, and normal artificial lighting.
Audio checks
Ask a quiet speaker to talk from every normal zone.
Test people speaking toward the display and toward one another.
Turn on normal HVAC and laptops.
Confirm full-duplex conversation by allowing the remote participant to interrupt naturally.
Verify that each expansion microphone improves its intended zone.
Workflow and ownership checks
Have a non-installer start meetings on every required platform.
Test both the standard room workflow and guest-laptop workflow.
Confirm that users can select devices and recover from common errors.
Document approved camera and microphone positions.
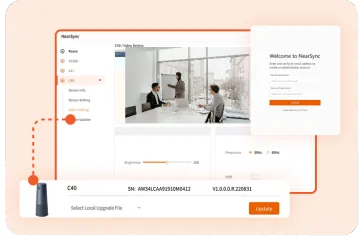
Assign ownership for firmware, room settings, cables, and support.
Repeat the test after furniture, acoustics, or equipment changes.
The remote reviewer should have final authority over video and audio acceptance. People inside the boardroom cannot accurately judge the compressed image, echo processing, or shared-content layout experienced at the other end.
Frequently Asked Questions
What type of camera is best for a large conference room?
For a discussion around one continuous table, a table-centered 360-degree camera with expandable audio is often the simplest fit. A front-facing video bar works better when everyone faces one display, while deep, irregular, or multi-zone rooms may need PTZ cameras and distributed microphones.
Can one camera cover a 12–20-person meeting room?
Yes, one camera can cover some 12–20-person rooms when the layout is regular, every seat remains visually useful, and expansion microphones provide clear audio at the far end. Headcount alone is not proof; test the actual seating plan through a remote call.
Is a 360-degree camera or a PTZ camera better for a boardroom?
A 360-degree camera is usually better for natural discussion around a central table. A PTZ camera is stronger when the room needs long-distance close-ups, presenter tracking, multiple viewing angles, or coverage of separate activity zones.
How should a large-room video system be tested before purchase?
Run a real call with people in the nearest, farthest, and secondary seats. Check facial detail, quiet-speaker clarity, full-duplex conversation, shared content, presenter movement, and whether a normal host can start and recover the meeting without specialist help.
Choose the Simplest System That Passes Every Zone
A large room conference camera should be selected as part of a complete video, audio, display, and host workflow—not as an isolated specification. Start with the room pattern, compare the three architectures, and test the weakest normal position.
For a regular 12–20-person boardroom centered on one table, Nearity 360 Alien with two expansion microphones is a practical candidate to test. For front-facing meetings, begin with a video bar. For deep, irregular, or multi-zone rooms, accept the added complexity of PTZ or distributed AV only when the coverage map proves it is necessary.