How to Clean Headphones Properly: A Complete Guide (2026)
A practical, step-by-step guide on how to clean headphones safely, covering over-ear, open-ear, earbuds, and jacks, plus tools, mistakes to avoid, and a care routine.
Headphone Cleaning
Audio Maintenance
Wireless Headsets
Updated: Aug 20, 2026 · 8 minutes read
Global Business, Brought Near.
No Installer, No Hassle, Just Works.
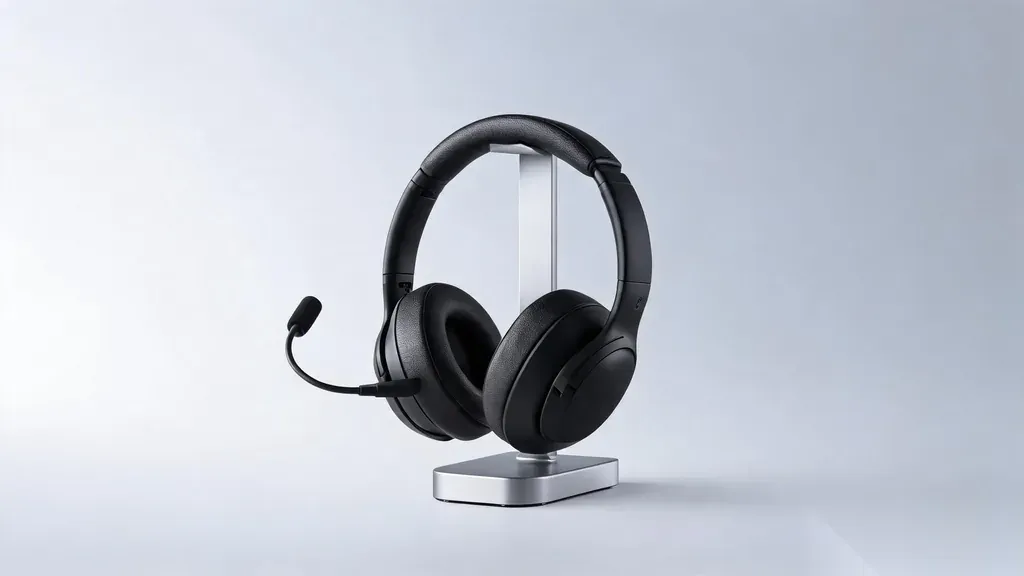
Your headphones collect more than just sound — daily use exposes them to sweat, skin oils, dust, and bacteria that can affect both hygiene and audio performance. This complete guide explains how to clean over-ear headphones, open-ear headphones, earbuds, and headphone jacks safely without damaging sensitive components. Learn the right cleaning tools, avoid common mistakes, and discover why maintenance-friendly designs like the Nearity EP320 are built for long-term professional use.
Different designs require different methods: over-ear, open-ear, and earbud headphones should be cleaned carefully.
Use microfiber cloths, 70% isopropyl alcohol, and soft brushes while avoiding excess moisture.
Replaceable ear cushions improve headset hygiene, comfort, and long-term durability.
Nearity EP320 combines replaceable cushions, easy maintenance, and professional noise-cancelling microphone performance for daily work use.
How to Clean Headphones Properly: A Complete Guide for Over-Ear and Open-Ear Headphones
If you wear headphones every day—and most remote workers, students, and commuters do—knowing how to clean headphones properly is one of the simplest ways to protect both your hygiene and your gear. The cushions that sit against your skin collect sweat, body oils, dead skin cells, and dust every time you press play. Left alone, that buildup becomes a breeding ground for bacteria, muffles your audio, and slowly degrades the very parts that make your headphones comfortable.
The good news is that cleaning headphones is quick, inexpensive, and safe when you follow the right method for your specific type. This guide walks through how to clean over-ear headphones, open-ear headphones, earbuds, and even the headphone jack, so you can keep your sound crisp and your gear lasting longer.
Why Cleaning Your Headphones Matters
Headphones live in a tough environment. They press against warm, slightly damp skin for hours at a stretch, get stuffed into bags, and sit on desks that are rarely as clean as we think. Over weeks of use, ear cushions and earbud tips accumulate a mix of sebum, sweat, dust, and—particularly with in-ear models—earwax.
That residue matters for three reasons. First, hygiene: bacteria thrive in the warm, moist gap between a cushion and your skin, which can contribute to odor, irritation, and the occasional ear infection. Second, sound quality: a thin film of wax or oil over a driver mesh is enough to dull treble and muffle vocals, making even premium headphones sound flat. Third, longevity: oils break down the synthetic leather and foam used in ear pads far faster than normal wear, and grit that works its way into a jack or hinge causes crackling connections and stiff joints.
A few minutes of regular cleaning prevents all three problems and keeps a set of headphones performing like new for years rather than months.
How to Clean Headphones: What You'll Need
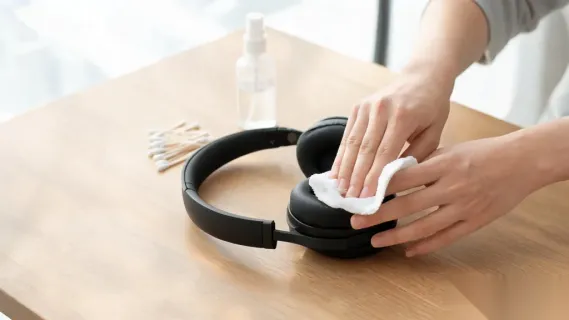
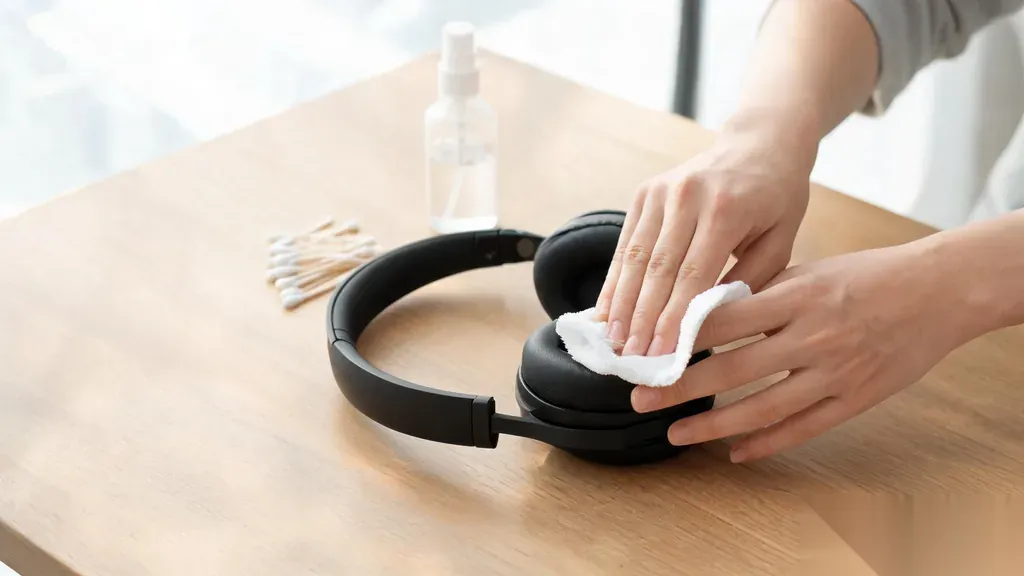
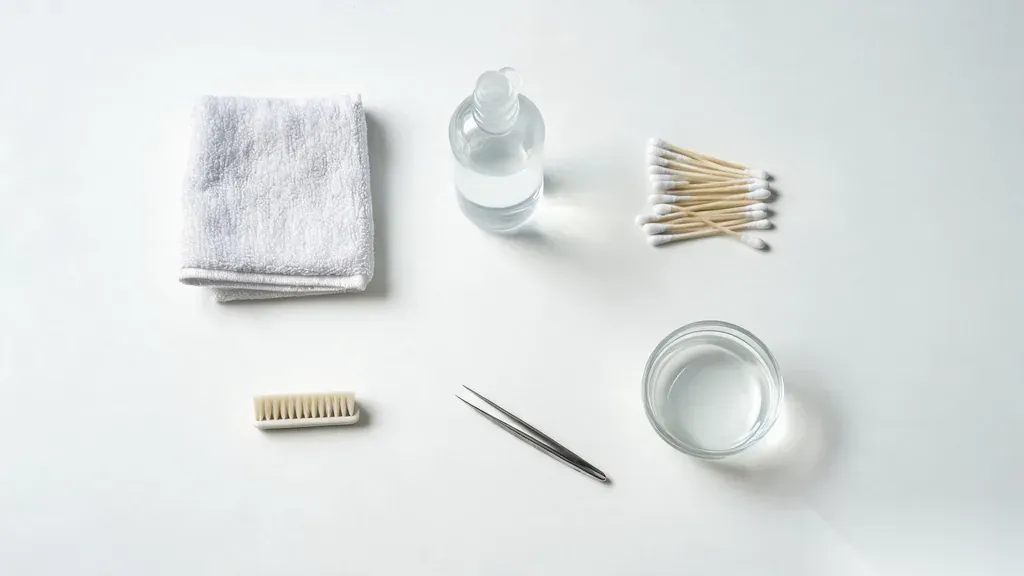
You don't need specialty products. Most headphone cleaning supplies are already in your home. As shown in Figure 1, gather the basics:
A clean microfiber cloth (the kind used for eyeglasses)
70% isopropyl alcohol or a little mild dish soap
Cotton swabs and a soft-bristled brush (a clean toothbrush works)
Distilled water
Wooden toothpicks and tweezers for stubborn debris
A dry, lint-free cloth for finishing
Before you begin, power off and unplug your headphones, and remove them from any charging cable. Never apply liquid directly to the drivers or electronics—dampen a cloth or swab instead, and keep moisture away from charging ports and mesh grilles.
How to Clean Over-Ear Headphones
Over-ear headphones have the most surface area, so they collect the most grime—but they're also the easiest to clean properly. Here's how to clean over ear headphones in five steps:
Remove the ear pads if they're detachable. Many modern over-ear models let you pop the cushions off the cups, which gives you access to the foam and the driver mesh underneath.
Brush away loose dust. Use a dry, soft-bristled brush to sweep debris out of the seams and the headband padding, as illustrated in Figure 2.
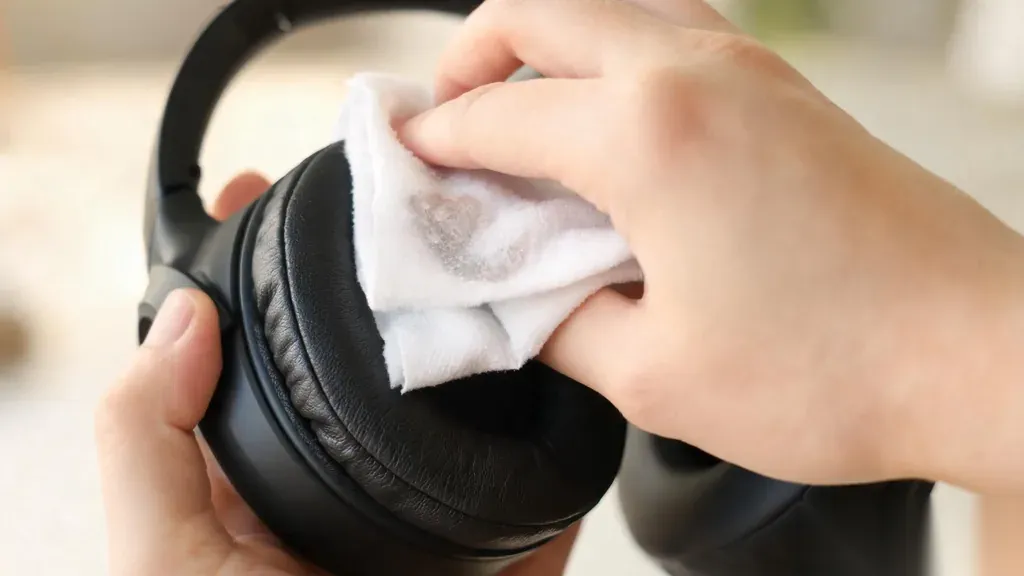
Wipe the cushions. Slightly dampen a microfiber cloth with water and a drop of mild soap—or 70% alcohol for disinfecting—and wipe the ear pads, headband, and outer cups. Avoid soaking; the material should be barely damp.
Clean the driver mesh gently. Use a dry brush or a dry cotton swab to lift dust from the mesh covering each driver. Never push wax or dirt further in.
Dry everything fully before reassembly. Let the cushions air-dry, then reattach them once no moisture remains.
If your cushions are cracked, peeling, or permanently flattened, replace them rather than over-cleaning—worn pads hurt both comfort and sound isolation.
How to Clean Open-Ear Headphones
Open-ear and bone-conduction headphones sit just outside the ear canal rather than sealing against it, so they collect less wax but still gather sweat—especially if you wear them for runs or long work calls, as shown in Figure 3. Because they rely on transducers and delicate silicone pads, treat them gently:
Wipe the transducers and the band with a cloth barely dampened with water or 70% alcohol.
Clean the silicone contact pads separately with mild soapy water, then rinse and dry them completely.
Avoid submerging any part of the headset; liquid inside a transducer can permanently damage it.
Open-ear designs dry quickly, so a 10-minute air-dry is usually enough before your next use.
How to Clean Earbud Headphones
In-ear buds sit directly in the ear canal, which makes them the most wax-prone type. Learning how to clean earbud headphones properly protects both your ears and the tiny drivers inside (Figure 4):
Remove the silicone tips. Pull the ear tips off and wash them with mild soap and warm water, then let them dry fully.
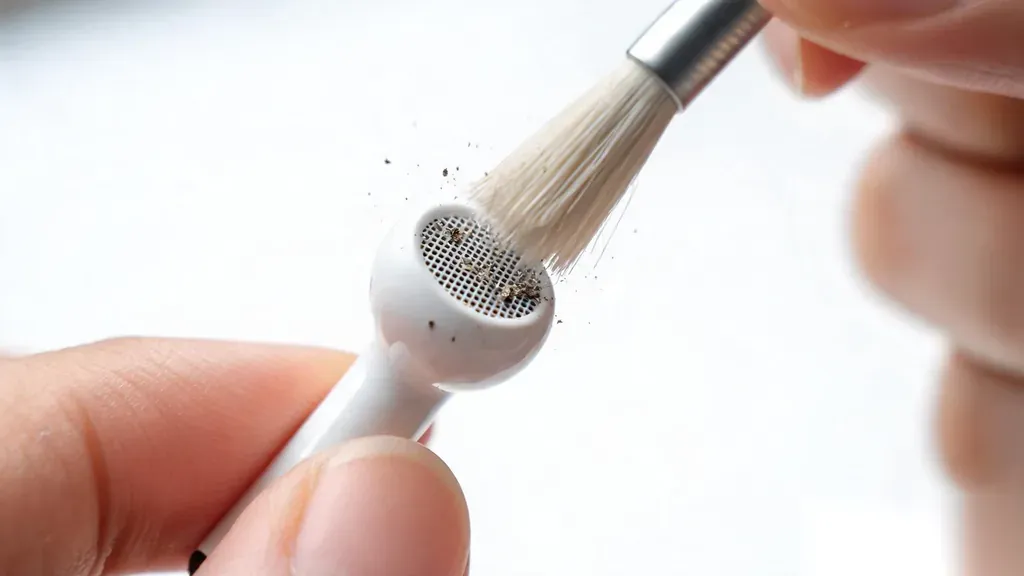
Clear the mesh grille. Hold the earbud with the nozzle facing down so debris falls out, then gently brush the mesh with a dry, soft brush. For stubborn wax, lightly dab the mesh with a cotton swab moistened with 70% alcohol or hydrogen peroxide—never soak it.
Lift trapped wax with sticky tack. Press a small piece of adhesive putty against the mesh and lift; it pulls out wax that a brush misses.
Wipe the body. Use a slightly damp microfiber cloth on the plastic shell, keeping moisture away from charging contacts.
Dry completely. Reattach the tips only once everything is bone-dry to avoid trapping moisture against the mesh.
How to Clean a Headphone Jack
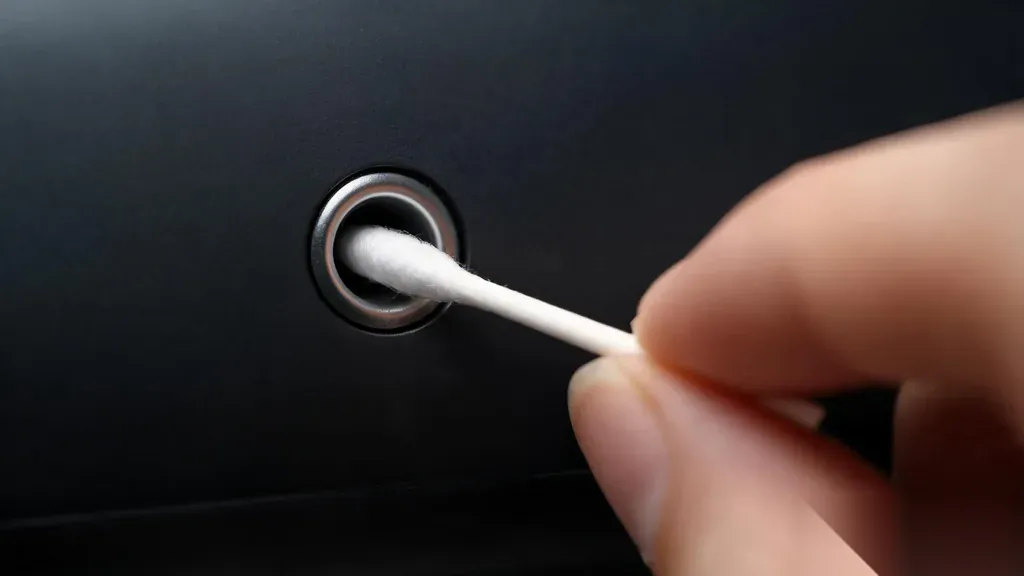
A dirty jack is a frequent cause of crackling audio, dropped channels, and intermittent connections. Knowing how to clean headphone jack ports can save you from assuming your headphones are broken when the real culprit is debris in the port (Figure 5):
Power off the connected device. Never clean a live port.
Reach in with a cotton swab lightly moistened with 70% alcohol. Twirl it gently against the walls of the jack—don't force it to the bottom.
Use a burst of compressed air to dislodge loose lint. Hold the device so gravity helps debris fall out.
Avoid metal objects. Paperclips and pins scratch the contacts and can short the port; stick to wood, plastic, or cotton.
Let the port dry for a few minutes before plugging anything back in. If crackling persists after cleaning, the issue likely lies with the cable or connector, not the jack.
Common Headphone Cleaning Mistakes to Avoid
Even careful owners make a few recurring mistakes that shorten their headphones' life:
Soaking the cushions or drivers. Liquid is the enemy of electronics. If moisture seeps past the mesh into a driver, it can corrode the coil and kill the speaker. Always dampen a cloth, never the headphones.
Using harsh chemicals. Acetone, bleach, and strong solvents dissolve adhesives and the synthetic leather on ear pads. Stick to 70% alcohol or mild soap.
Inserting metal into a jack. It feels like a quick fix, but it scratches gold-plated contacts and risks a short circuit.
Reattaching damp parts. Trapped moisture breeds bacteria and corrodes contacts. When in doubt, wait another hour.
Ignoring the headband. It absorbs sweat too; a sticky headband is a common source of headphone odor that people wrongly blame on the pads.
A Headset Built for Easy Maintenance
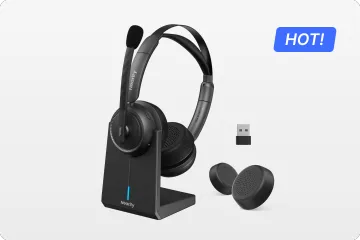
If you're cleaning your headphones because you wear them all day, it's worth choosing a model designed with maintenance in mind. The NearHub Nearity EP320 (Figure 6) is a bluetooth noise cancelling headset with mic built for daily professional use, and several of its features make upkeep straightforward.
The EP320's ear cushions are replaceable—the headset ships with an extra pair—so when the synthetic leather eventually wears, you swap in fresh pads instead of replacing the whole unit. Its pillow-soft cushions wipe clean with a damp microfiber cloth, and the padded leather headband sling resists the sweat buildup that causes odor. That makes it a practical noise cancelling headphone for work and a durable headset for work for anyone on long daily calls.
Building a Headphone Cleaning Routine
Cleaning is most effective when it's a habit rather than a rescue mission. A simple routine keeps grime from building up in the first place (Figure 7):
Weekly: Wipe cushions and earbud tips with a dry or barely damp microfiber cloth after your last use of the week.
Monthly: Do a deeper clean—brush the driver mesh, wash silicone tips, and wipe down the headband with mild soap.
Quarterly: Inspect jacks and charging ports for lint, and check whether cushions or tips need replacing.
As needed: Clean a crackling jack the moment you notice connection issues, before grit gets pressed deeper into the port.
Store headphones on a stand or in a case rather than loose in a bag, and let them air out after sweaty workouts or long calls. A few seconds of care after each use prevents the kind of buildup that takes an hour to scrub away later.
FAQs
Can I use rubbing alcohol to clean my headphones?
Yes. 70% isopropyl alcohol is safe for disinfecting non-electronic surfaces such as ear cushions, earbud bodies, and headbands when applied to a cloth, never poured directly. Avoid higher concentrations and harsher solvents like acetone, which can dry out or dissolve synthetic leather and adhesives.
How often should I clean my headphones?
A quick wipe once a week and a deeper clean once a month is enough for most users. If you wear in-ear buds while exercising, or use over-ear headphones for many hours daily, clean the contact surfaces more frequently to prevent bacteria and odor.
Can water damage my headphones during cleaning?
It can, which is why moisture should never touch the drivers, mesh grilles, or charging ports directly. Always dampen a cloth or swab rather than the headphones themselves, and let everything dry fully—ideally for several hours—before reassembly or use.
What is the safest way to remove earwax from earbuds?
Hold the earbud nozzle-down, brush the mesh with a dry soft brush, then lift stubborn wax with adhesive putty or a cotton swab barely moistened with 70% alcohol. Never poke the mesh with metal, and avoid soaking the grille, which can push wax deeper into the driver.
Are replacement ear cushions worth buying?
Yes. Worn or flattened cushions reduce comfort, weaken noise isolation, and cannot be cleaned back to new. Replaceable pads—like those on the NearHub Nearity EP320—let you restore a headset's fit and seal for a fraction of the cost of buying a new pair.