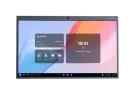
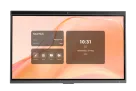
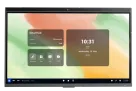
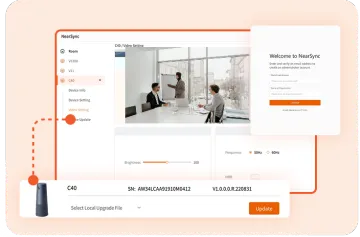
If you need to update your NearHub Board locally but have no idea how to get help, here are the concrete steps.
Step 1
First, it is suggested that you connect with a technical engineer who is officially certified by NearHub. The technical engineer will give you an upgrade file, and you need to save the file in the root directory of your USB drive.
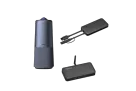
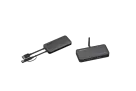
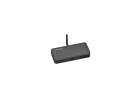
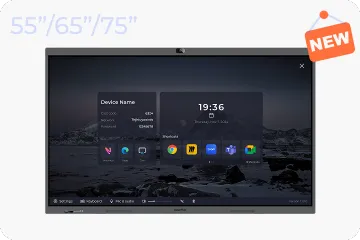
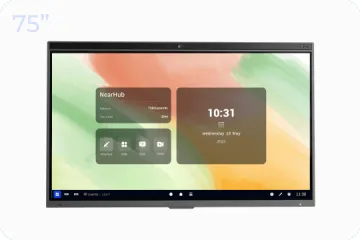
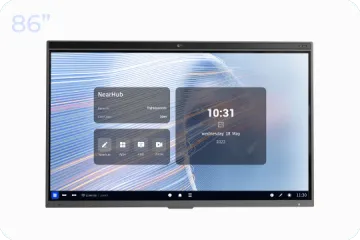
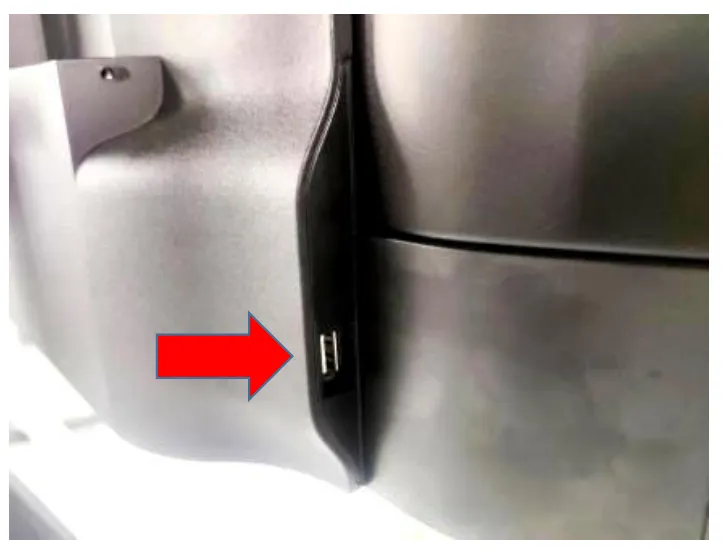
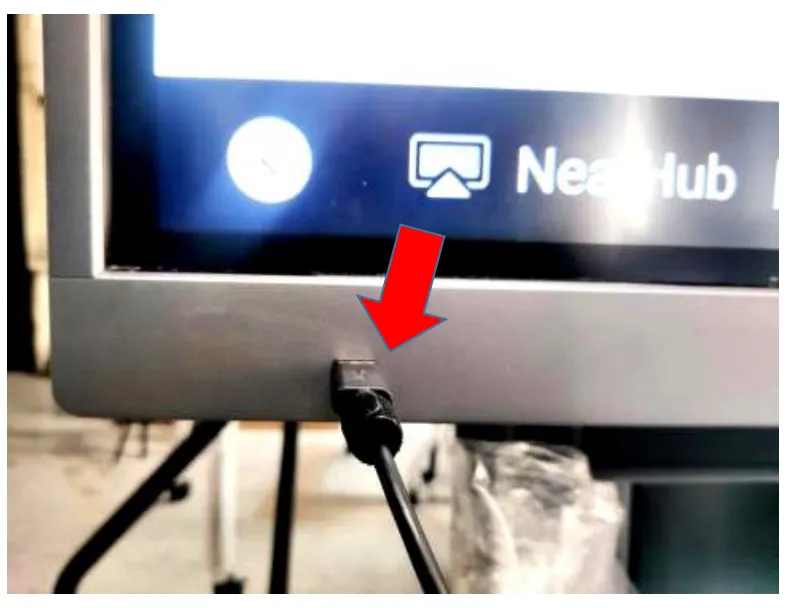
Then, you can enable your USB drive on your NearHub. A small tip here: different models of NearHub Board place their USB port differently. You'd better search the back of the whiteboard if you don’t see the USB port from the front.
USB port ①:
USB port ②:
Step 2
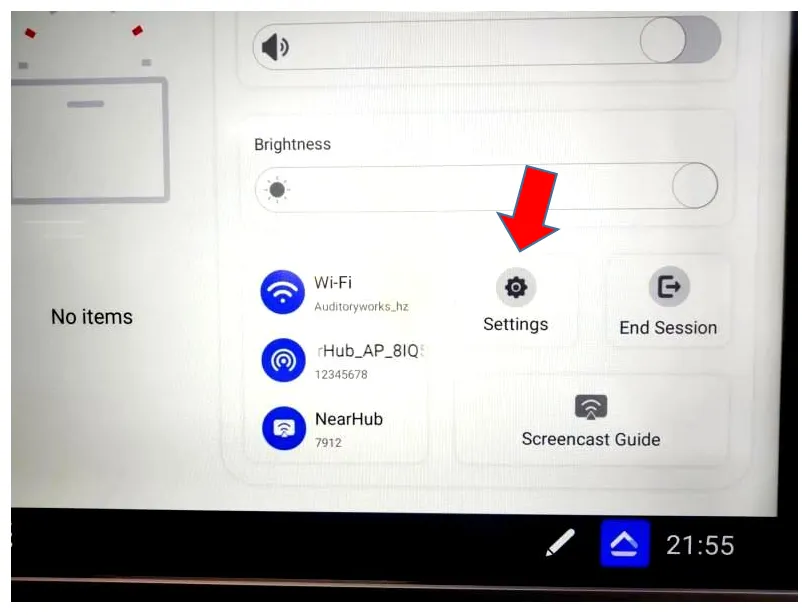
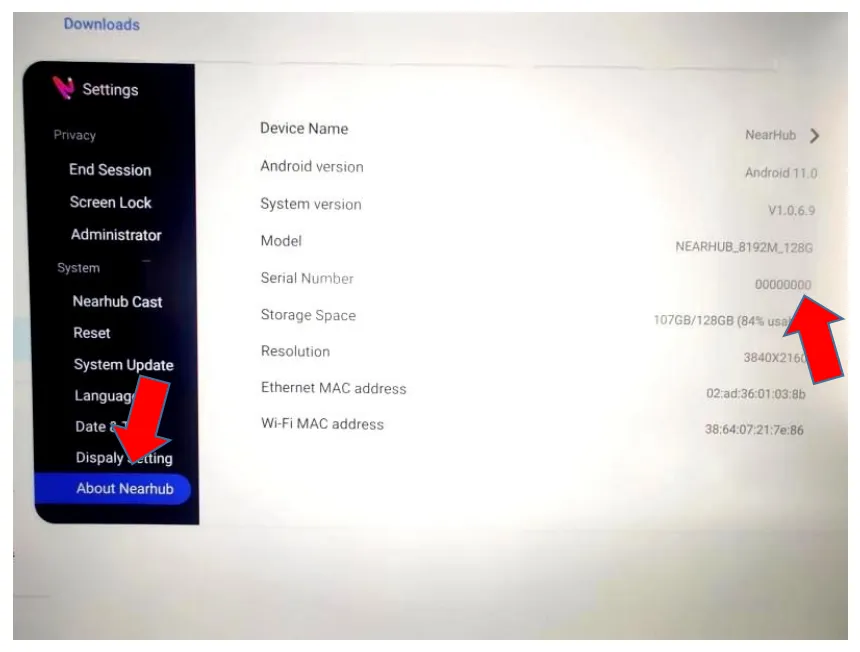
Now that you have plugged your USB drive into the NearHub Board, click the second button (it looks like a triangle) at the right of the bottom line. Choose "settings," and then you will find a list of settings on the left. Swipe down from the top of the setting list until you see the last choice, "About Nearhub," and click it.
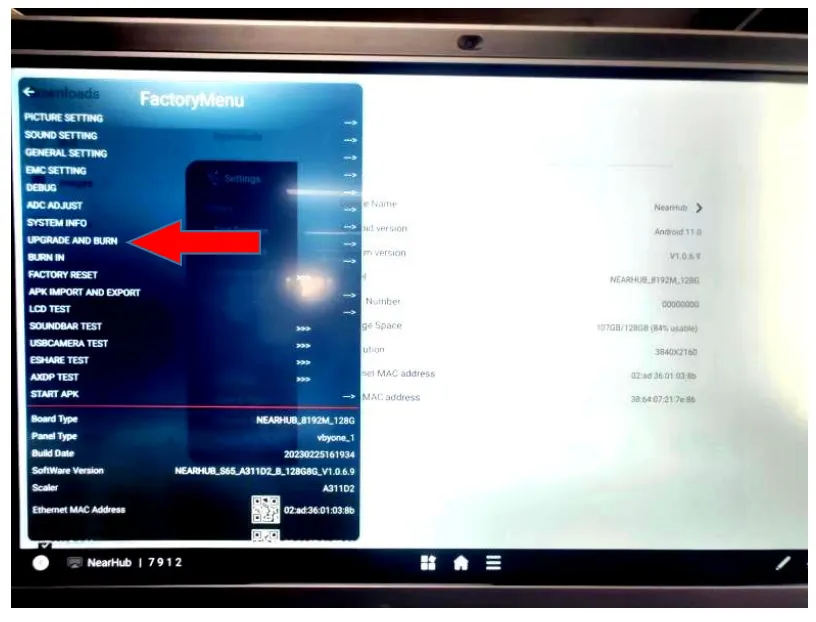
After opening "About Nearhub," you need to select "serial number" from all the data. Now, please pay attention to the eight zeros that follow, "00000000," and click the zeros 8 times so that the factory menu appears. But if you click fewer than 8 times, nothing will pop up.
Step 3
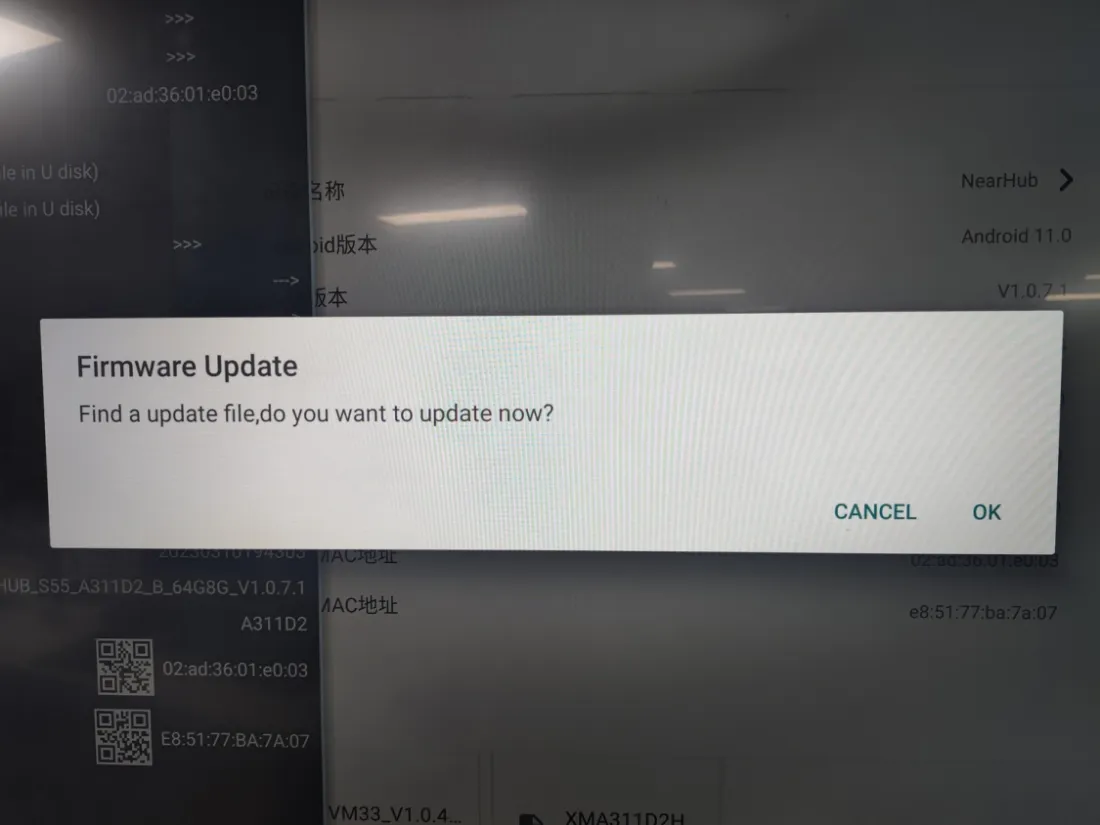
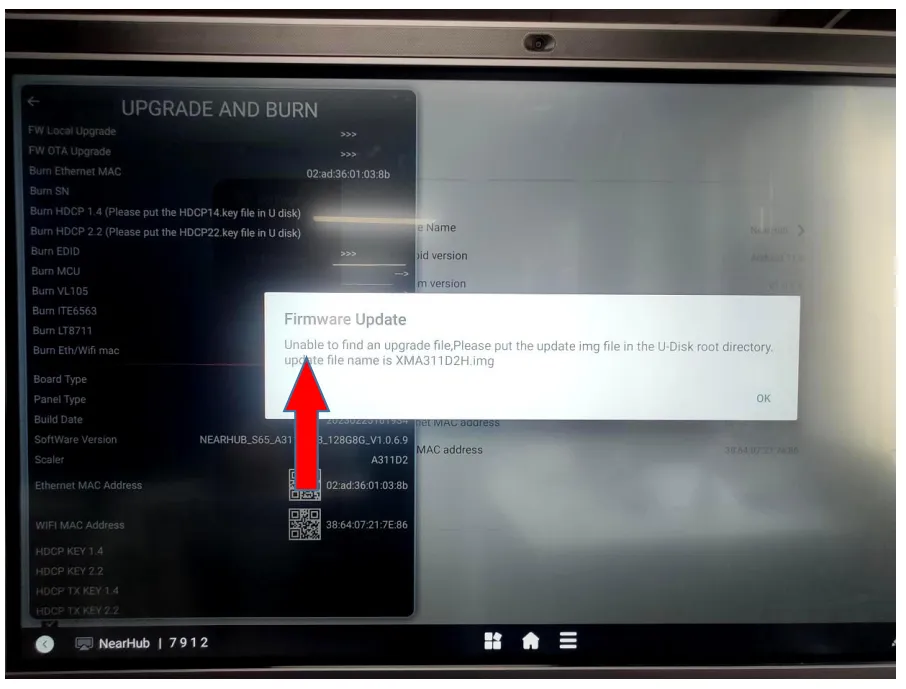
Now you have opened the FactoryMenu. Please choose “UPGRADE AND BURN”, and you can see the final list we need. You only need to tap the first one, “FW Local Upgrade”, and a help window will come out. If it is written that the NearHub find an upgrade file, you can start upgrade immediately after clicking “OK”. But if NearHub fails to find an upgrade file, there may be some problems in previous steps. If you check all steps and still cannot figure it out, feel free to contact support.
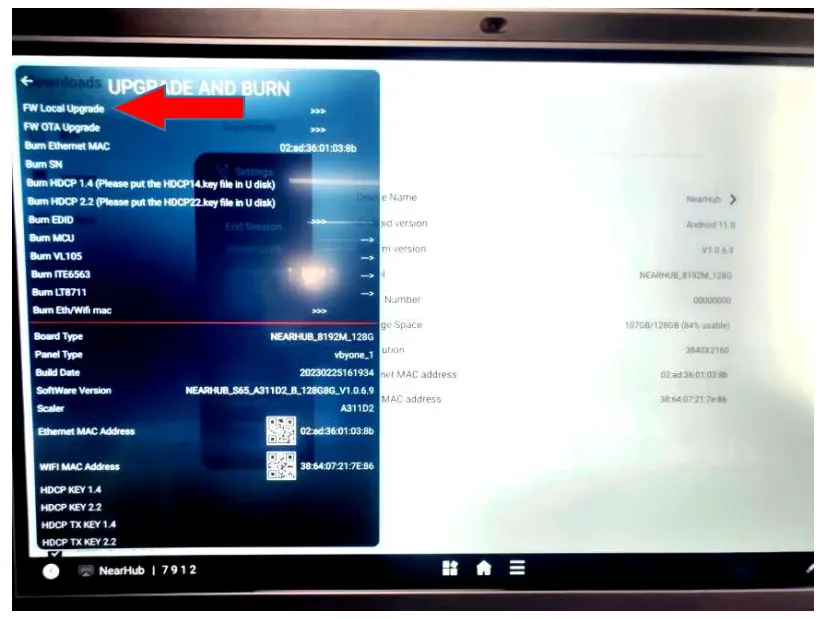
If the NearHub find your upgrade file in the U-disk, the help window will be like:
If not, it will be like this. But don’t worry. Just contact us and let us know.
If you meet any problems in the process or have any further questions, please submit a support ticket here. Our support team will respond as soon as possible.