- Voir les produits

Système Windows
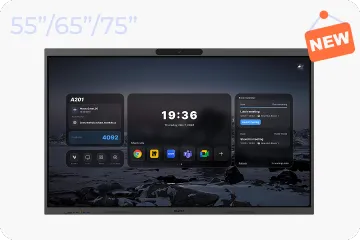
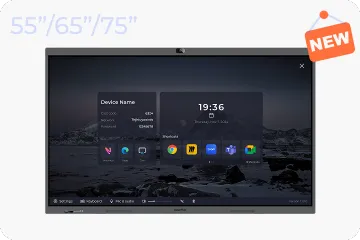
NearHub Board S Pro
Pour les Salles de Réunion Informelles
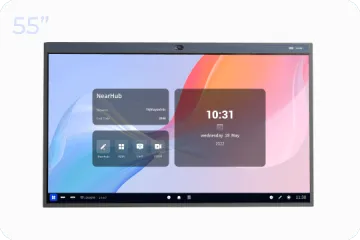
NearHub Board S55
Pour les Salles Moyennes
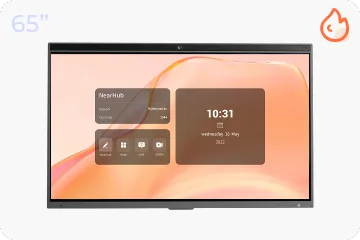
NearHub Board S65
Pour les Grandes Salles
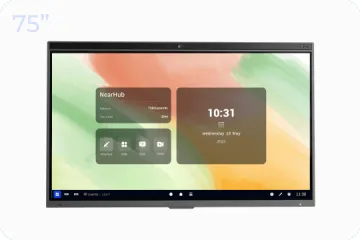
NearHub Board S75
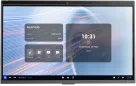
Pour les Salles Spacieuses
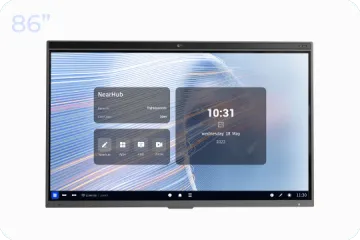
NearHub Board S86
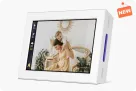
Cadre Photo Numérique Intelligent avec Moniteur de Qualité d’Air
NearHub Frames 10
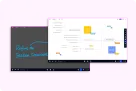
NearHub Canvas
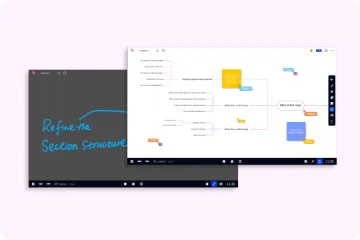
Tableau Blanc en Ligne en Temps Réel
- Voir les produits

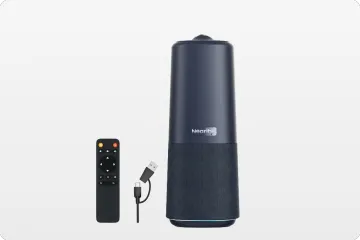
Véritable Caméra Tout-En-Un 4K 360° pour les Réunions Hybrides
Nearity 360 Alien

Véritable Caméra Tout-En-Un 4K 120° pour la Collaboration d’Équipe
Nearity 120 Max

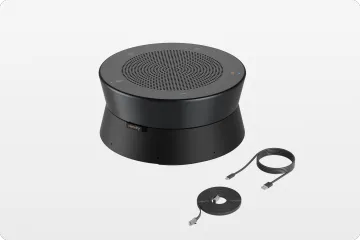
Audio Nouvelle Génération & Daisy-Chain Pionnier
Nearity A20S
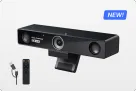
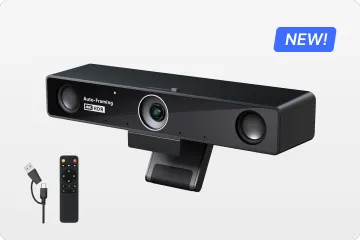
Webcam 4K UHD 120° Pour Réunion Hybride
Nearity V30S
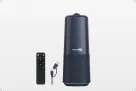
Caméra Tout-En-Un 360° pour les Discussions de Groupe Pro
Nearity C50

Caméra Tout-En-Un pour la Réunion de Groupe
Nearity C45
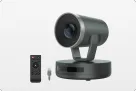
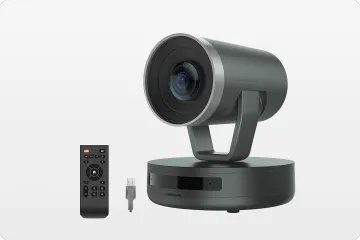
Caméra PTZ Puissante avec Zoom Hybride 10x
Nearity V410
- Voir les produits
- Voir les produits
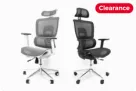
Pour les Grandes Tailles
NearHub EC20
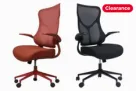
Pour les Petites Morphologies
NearHub EC10
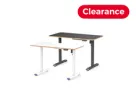
Bureau Assis-Debout Électrique Avec Hauteur Réglable
NearHub OD20
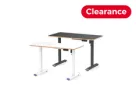
Double Moteur Bureau Informatique Debout
NearHub OD30
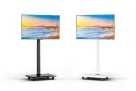
Chariot TV Mobile Pour Écrans De 26 À 70"
NearHub TC30
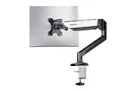
Bras pour Moniteur Simple Pour les Écrans de 13 à 32”
NearHub MA10
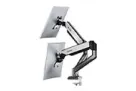
Bras pour Double Moniteur pour les Écrans de 13 à 32”
NearHub MA20
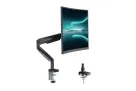
Bras pour Moniteur Simple pour les Écrans de 13 à 35
NearHub MA30
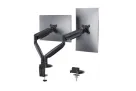
Support de Bureau pour Double Moniteur pour les Écrans de 13 à 35
NearHub MA40
Plateau Clavier Ergonomique
NearHub KD10
- Voir les produits
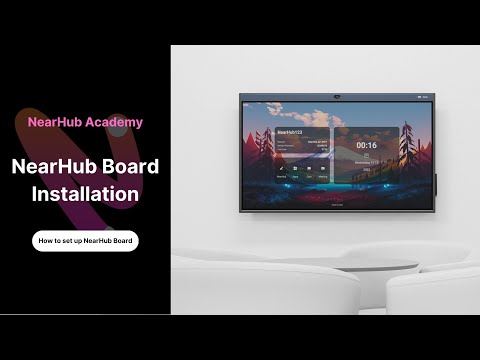
If you’re not sure how to install the stand, here is the installation introduction for you.

Video Guidance: NearHub Board Installation:
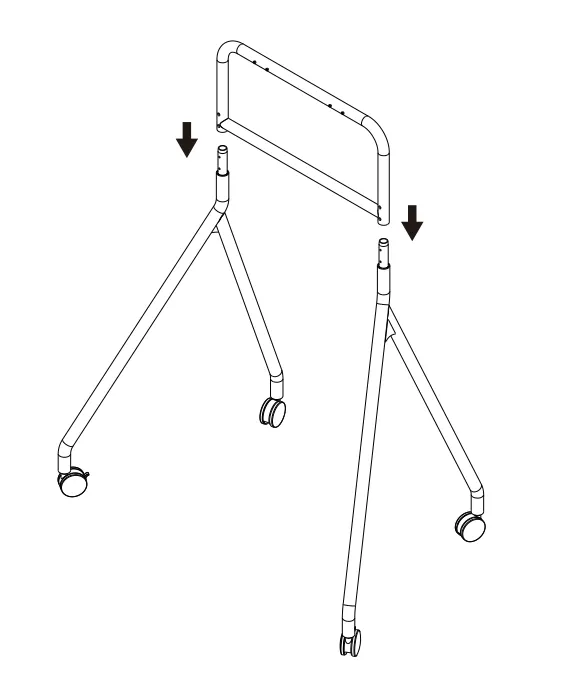
① Have two people hold each leg racks and slip in the upper rack on top.
Note:
- Ensure the screw clearance holes face the front.
- There are two (2) screw holes on the left leg rack and three (3) on the right.
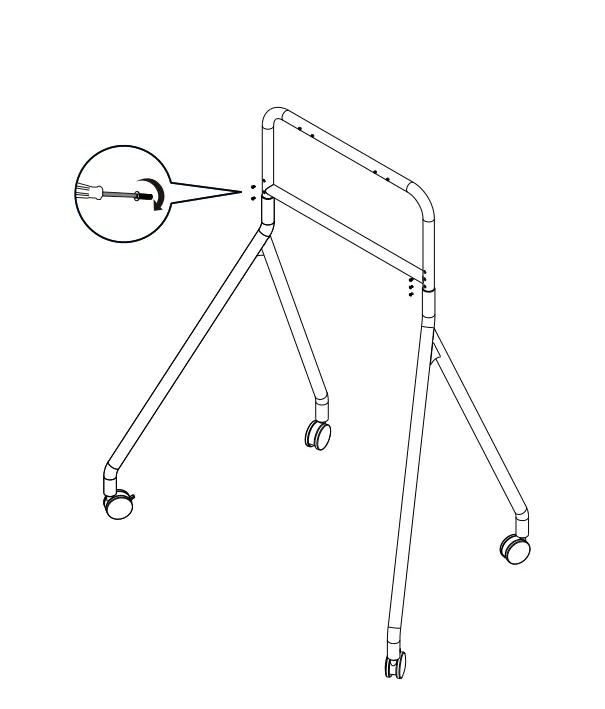
② Rotate the left and the right leg racks until the screw holes are fully visible. Do not fully tighten the screws until all screws are moderately tightened.
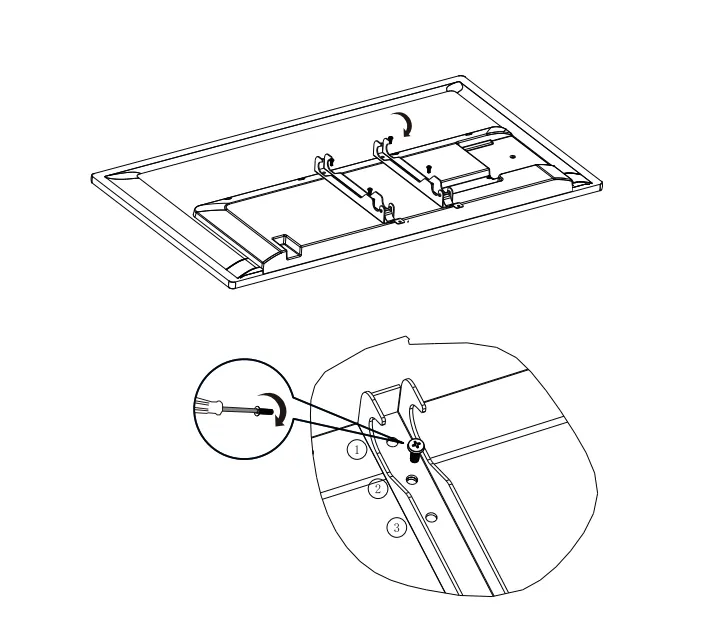
③ Lay the screen on a floor cushion, and attach the wall-mount bracket to the machine.
Note:
- Tighten the upper screw and then the lower screw.
- There are adapter holes for the wall-mount bracket to adjust the height of the screen. It is recommended to use the second hole for a 55-inch screen and the first hole for a 65-inch screen.
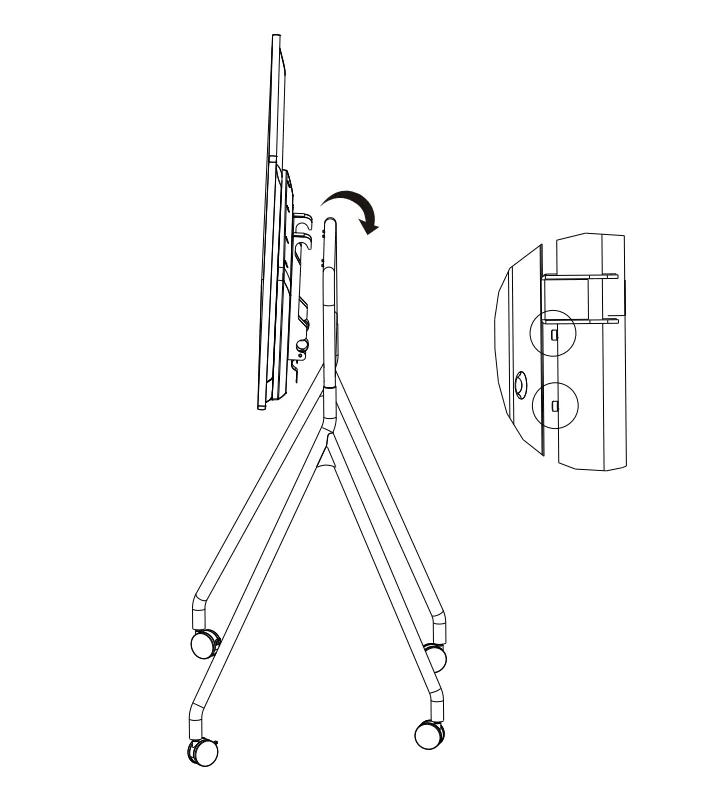
④ Mount the screen to the middle of the stand.
Note:
- The screen must be mounted onto the front side of the stand, i.e, the side where there are screws on top.
- The screws on top of the stand can serve as a placement marker. Observing from both sides: Two (2) screws are visible for a 55-inch screen, and one (1) screw is visible for a 65-inch screen.
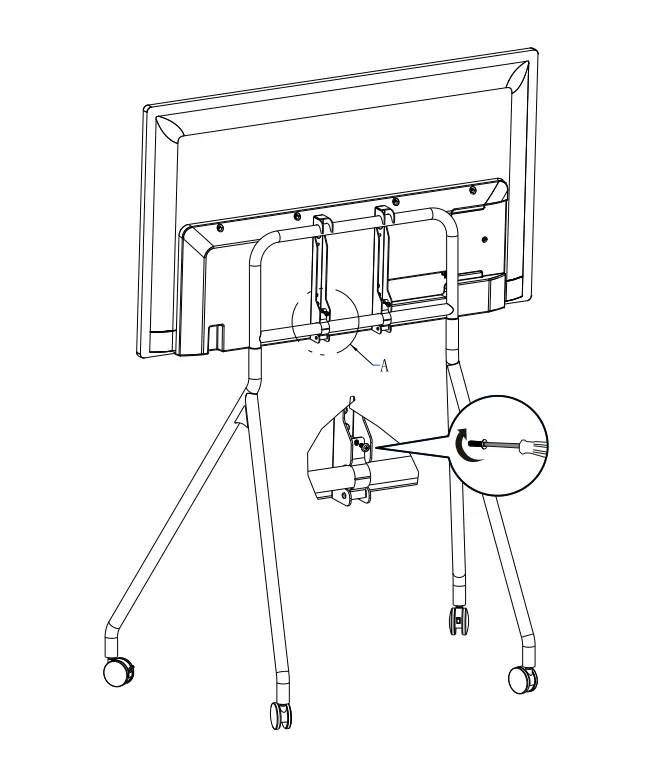
⑤ Rotate the hook at the bottom of the wall-mount bracket in a clockwise decision, and fully tighten the screws.
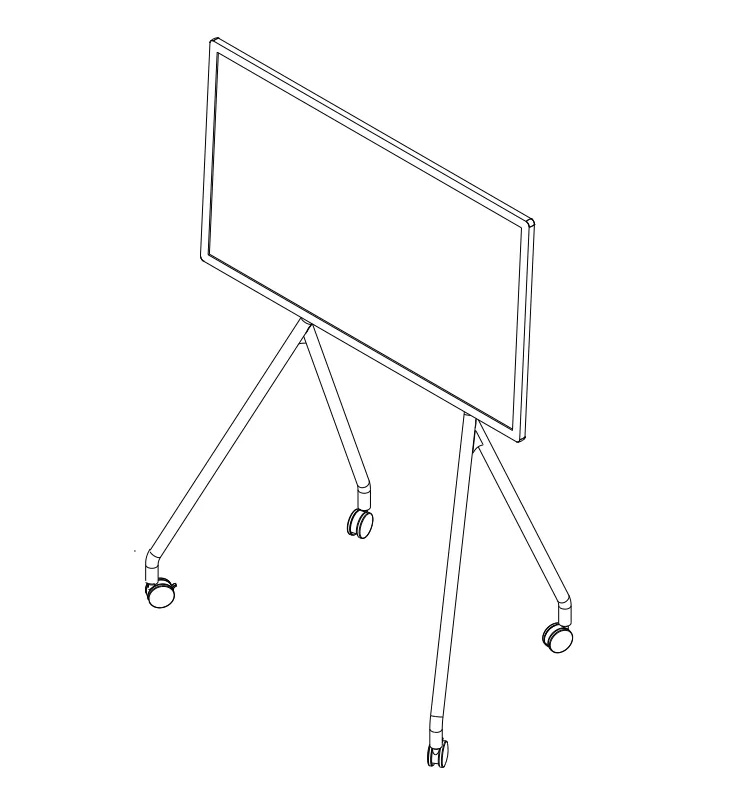
⑥ Complete installation.
Note:
Please inspect and tighten all screws regularly if the machine is frequently moved.
If you meet any problems in the process or have any further questions, please submit a support ticket here. Our support team will respond as soon as possible.